The Ultimate Fennel Growing Guide: From Seed to Harvest
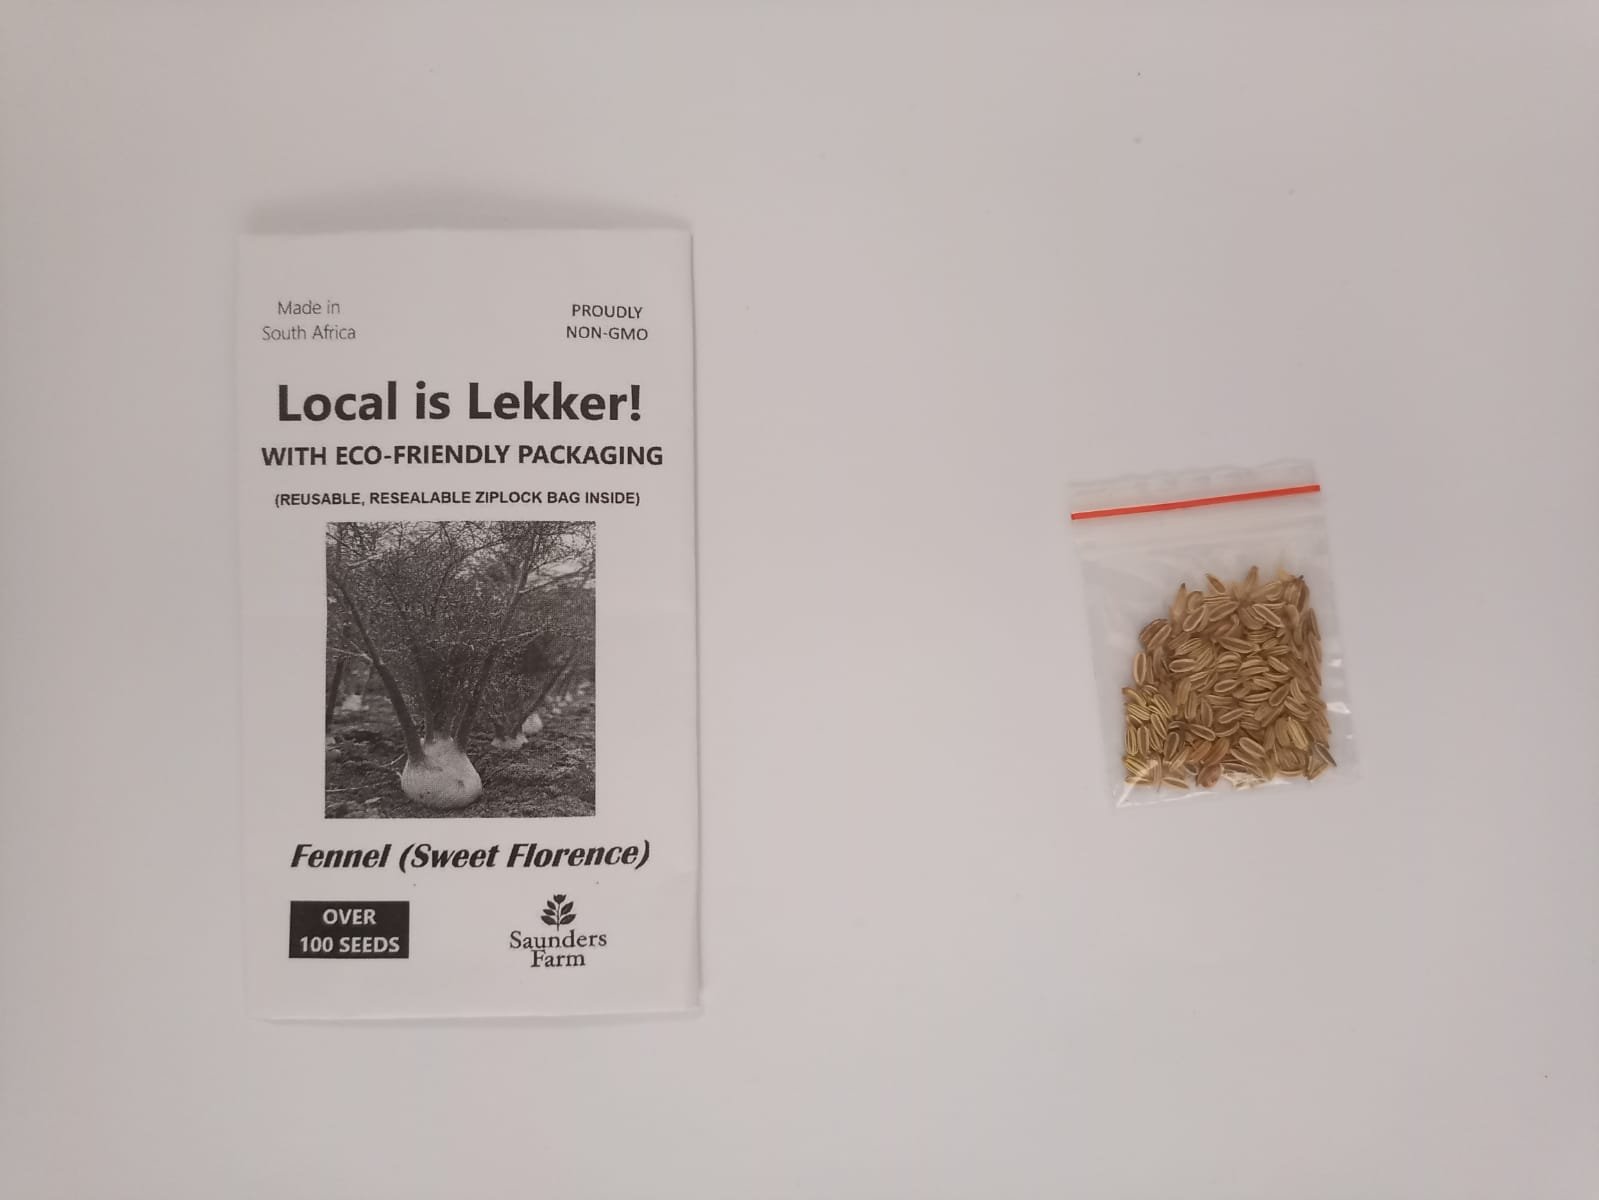
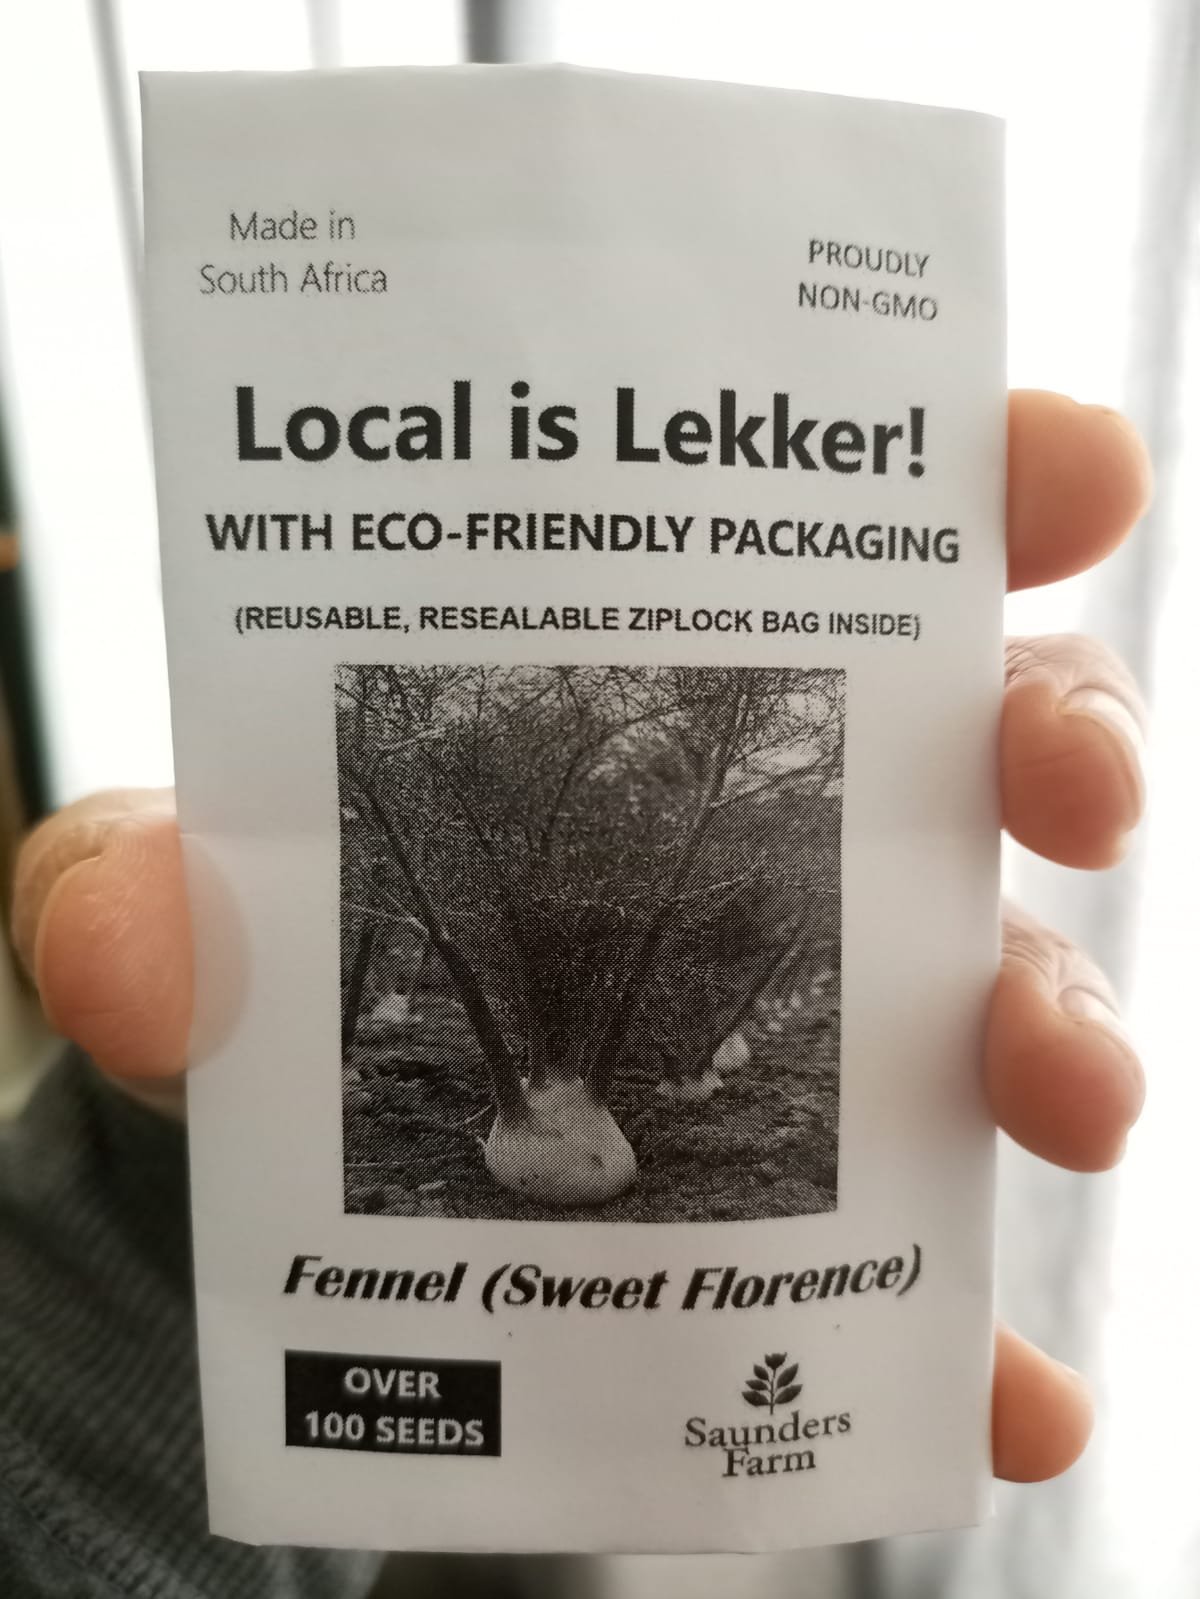
Sweet Florence Fennel (Foeniculum vulgare var. dulce) is a fantastic addition to any South African backyard garden.
Known for its crisp, aniseed-flavoured bulbs and delicate, feathery fronds, this heirloom vegetable is both highly productive and easy to grow from seed.
This comprehensive guide covers everything your customers need to know to grow premium, crunchy fennel bulbs at home.
Quick References
Sowing Seasons: Autumn (Feb–Apr) & Spring (Aug–Oct)
Sunlight Need: Full Sun (6+ hours of direct light)
Sowing Depth: 10mm deep
Seed Spacing: 20cm to 30cm apart
Germination: 10 to 14 days
Days to Harvest: 90 to 110 days
Step 1: When to Plant Fennel in South Africa
Fennel thrives in moderate, cool-to-warm temperatures. Extreme, blistering summer heat can cause the plant to “bolt” (go to seed early), making the bulb tough and bitter.
Temperate & Inland Regions (Highveld): Sow seeds in early spring (August to October) or late summer/autumn (February to April).
Subtropical & Frost-Free Regions (Coastal KZN/Lowveld): Plant during the cooler autumn and winter months for best results.
Winter Rainfall Regions (Western Cape): Autumn sowing is ideal to take advantage of natural winter rains.
Step 2: Preparing the Perfect Garden Bed
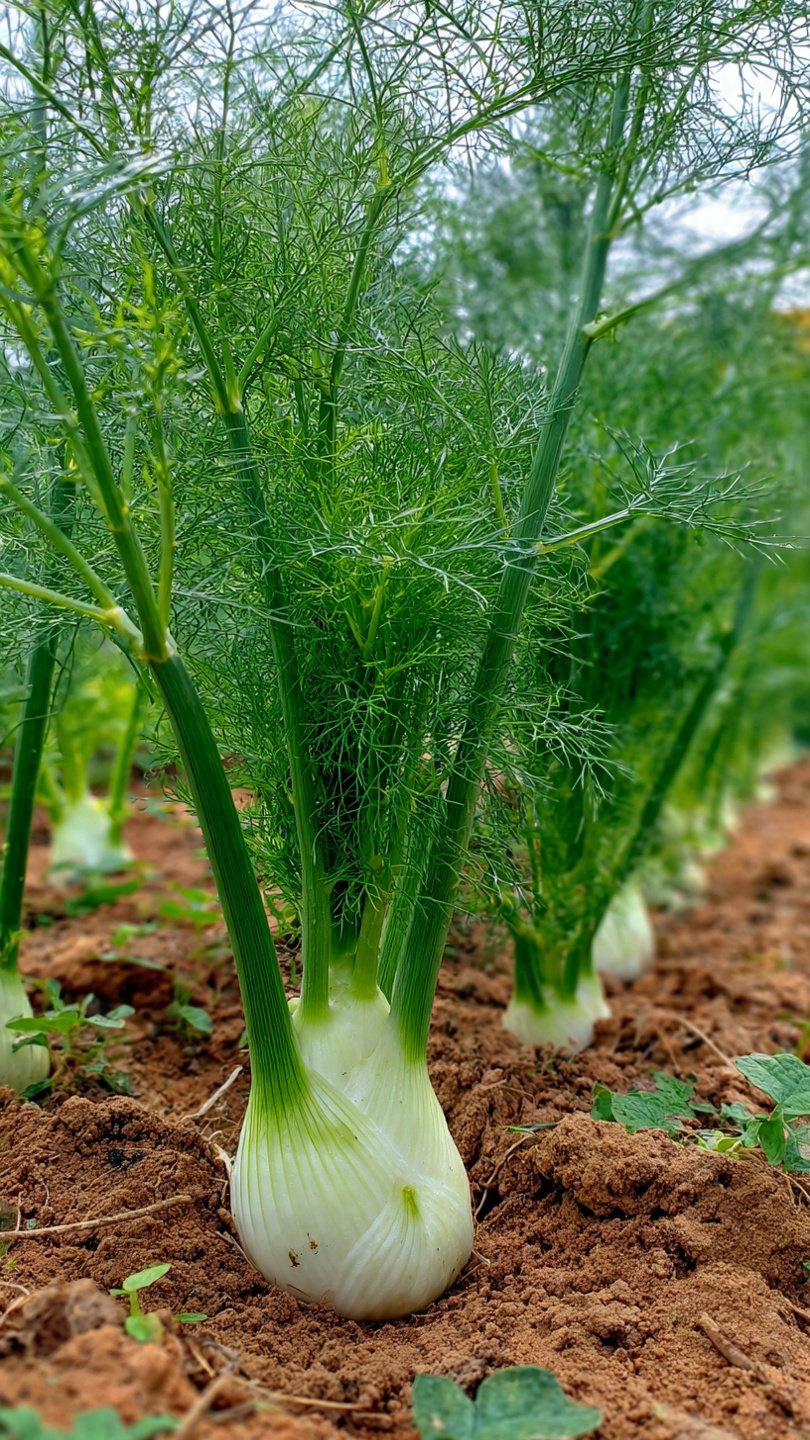
Fennel requires loose, fertile soil to allow its underground bulb to expand fully.
Sunlight: Select a permanent spot that receives at least 6 hours of direct sun daily.
Soil Quality: Work a generous layer of organic compost or well-rotted manure into the soil. Ensure the soil is loosened to a depth of at least 30cm.
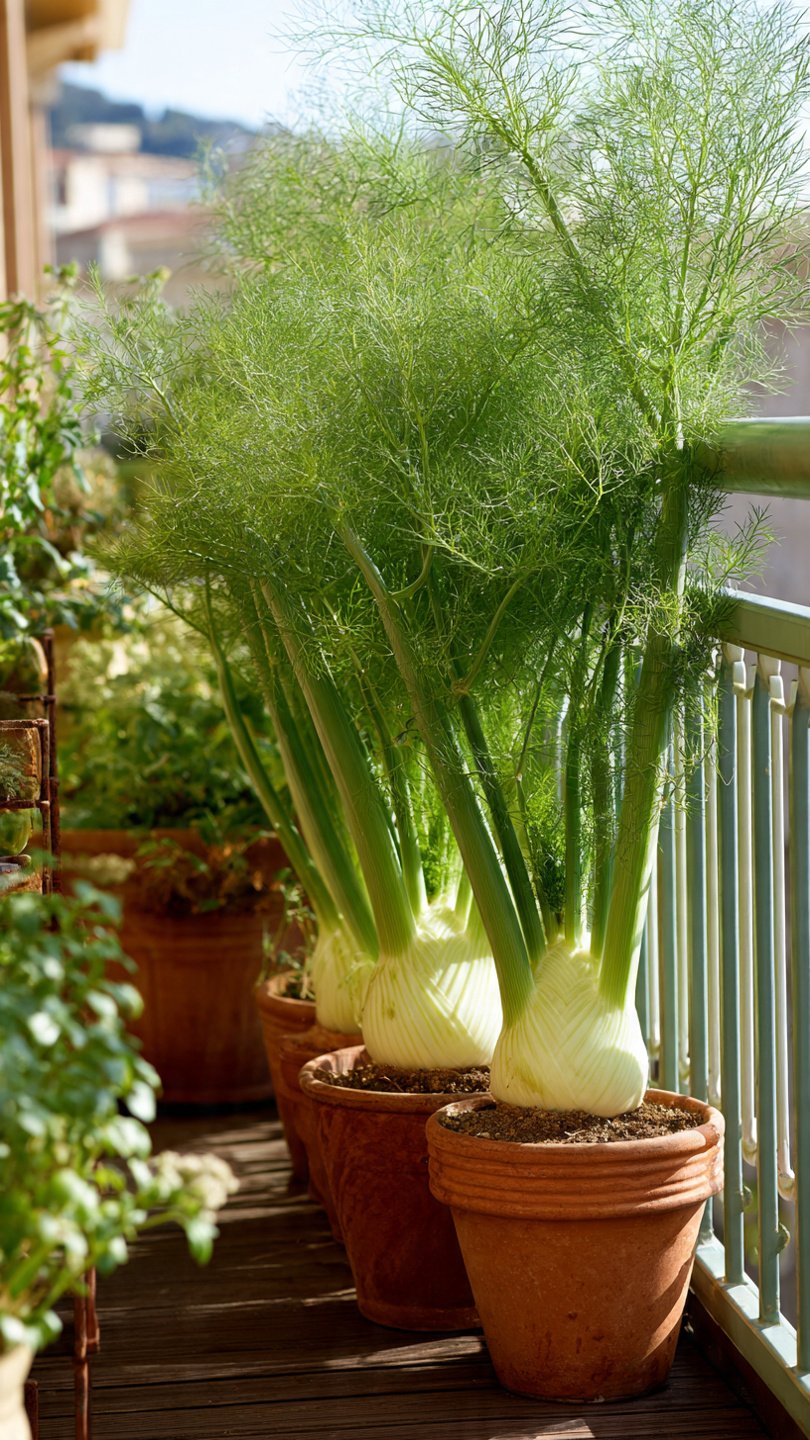
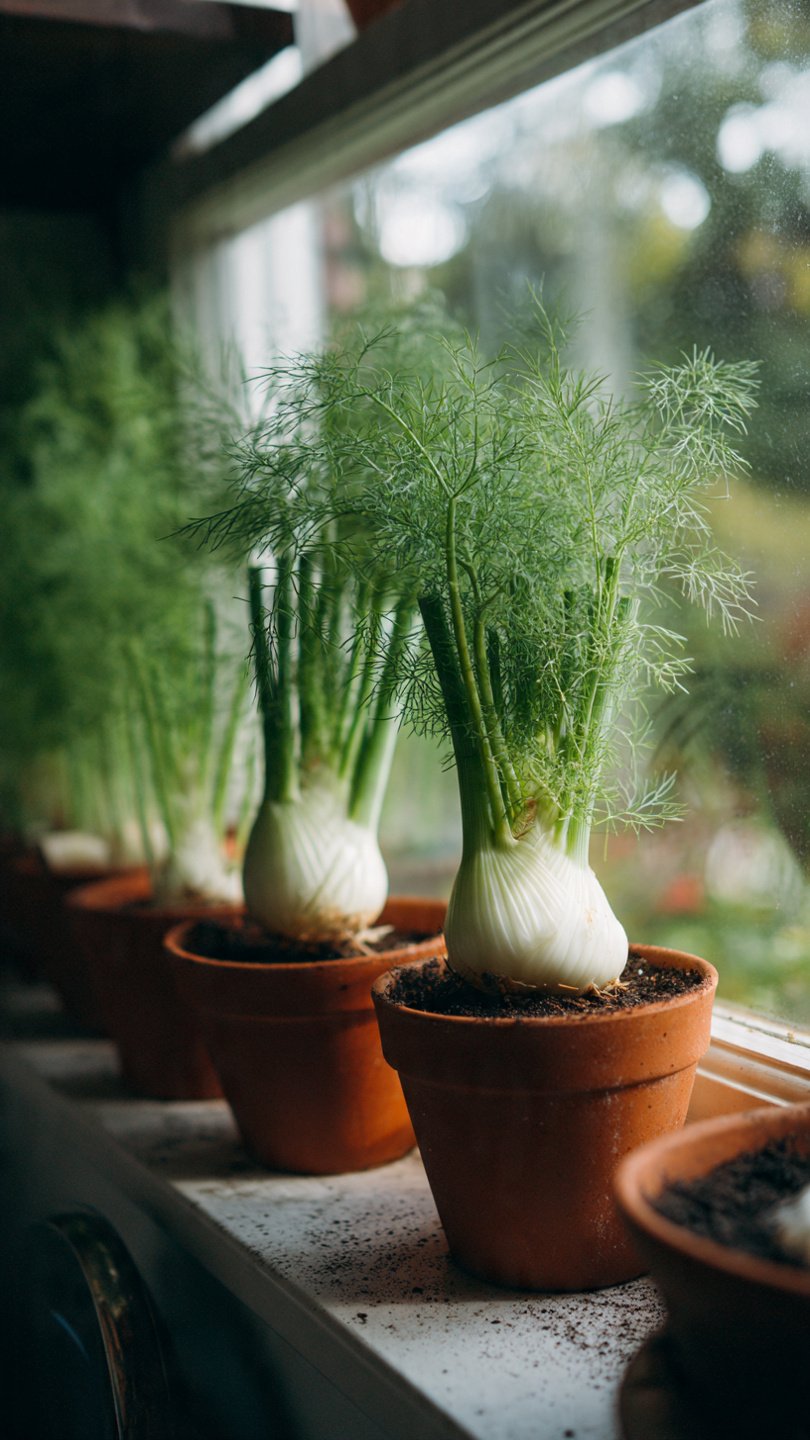
Drainage: Fennel hates waterlogged conditions. If you have heavy clay, grow your fennel in raised beds or large pots using high-quality potting soil.
Step 3: Sowing the Seeds
Fennel develops a long, sensitive taproot. Because of this, direct sowing into the ground is highly recommended, as transplanting can shock the plant and cause early bolting.
Make shallow rows in your garden bed exactly 10mm deep, leaving 40cm of space between rows.
Drop seeds along the row, keeping them roughly 10cm apart.
Cover lightly with soil and firm down gently to ensure good seed-to-soil contact.
Water thoroughly with a fine mist spray to keep the soil consistently moist until germination.
Tip: If you must start seeds in trays, use biodegradable peat pots or toilet paper rolls so you can plant the entire pot directly into the ground without touching the roots.
Step 4: Thinning and Spacing
When your seedlings reach about 10cm in height, it is time to thin them out.
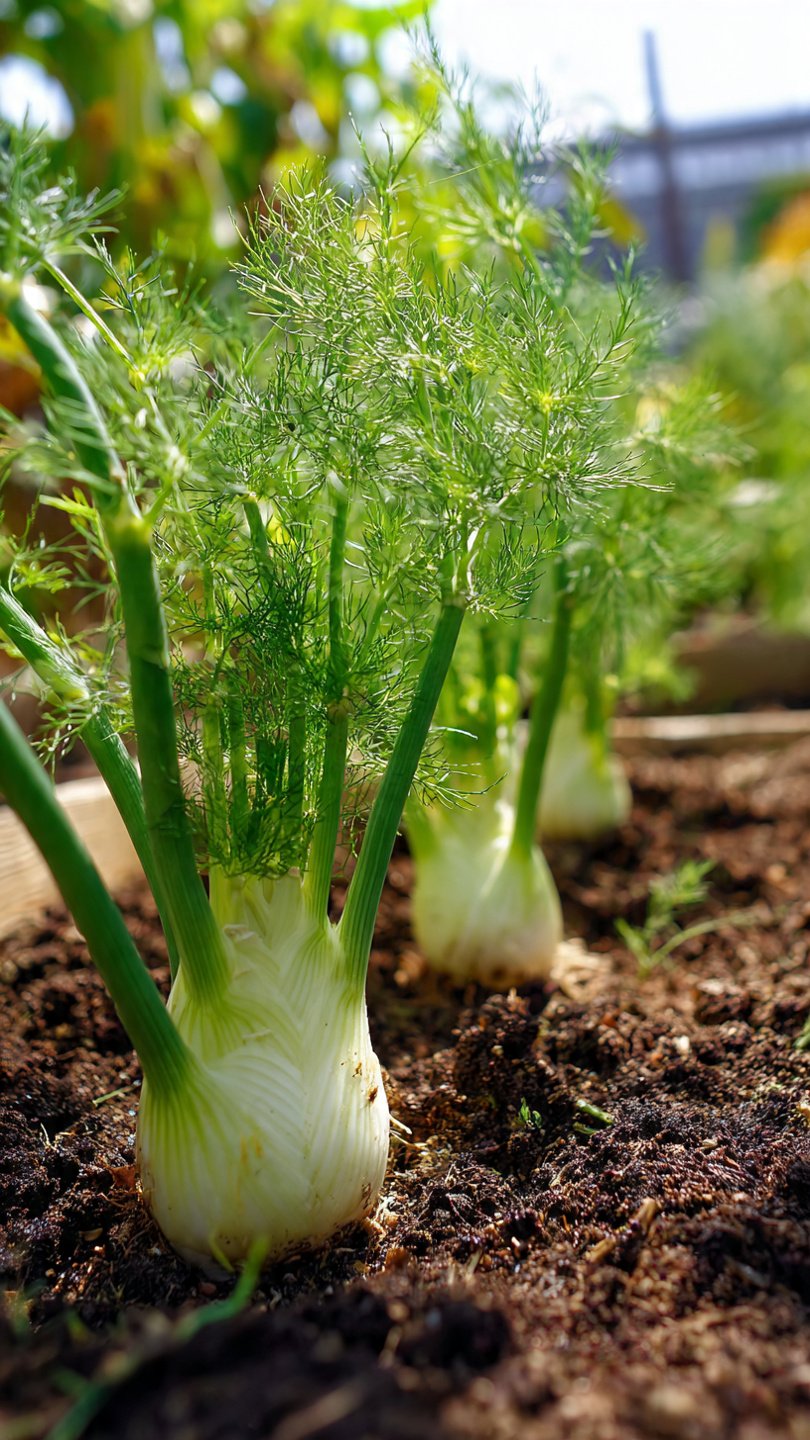
Gently snip or pull out the weaker seedlings so that the remaining strong plants are spaced 20cm to 30cm apart.
Crowded fennel plants will not have enough physical space to develop thick, fleshy bulbs.
Step 5: Essential Ongoing Care
Watering: Provide consistent, even moisture. Inconsistent watering or allowing the soil to dry out completely will cause the bulb to become stringy, woody, and tough.
Feeding: Fennel is a heavy feeder. Apply a liquid organic fertiliser or a balanced nitrogen-rich fish emulsion every 2 to 3 weeks to support lush foliage growth.
Weeding: Keep the area immediately surrounding your fennel free from weeds, which compete for vital nutrients and moisture.
Step 6: Companion Planting Rules
Fennel is a notorious loner in the vegetable garden. It secretes compounds that can stunt the growth of neighboring plants.
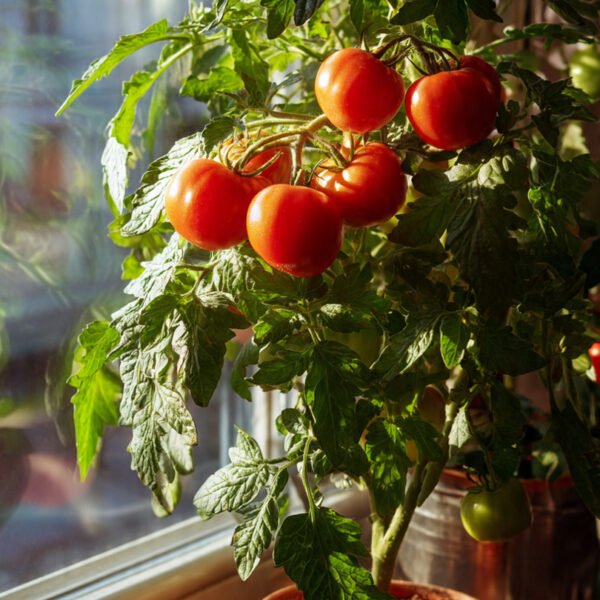
Bad Companions: Do not plant fennel near dill, coriander, caraway, tomatoes, or beans.
Dill and fennel can cross-pollinate, ruining the flavor of both crops.
Good Companions: Fennel does well when planted near peas, lettuce, and sage, or kept completely isolated in its own dedicated patch.
Step 7: How to Blanch the Bulbs (“Earthing Up”)
This optional step produces exceptionally sweet, pale, and tender bulbs.
When the base of the fennel stem starts to swell and reaches roughly the size of a golf ball, gently pile loose garden soil or straw mulch around the base.
This shades the bulb from the sun, keeping it white and crisp.
Step 8: Harvesting Your Bountiful Crop
The Fronds: You can clip the feathery green leaves at any time during the growing season to use as a fresh kitchen herb. Never remove more than one-third of the foliage at once.
The Bulbs: Harvest the bulbs when they are roughly the size of a tennis ball. Use a sharp knife to cut the bulb at the soil line just above the root system, or gently pull the entire plant out of the ground.

Reviews
There are no reviews yet.