The Ultimate Dill Growing Guide: From Seed to Harvest
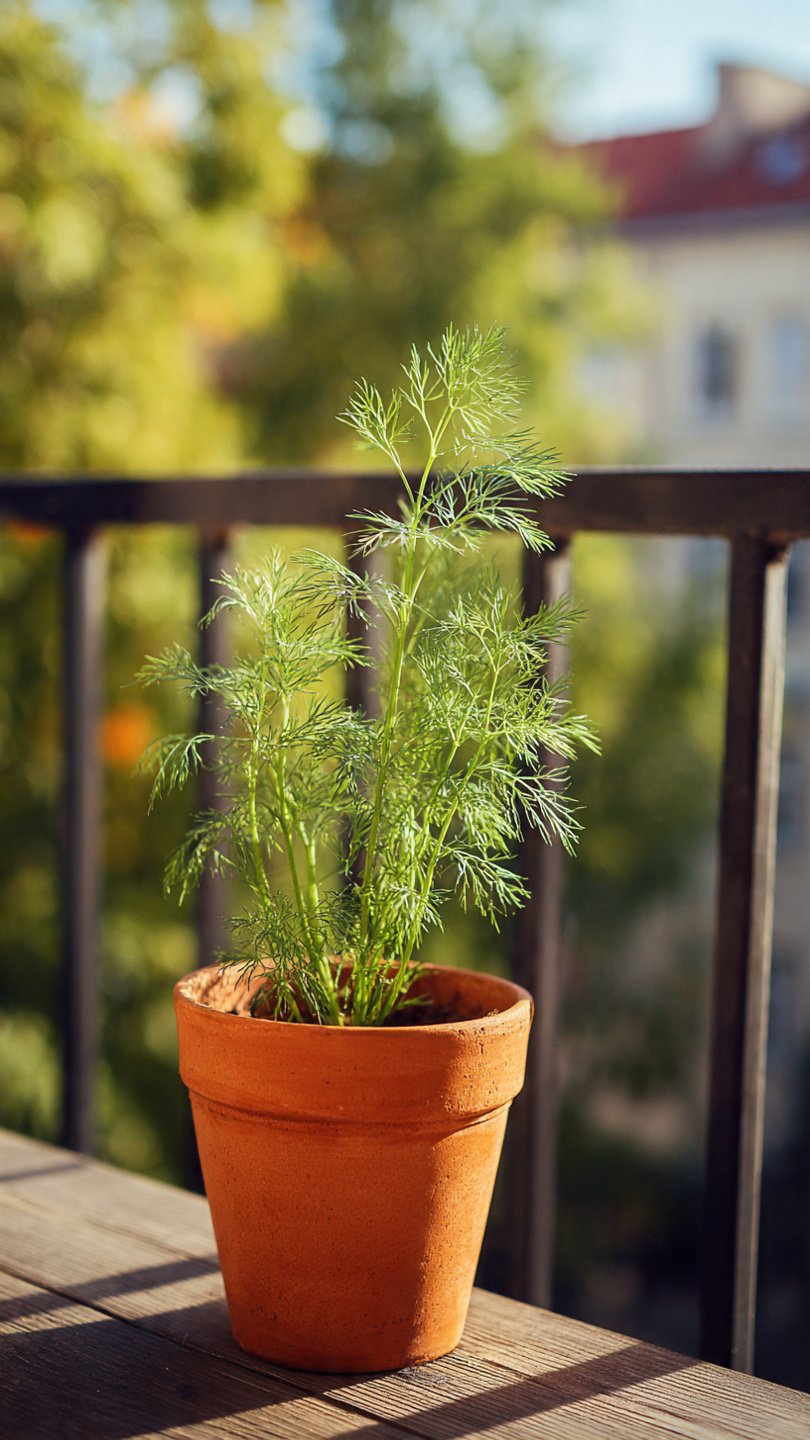
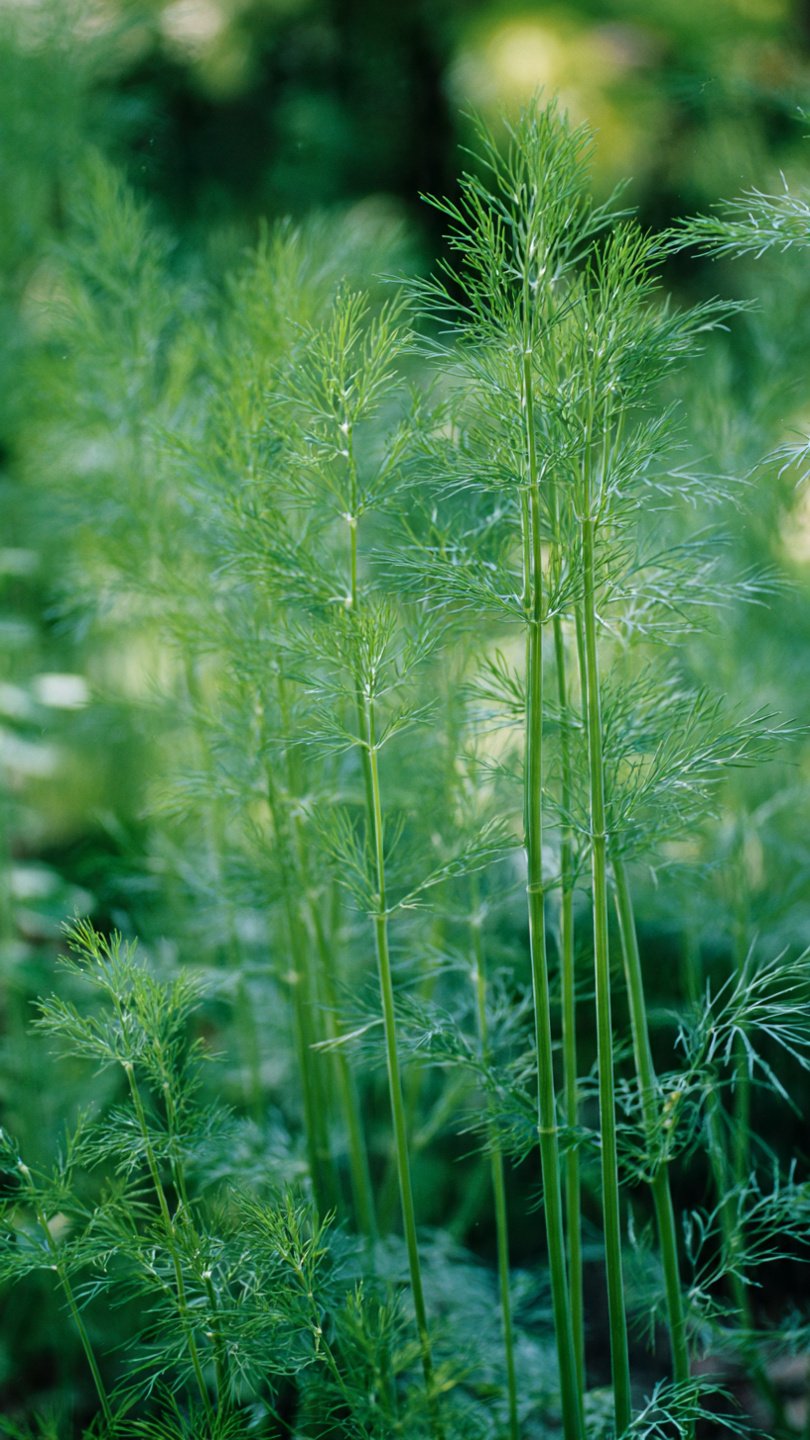
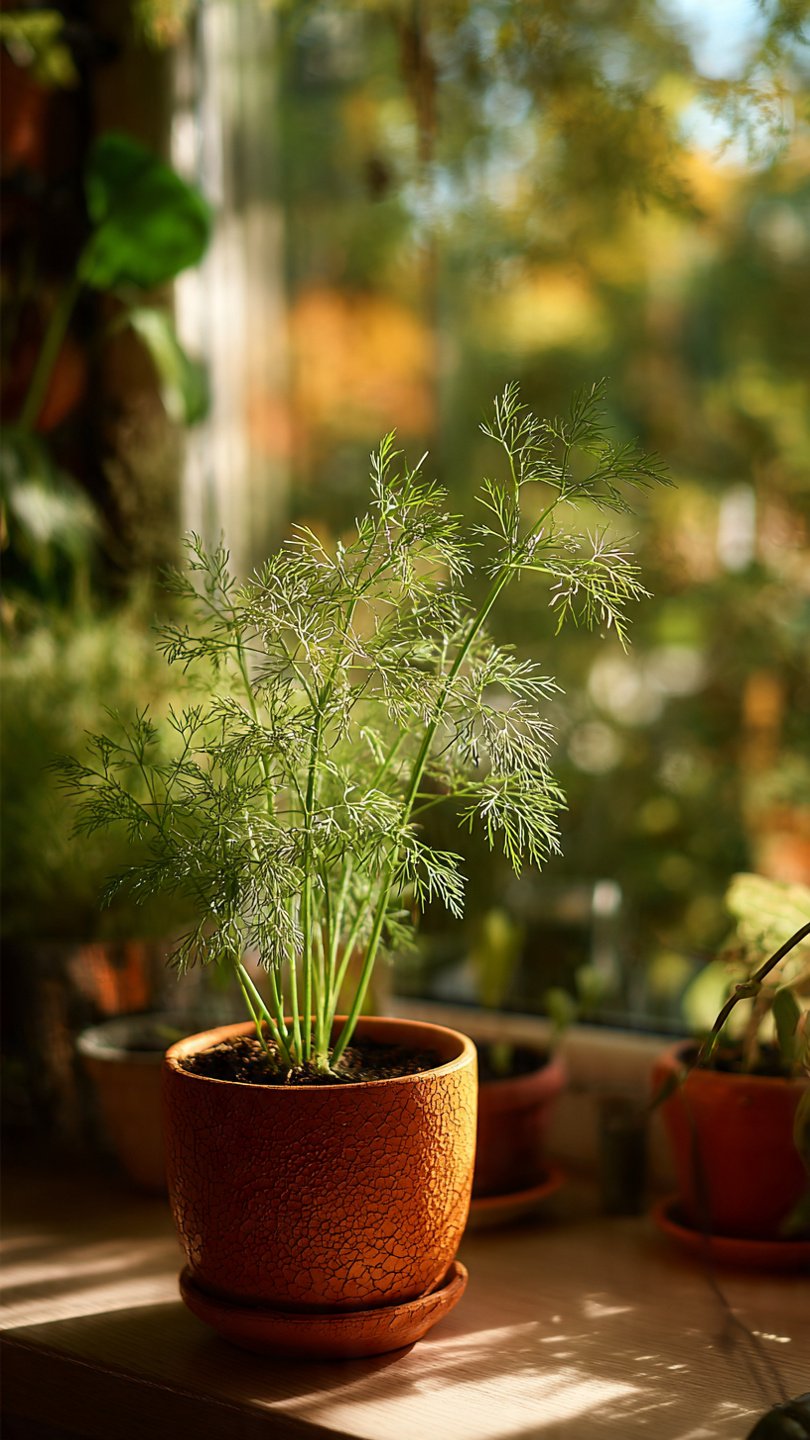
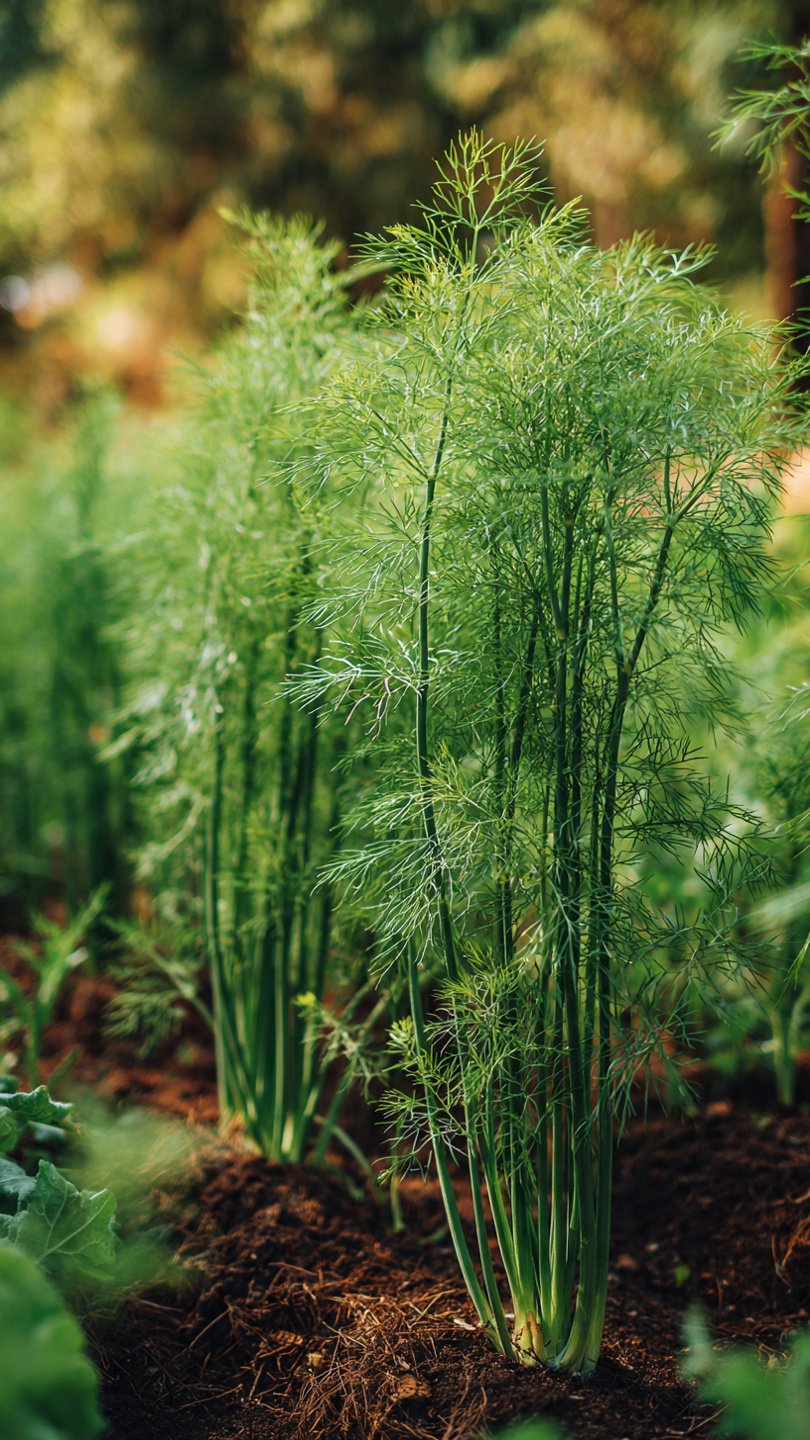
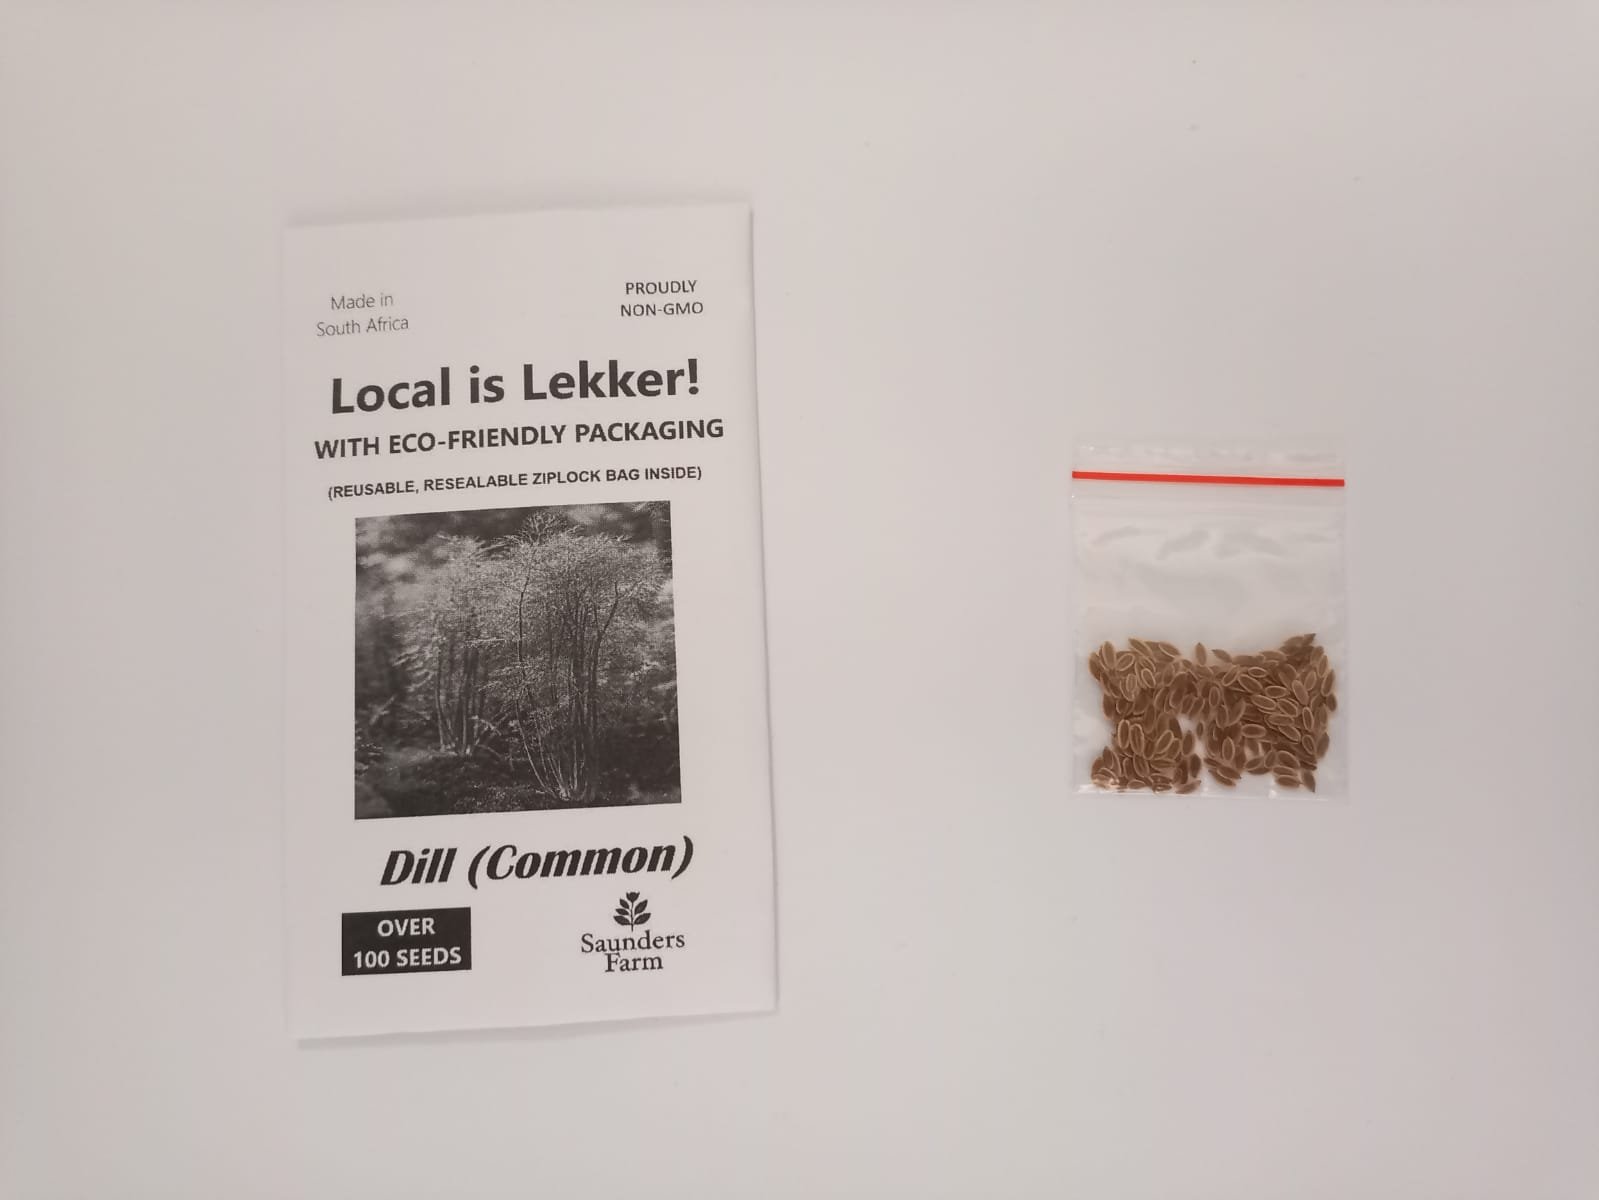
Common Dill (Anethum graveolens) is one of the easiest and most rewarding heirloom herbs to grow in your South African garden.
Celebrated for its tangy, feathery leaves (dill weed) and aromatic seeds, this fast-growing plant is perfect for both beginner and experienced gardeners alike.
This comprehensive guide covers everything your customers need to know to establish a thriving, continuous supply of fresh dill at home.
Quick References
Sowing Seasons: Spring to Autumn (Sept–Apr)
Sunlight Need: Full Sun (6+ hours of direct light)
Sowing Depth: 5mm deep
Seed Spacing: 20cm apart
Germination: 10 to 14 days
Days to Harvest: 40 days (leaves) | 90+ days (seeds)
Step 1: When to Plant Dill in South Africa
Dill loves warmth but reacts poorly to extreme, blistering mid-summer heat, which causes it to “bolt” (produce flowers prematurely).
Highveld & Frost Regions: Sow seeds from early spring (September) through to early autumn (April).
Subtropical & Frost-Free Regions (KZN/Lowveld): Plant during the cooler autumn and winter months for the most luxurious foliage.
Winter Rainfall Regions (Western Cape): Spring and early autumn are ideal to avoid the wettest, coldest winter peaks.
Step 2: Selecting and Preparing the Site
Dill grows best when given a permanent, undisturbed home in the garden.
Sunlight: Pick a spot that enjoys a minimum of 6 hours of direct sunlight daily.
Wind Protection: Dill grows tall and top-heavy. Select a position sheltered from harsh, howling winds to prevent the fragile stalks from snapping.
Soil Requirements: Work organic compost deeply into loose, well-draining soil. Dill prefers a slightly acidic to neutral pH (5.5–6.5).
Step 3: Sowing the Seeds
Dill develops a long, delicate taproot system. Because of this, direct sowing into the ground or final pots is highly recommended, as transplanting frequently triggers early bolting.
Draw shallow rows in your soil exactly 5mm deep, keeping rows 30cm apart.
Lightly scatter the seeds along the row. Cover with a very thin layer of fine soil or compost.
Gently mist with water to avoid burying or washing away the shallow seeds. Keep the soil evenly moist until sprouts appear.
Tip: For a non-stop kitchen supply, sow a small new batch of seeds every 3 to 4 weeks throughout the growing season.
Step 4: Thinning and Spacing
Crowded dill plants will become weak and spindly.
Once your seedlings reach roughly 5cm to 8cm in height, thin them out by snipping the weaker sprouts at ground level.
Leave a final spacing of 20cm between plants to allow them to branch out beautifully.
Step 5: Essential Ongoing Care
Watering: Water regularly to maintain consistent soil moisture. If the soil dries out completely, the plant will panic, stop leaf production, and immediately bolt to seed.
Feeding: Dill is not a heavy feeder. If you amended your soil with compost, a light monthly dose of a nitrogen-rich liquid organic fertiliser is all it needs to stay lush.
Support: As the herb approaches its mature height of up to 1 metre, insert a thin bamboo stake next to the main stem to help support the heavy flower heads.
Step 6: Critical Companion Planting Rules
The Fennel Danger Zone: Never plant dill and fennel near each other. They will cross-pollinate easily, completely ruining the distinct flavours of both crops.
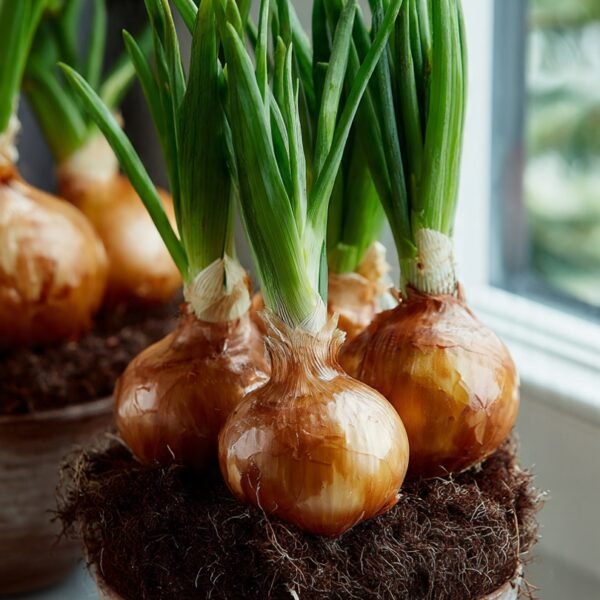
Great Companions: Plant dill next to broccoli, cabbage, lettuce, and onions.
Dill acts as a natural bodyguard by attracting predatory insects that feast on destructive garden aphids.
Step 7: Harvesting Dill Weed and Seeds
The Leaves: Start snipping the feathery fronds as soon as the plant is 15cm–20cm tall (around 40 days). Always leave at least two-thirds of the plant intact so it can regenerate.
The Seeds: To harvest seeds, allow the plant to produce its golden umbrella-shaped flowers. Once the blooms fade and the flat seeds turn completely brown, cut the entire seed head off and hang it upside down inside a brown paper bag to catch the falling seeds.


Reviews
There are no reviews yet.