How to Grow Peony Poppies from Seed: The Complete South African Guide
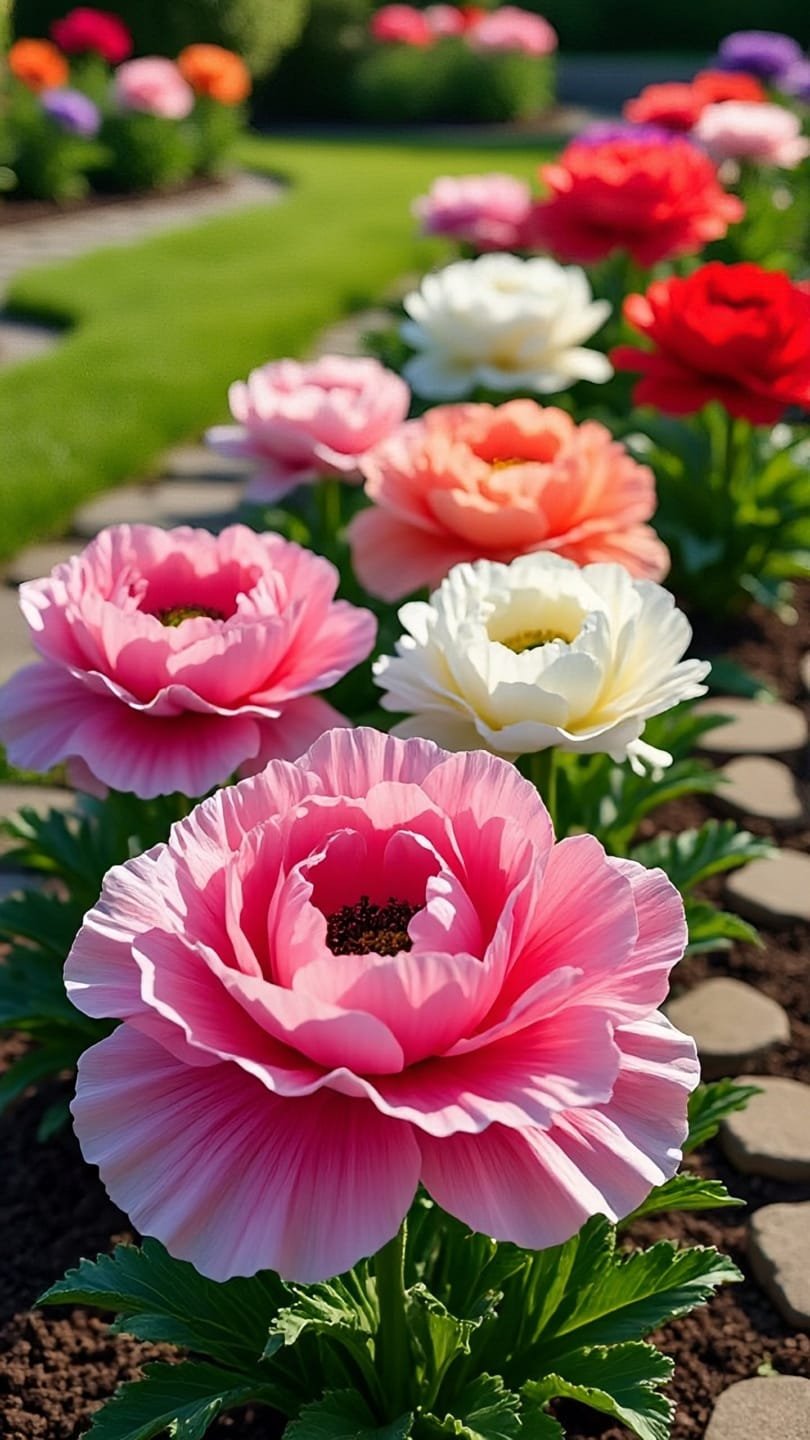
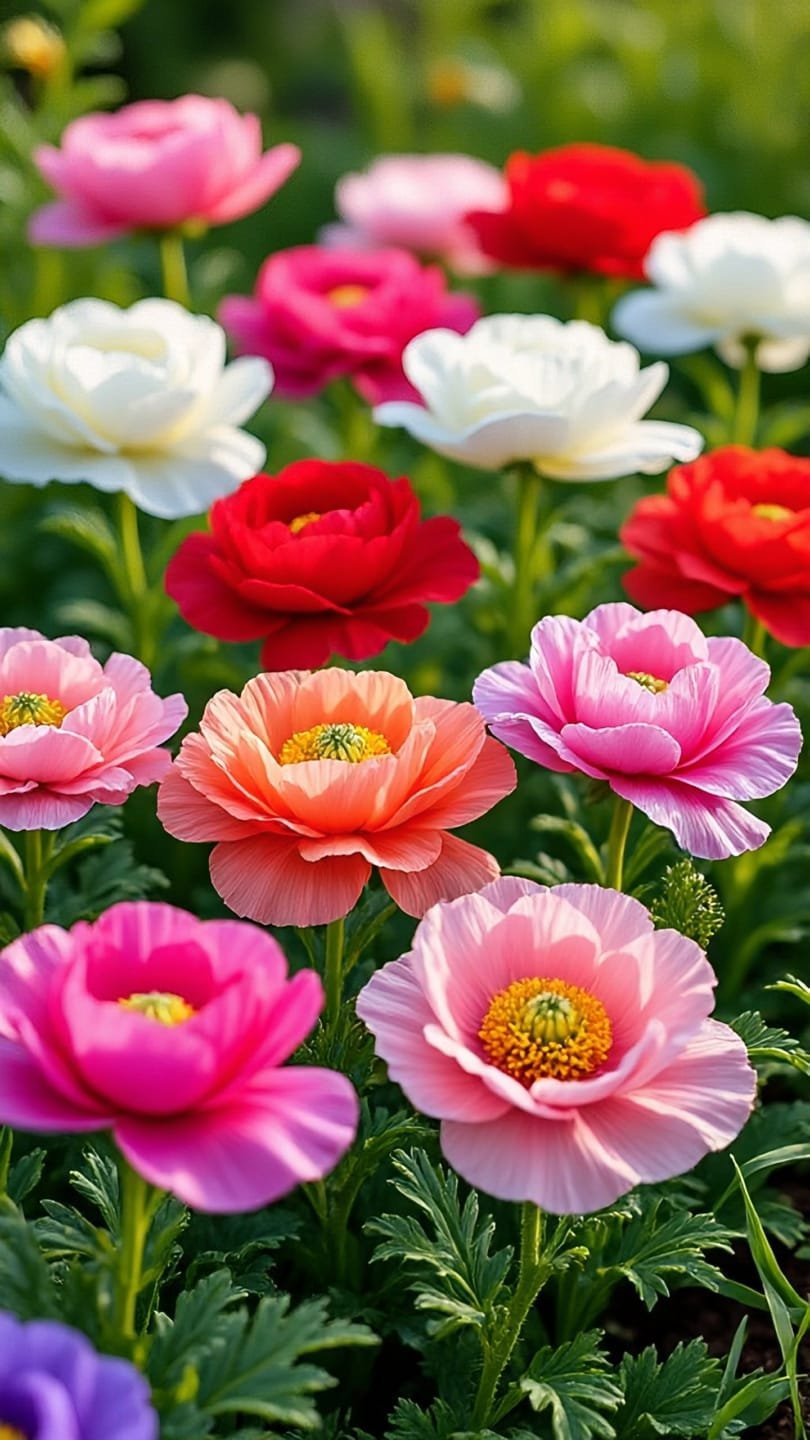
Peony Poppies (Papaver paeoniflorum) are a show-stopping addition to any South African garden.
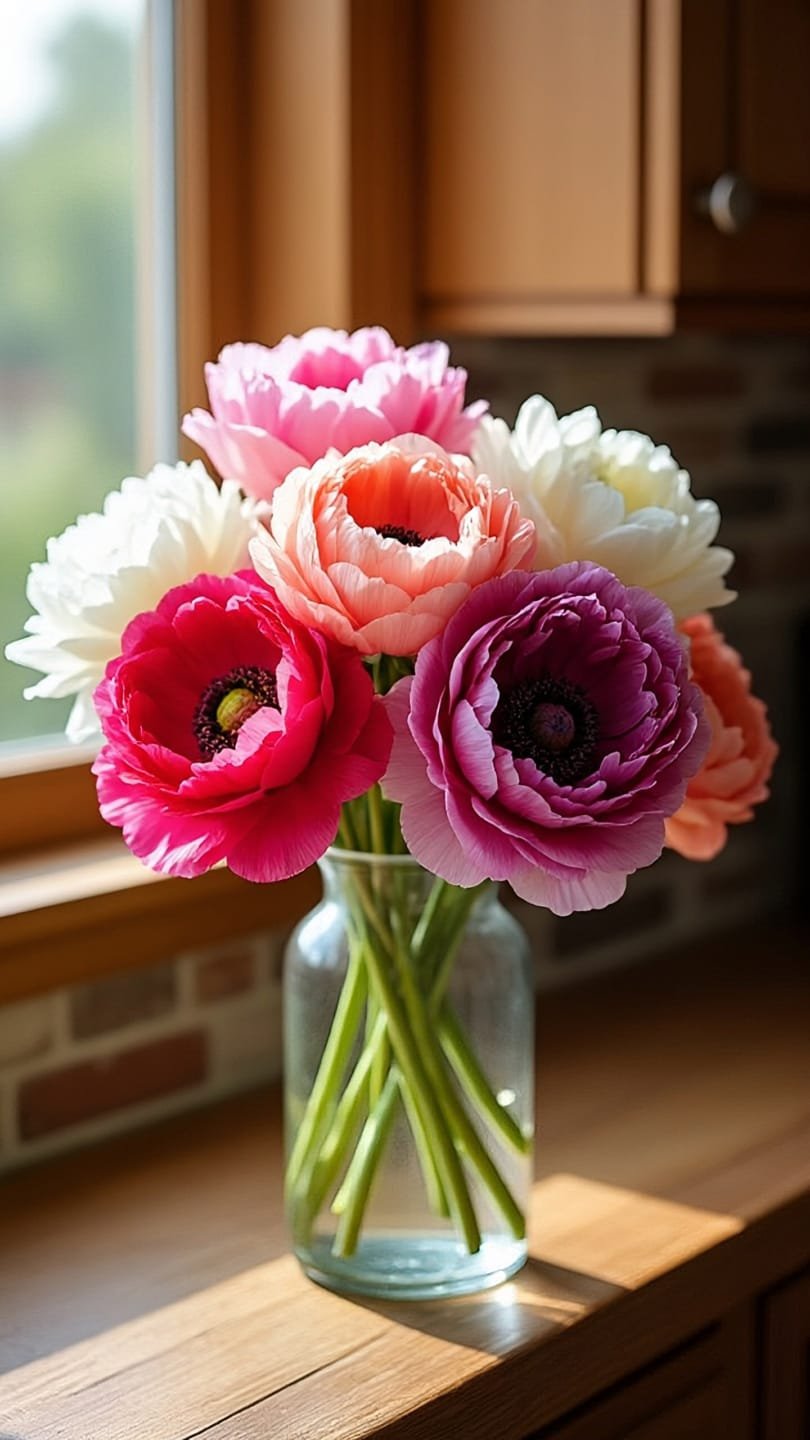
With their massive, fluffy, double-petaled blooms, they offer the lush look of classic peonies but thrive beautifully in our local climate.
Because poppies have sensitive root systems, they dislike being transplanted. For the best results, follow this simple guide to sow your heirloom, non-GMO seeds directly into your garden beds.
1. When to Plant Peony Poppies in South Africa
Timing is everything. Poppies need cool soil temperatures to germinate and warm, sunny days to flower.
Best Sowing Window: Autumn to early spring (April to September).
Summer Rainfall Areas (e.g., Highveld): Sow in autumn (April/May) so the plants can establish strong roots during the cooler, dry months before blooming in late spring.
Winter Rainfall Areas (e.g., Western Coast): Sow in autumn or early winter to take full advantage of the natural seasonal rains.
2. Choosing the Perfect Location
Sunlight: Select a position that receives full sun (at least 6 to 8 hours of direct sunlight daily).
Soil: Poppies require well-draining soil. They will rot in heavy, waterlogged clay. Sandy loam or rich, loose garden soil is ideal.
Wind Protection: Because these plants can grow up to 1 metre tall with heavy blooms, pick a spot shielded from harsh, howling winds.
3. Preparing your Garden Bed
Clear the Area: Remove all weeds, stones, and old plant debris.
Loosen the Soil: Dig up the soil to a depth of about 20cm to ensure it is nice and loose.
Add Compost: Mix in a generous layer of organic compost to improve drainage and add natural nutrients. Do not add heavy chemical fertilizers, as poppies prefer lean to moderately fertile soils.
Rake Smooth: Rake the bed until the surface consists of fine, crumbly soil.
4. Step-by-Step Sowing Instructions
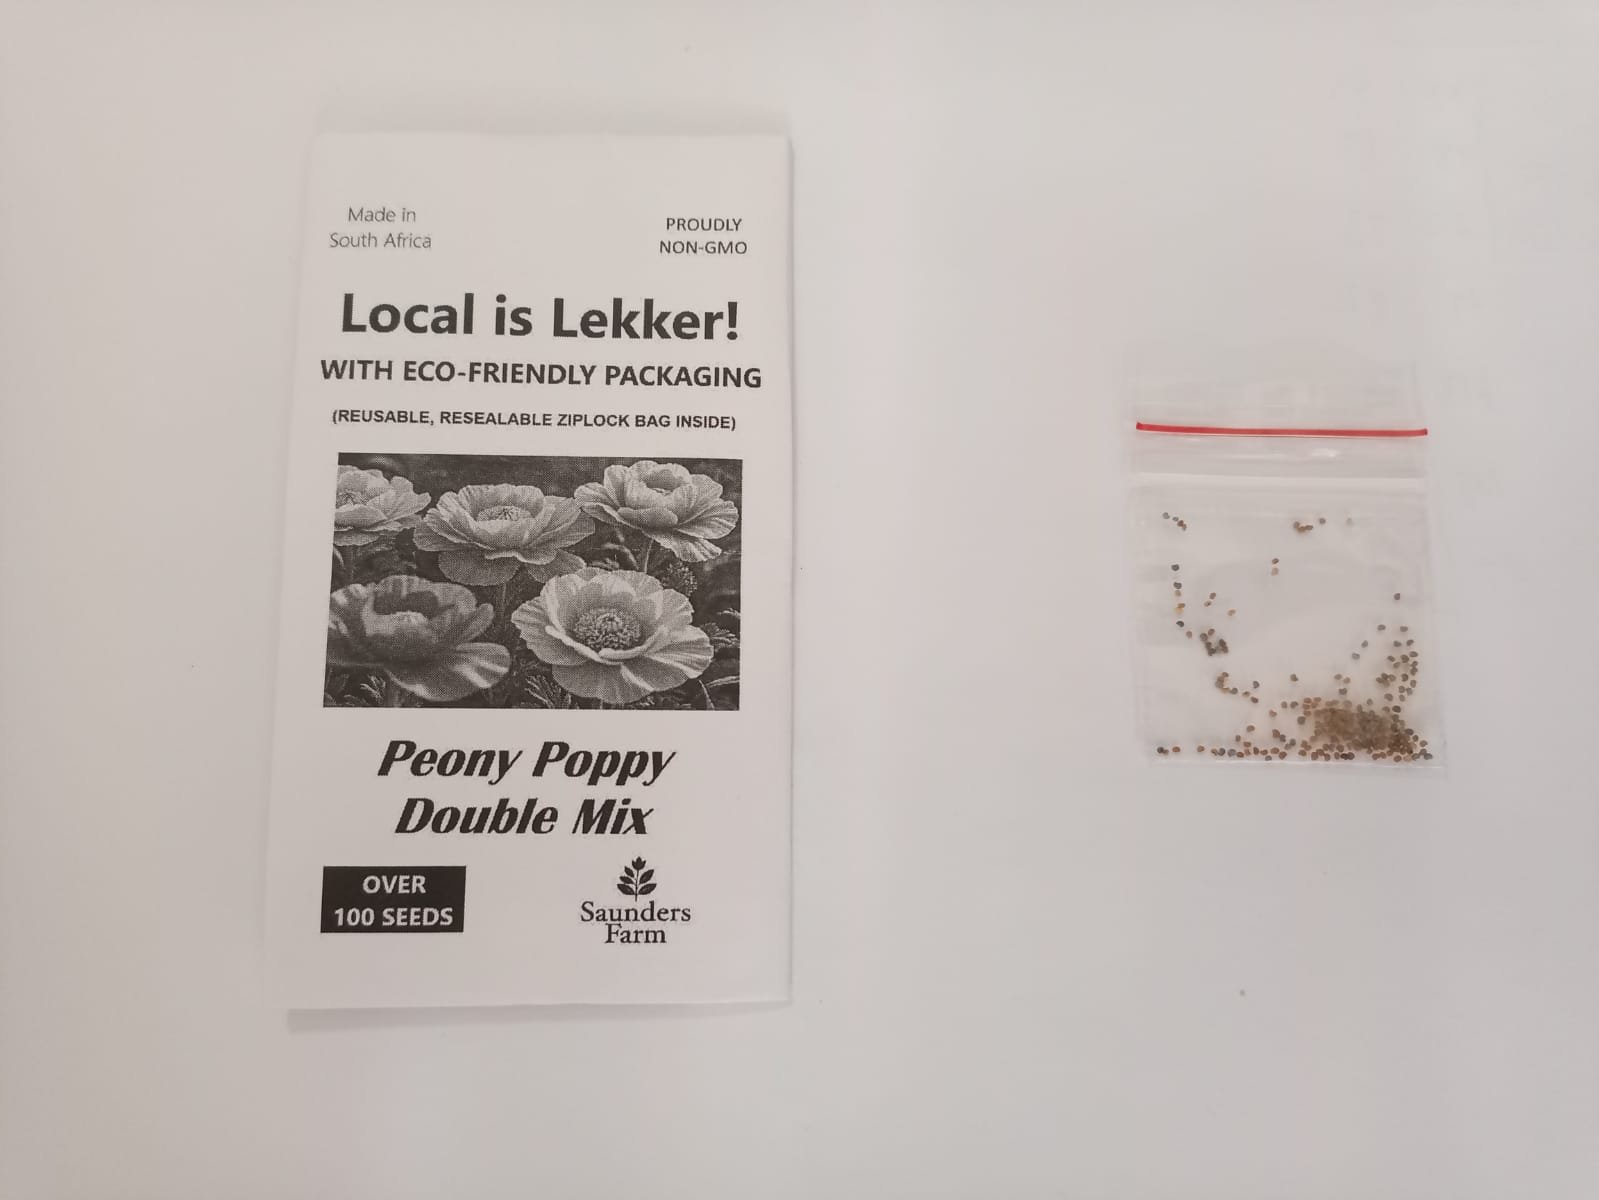
Each of our premium seed packs contains over 100 seeds, giving you plenty of opportunities to create a dense, dramatic floral display.
Step 1: Mix with Sand (Optional): Peony poppy seeds are incredibly tiny. To ensure even spacing, mix your seeds with a handful of fine horticultural sand.
Step 2: Scatter Surface-Wide: Broadcast the seed and sand mixture evenly across your prepared garden bed.
Step 3: Press, Don’t Bury: Do not cover the seeds with soil. Peony poppy seeds require light to trigger germination. Simply press them gently into the soil using your hands or a flat board so they make good contact with the earth.
Step 4: Mist Gently: Use a spray bottle or a hose with a fine mist setting to water the area. A heavy stream of water will wash the tiny seeds away.
5. Care and Maintenance
Germination: Expect seedlings to emerge within 10 to 21 days, depending on soil temperatures. Keep the soil consistently damp (but not soggy) during this time.
Thinning Out: Once seedlings reach about 5cm tall, thin them out to stand roughly 20cm to 30cm apart. This prevents overcrowding and results in larger, healthier blooms.
Watering: Once established, poppies are relatively water-wise. Water moderately during dry spells, focusing on the base of the plant to keep the foliage dry.
Staking: If your poppies are tall and top-heavy with massive double blooms, drive a small bamboo stake into the ground nearby and tie the stem loosely with soft twine.
6. Harvesting and Seed Collection
The Bloom Stage: Enjoy the spectacular floral show in spring and early summer. Bees and butterflies will flock to your garden!
Post-Bloom Pods: When the petals drop, they leave behind gorgeous, architectural seed pods. You can leave these on the plant to dry out naturally.
Next Year’s Flowers: Once the dried pods develop tiny open vents at the top, shake them over your garden bed to self-sow for next season, or collect them to store in a cool, dry place




Reviews
There are no reviews yet.