The Complete Onion Growing Guide: From Seed to Harvest in South Africa
Onions are a rewarding, high-yield crop that forms the foundation of South African cooking.
While they require a bit of patience, growing your own onions from seed ensures a steady supply of flavorful, nutrient-dense bulbs that store well for months.
📅 Quick Reference Overview
- Best Planting Window: March to May (Autumn across most provinces)
- Sunlight: Full Sun (6 to 8 hours minimum per day)
- Soil Type: Loose, fertile, well-draining sandy loam
- Soil: pH6.0 to 7.0 (Slightly acidic to neutral)
- Germination Time: 7 to 12 days
- Days to Maturity: 150 to 180 days
Understanding South African Onion Types
Before planting, it is crucial to understand that onions are highly sensitive to day length (photoperiod).
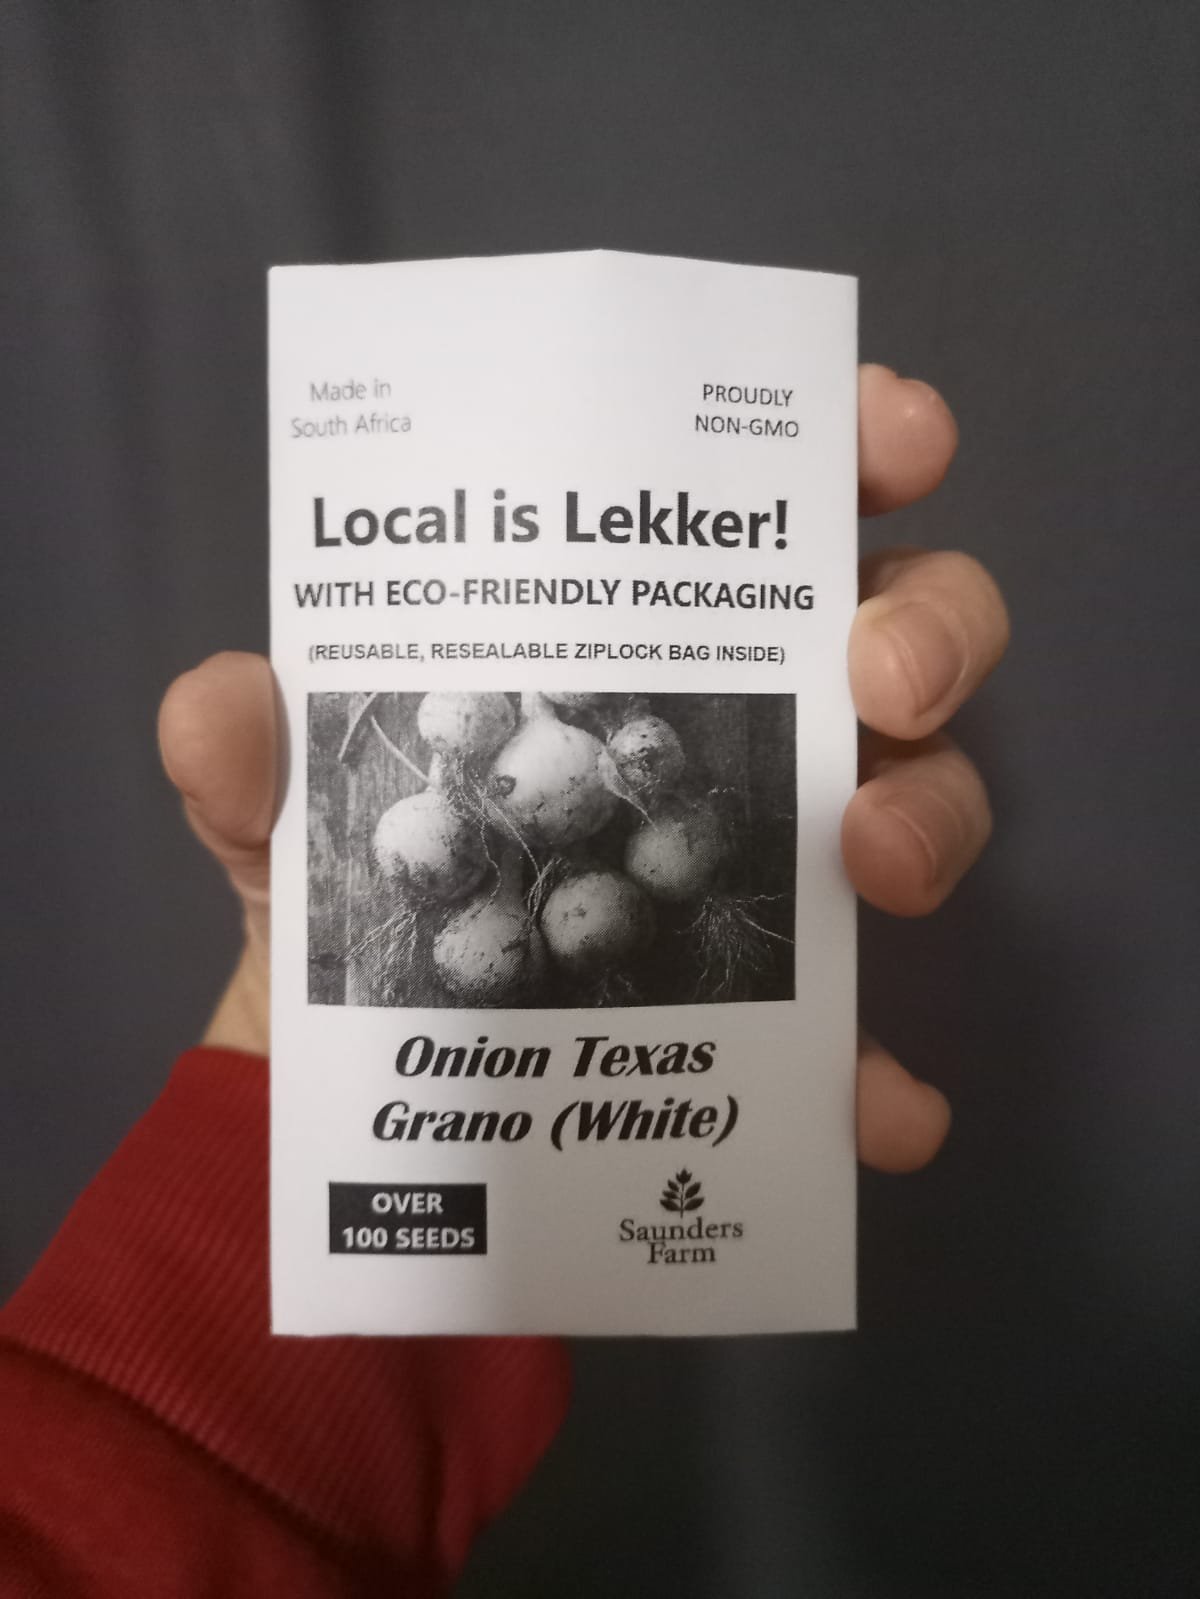
South Africa primarily requires Short-Day Onion Varieties (such as Texas Grano).
These varieties require 11 to 12 hours of daylight to trigger bulb formation, making them perfect for our autumn planting and spring/summer harvesting schedule.
Step 1: Soil Preparation (The Golden Rule)
Onions are shallow-rooted plants that struggle in compacted, heavy clay soils or stony grounds.
Loosen the Soil: Dig the bed down to a depth of 20cm, removing all rocks, weeds, and debris.
Add Organic Matter: Mix in generous amounts of well-rotted compost. Do not add fresh manure, as excess nitrogen forces lush leaf growth at the expense of bulb development.
Ensure Drainage: If your garden has heavy soil, construct raised beds to improve drainage and prevent root rot.
Step 2: Sowing Seeds in Trays (March – May)
Starting onions in seed trays or a dedicated nursery bed is highly recommended for the best survival rate.
Fill and Sow: Fill your seed trays with a fine, sterile seed-starting mix. Press seeds 5mm to 10mm deep into the soil.
Watering: Mist the trays gently with a spray bottle to keep the soil evenly moist but never soggy.
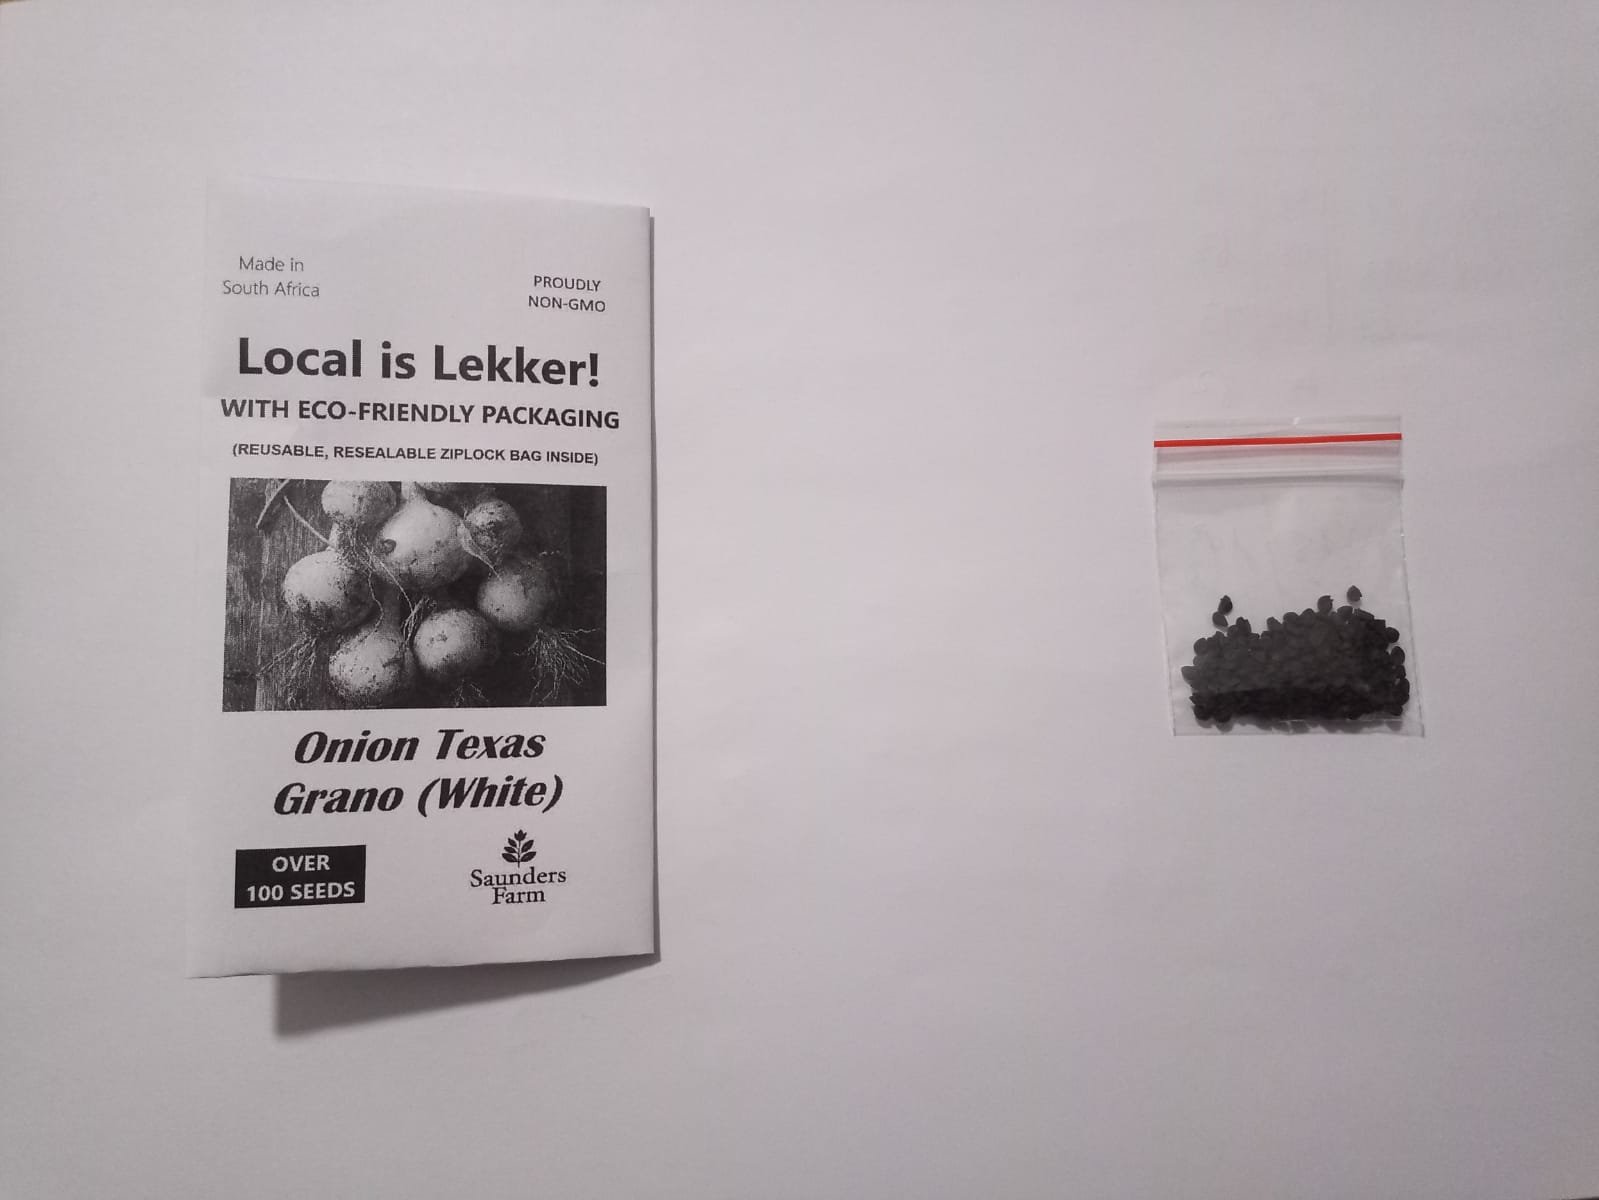
Yield Planning: High-quality seed packs generally contain over 100 seeds, allowing home gardeners to plant multiple trays to secure an abundant harvest.
Step 3: Seedling Care and Trimming
Thinning: If multiple seedlings sprout close together, thin them to prevent crowding.
The Secret Haircut: When seedlings reach 12cm to 15cm in height, use clean garden scissors to snip the top 3cm off the leaves. This prevents them from becoming floppy, strengthens the root system, and forces thick, sturdy stems.
Step 4: Transplanting into the Garden
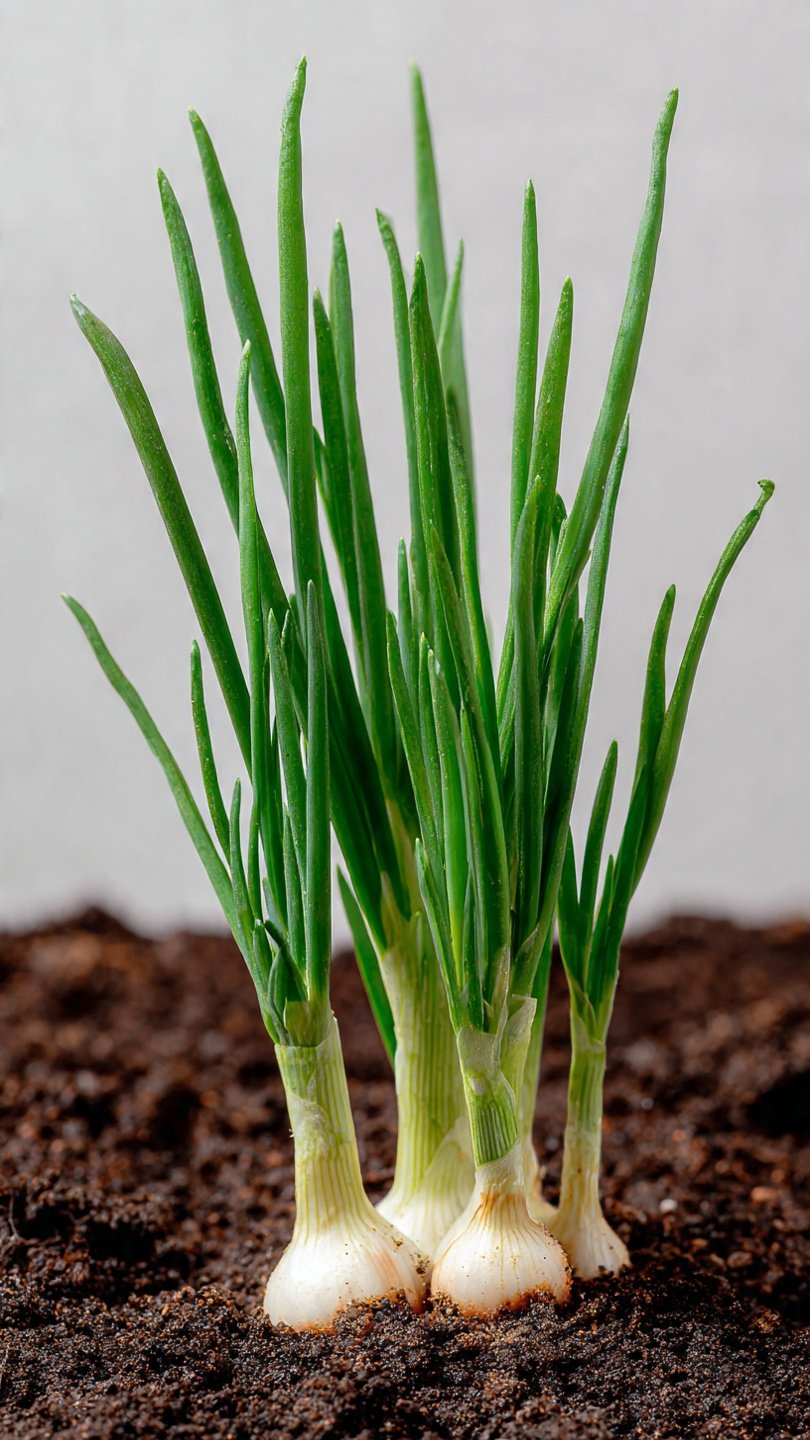
Seedlings are ready to move to their permanent home about 6 to 8 weeks after sowing, or when the stems reach roughly the thickness of a pencil.
Lifting: Carefully tease the seedlings out of the tray, keeping the roots intact.
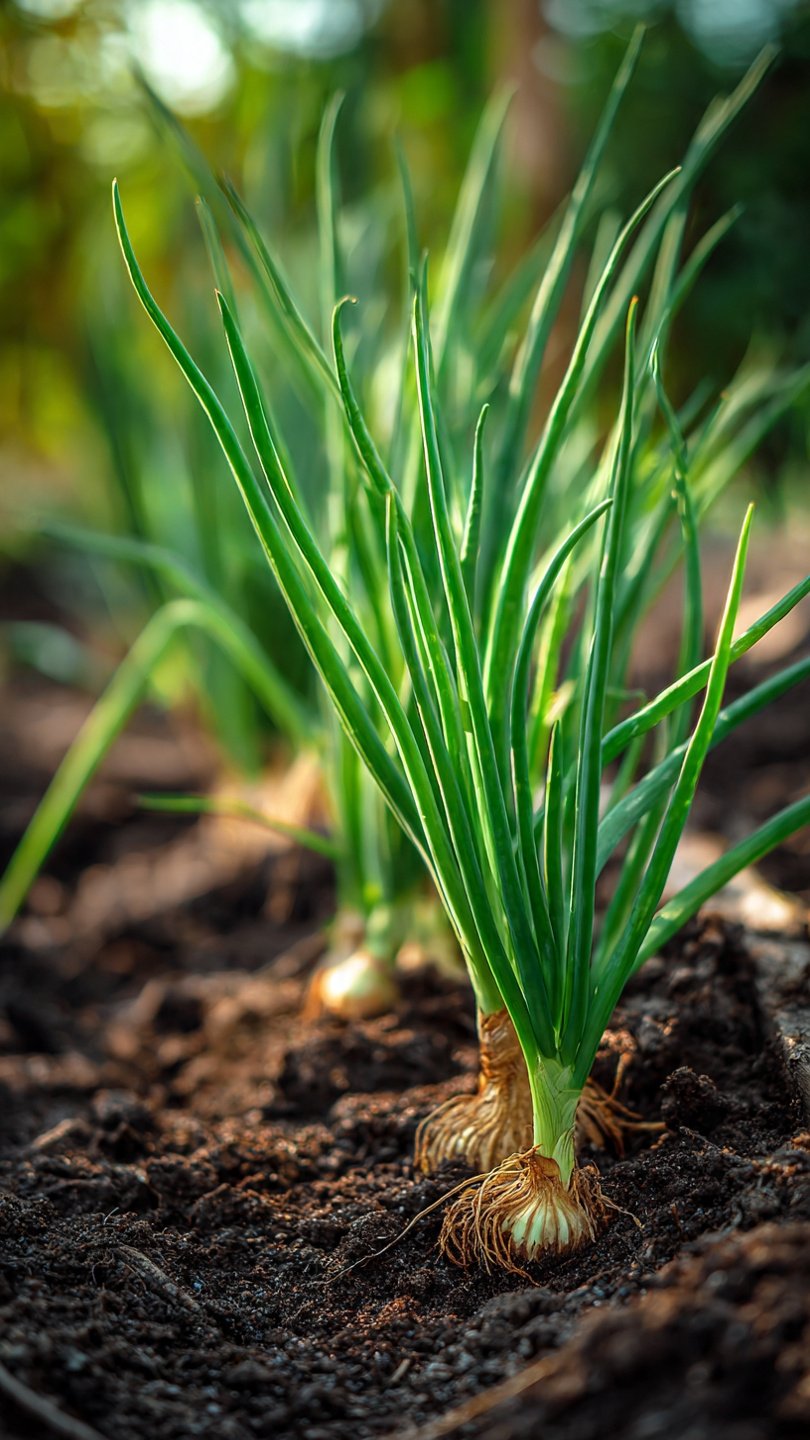
Planting Depth: Plant seedlings shallowly—only about 2cm deep. Planting them too deep will restrict the bulb from expanding properly.
Spacing: Space individual seedlings 10cm apart in rows that are 25cm to 30cm apart. This leaves enough room for large bulbs to swell.
Step 5: Ongoing Care and Maintenance
Watering: Because onion roots are shallow, they cannot forage deep for water. Provide roughly 25mm of water per week. Water consistently, as uneven watering causes bulbs to split.
Weeding: Onions have thin leaves that offer zero shade to suppress weeds. Hand-weed your beds meticulously. Avoid using heavy garden hoes near the plants, as you can easily slice the shallow roots.
Feeding: Apply an organic, potassium-rich liquid fertilizer every 3 to 4 weeks to support bulb expansion. Stop all fertilizing as soon as you notice the soil starting to crack open around the swelling bulbs.
Step 6: Harvesting, Curing, and Storage
The Signal: When the onion tops turn yellow, dry out, and naturally bend over toward the ground, the bulbs are mature.
Lifting: Choose a dry, sunny day. Use a garden fork to gently pry the bulbs out of the soil.
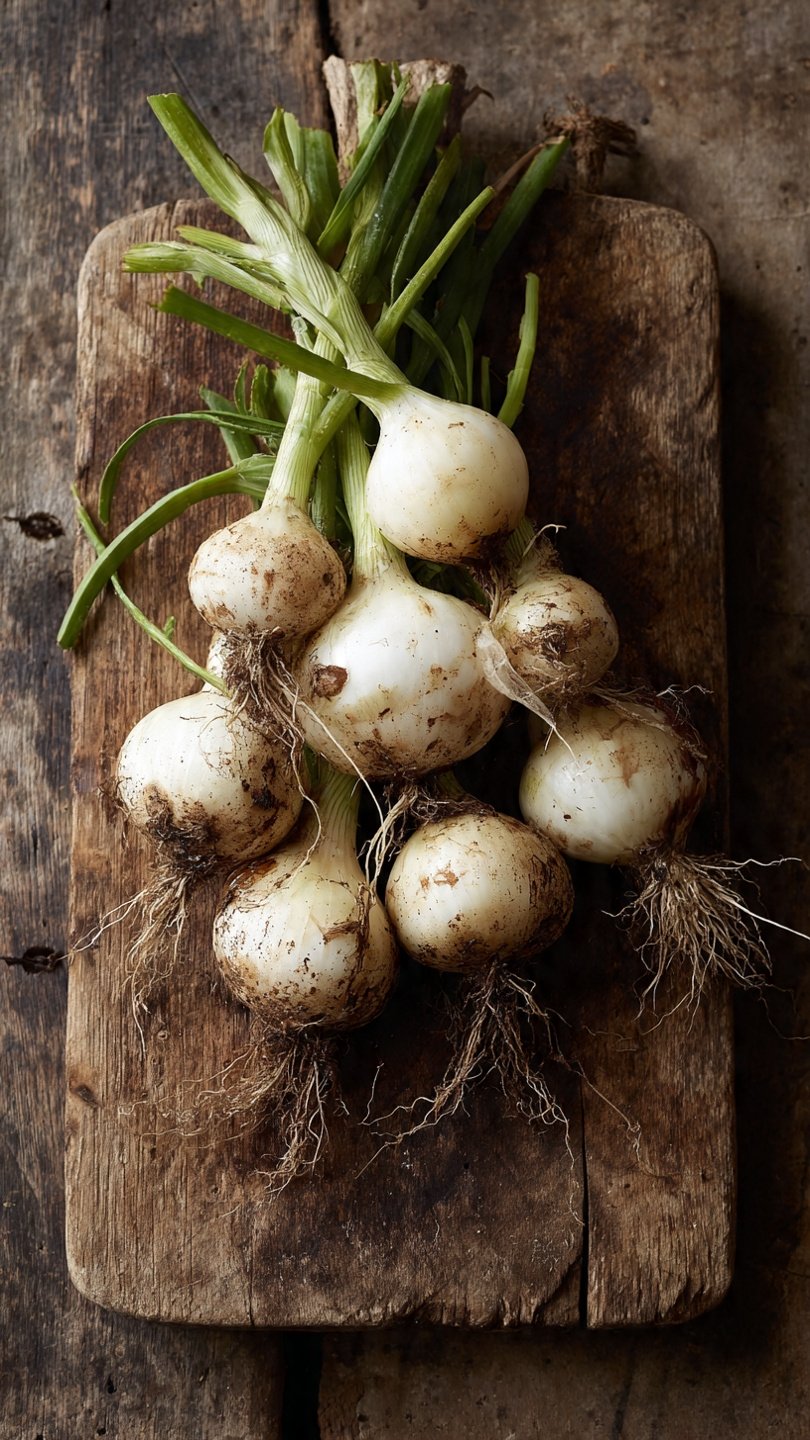
Curing: Do not store them immediately. Lay the harvested onions out in a warm, dry, shaded, and well-ventilated area for 2 to 3 weeks. They are fully cured when the outer skins become papery and the roots feel brittle.
Storage: Trim the dried leaves (or braid them together) and store the onions in breathable mesh bags or slatted crates in a cool, dark, dry pantry.


Reviews
There are no reviews yet.