Petunia Growing Guide: From Seed to South African Summer Bloom
Petunias are the undisputed royalty of the South African summer garden. Renowned for their non-stop blooming cycle, heat tolerance, and spectacular trumpet-shaped flowers, they add vibrant life to any outdoor space.
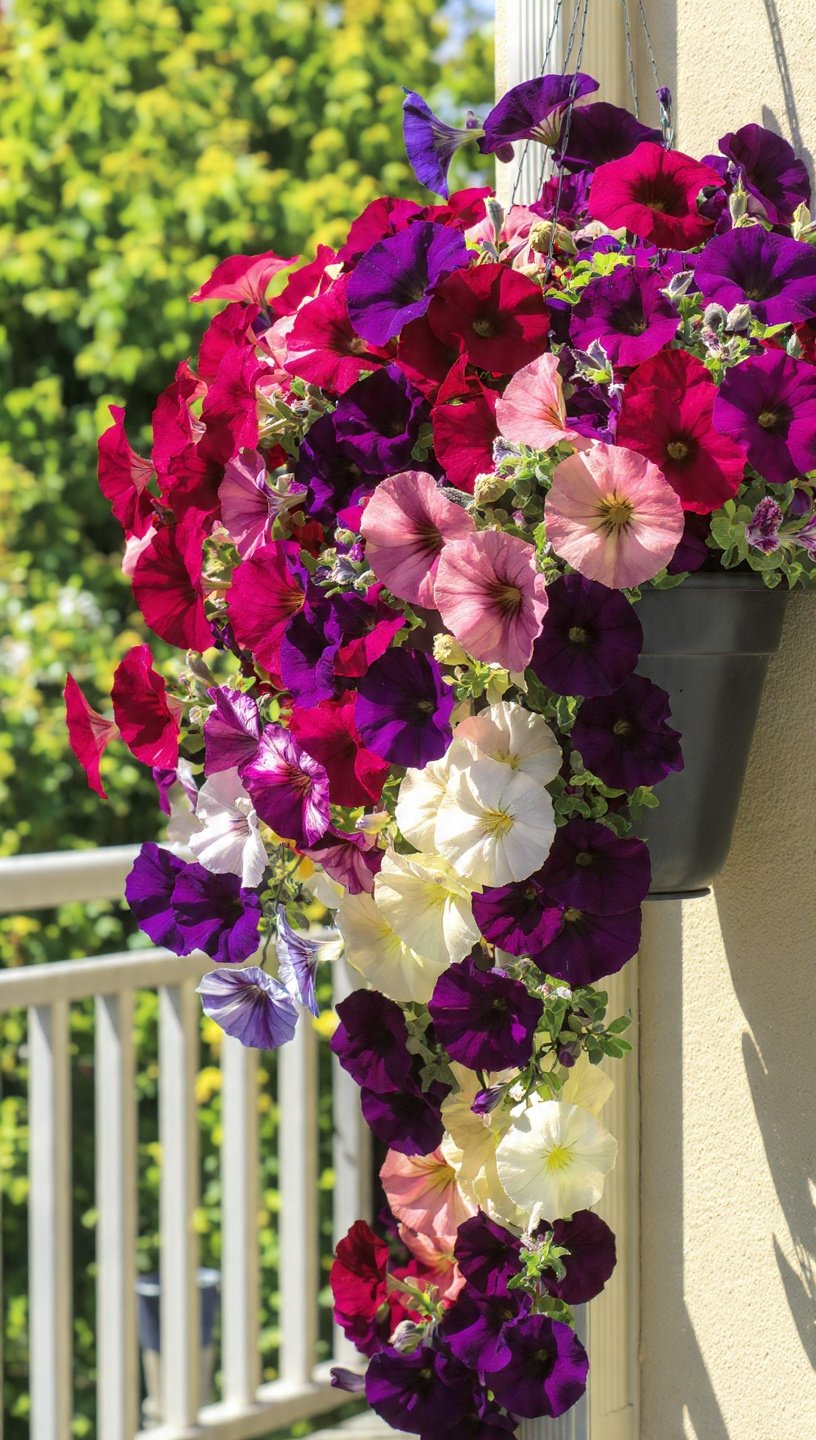
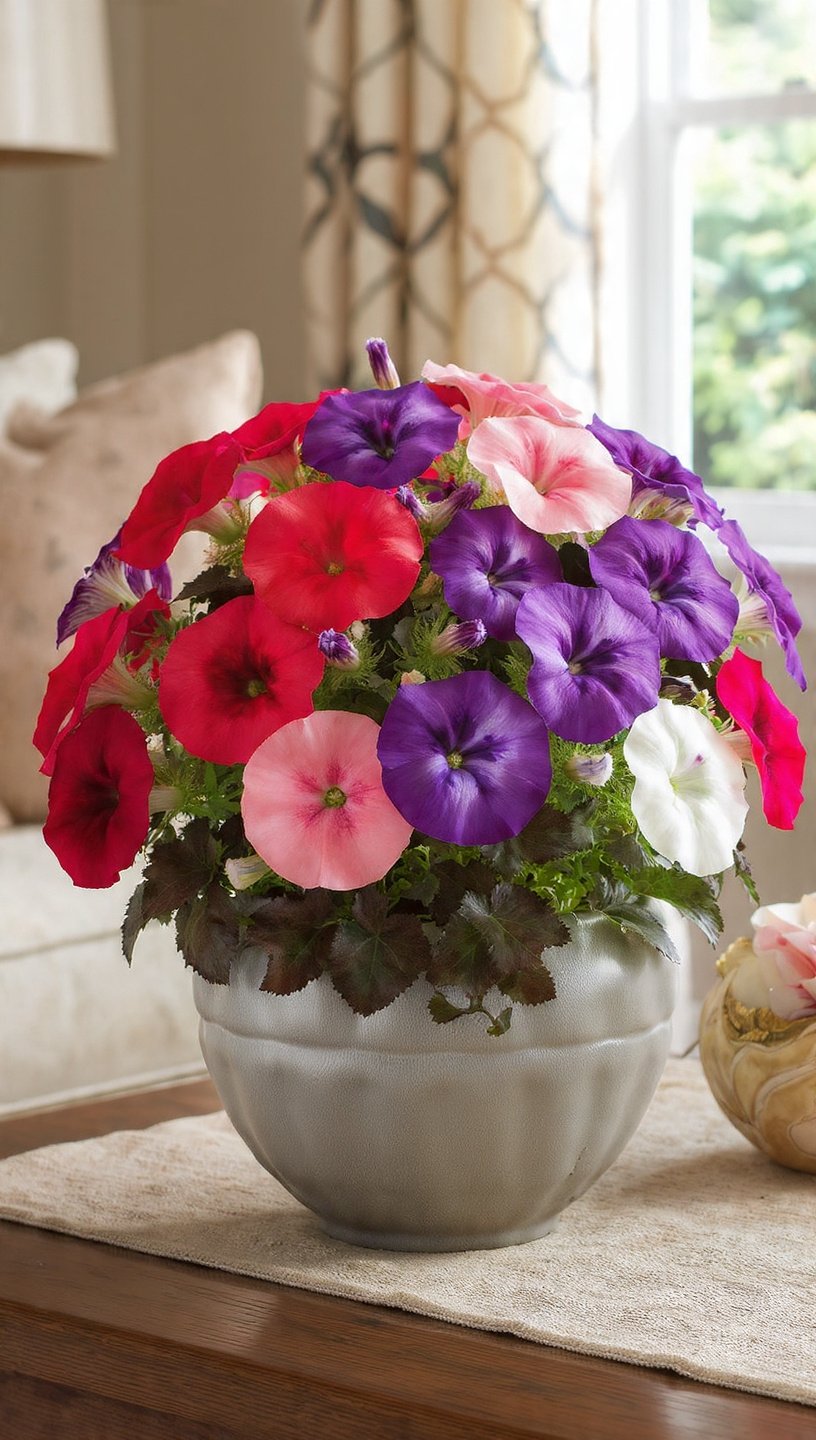
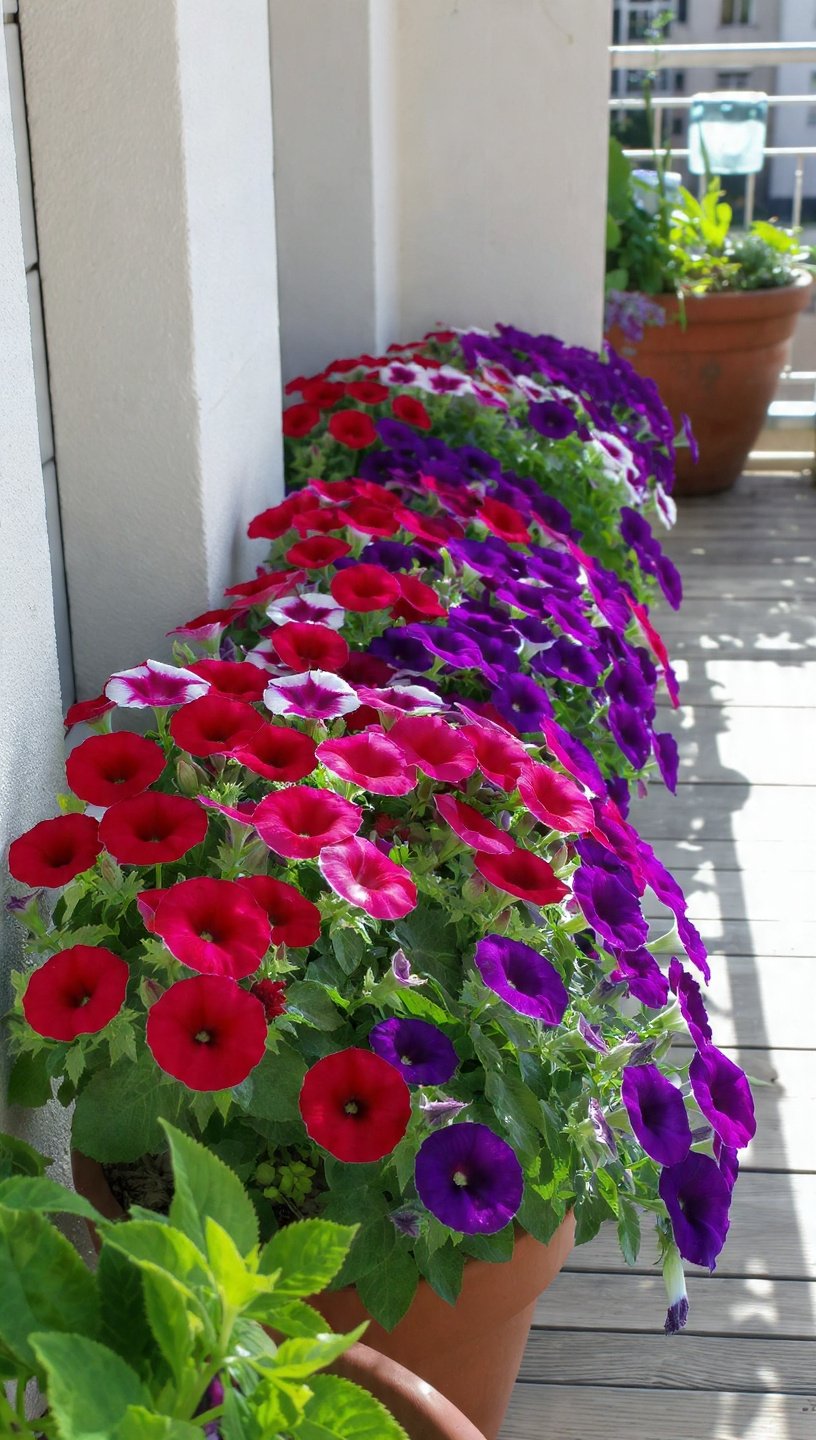
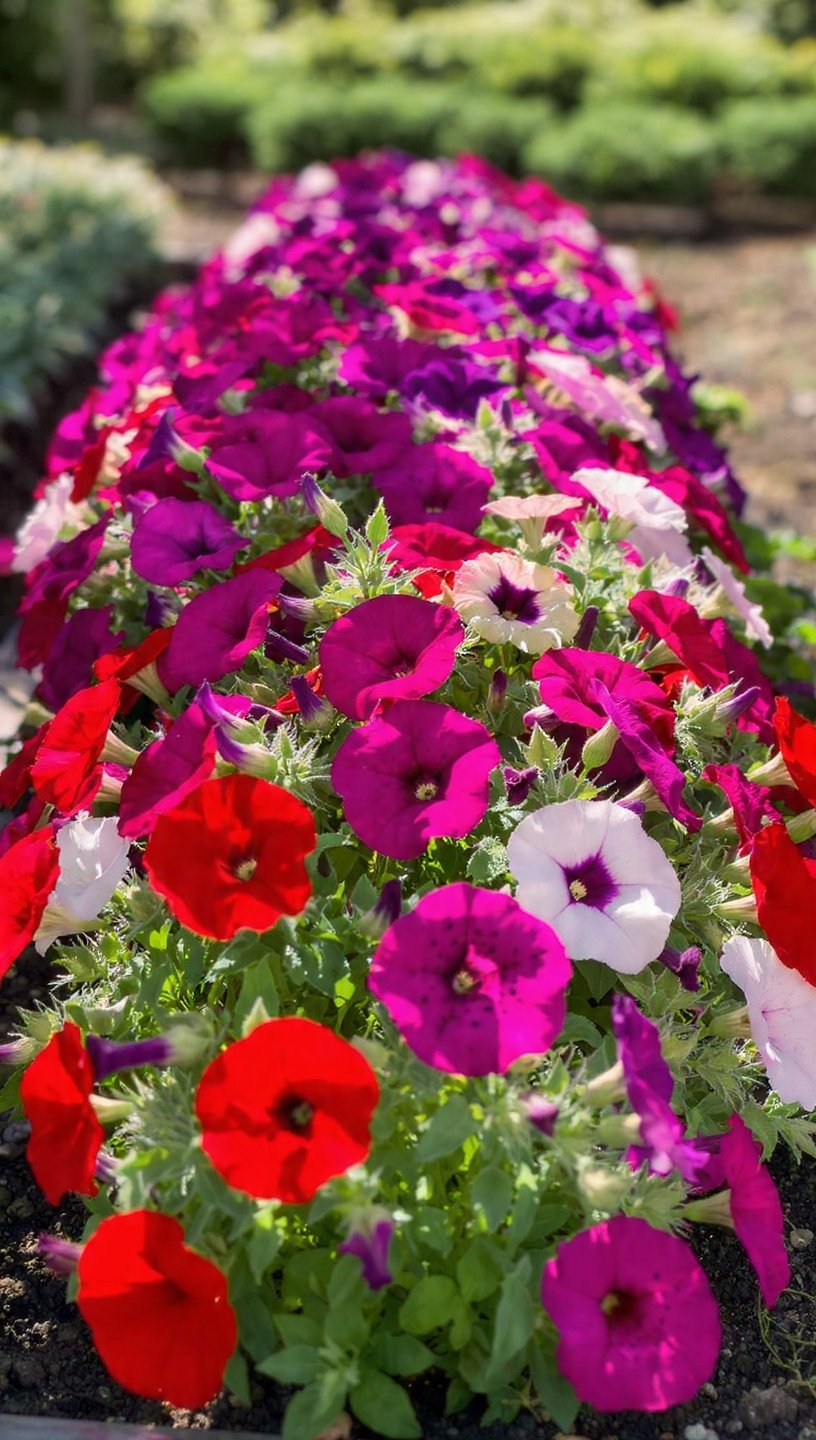
Heirloom blends like our Crown Jewels Mix deliver a breathtaking tapestry of rich crimsons, deep purples, velvet pinks, and crisp whites.
Whether you want to cascade color over a hanging basket on a sunny patio or create a dense, weed-suppressing groundcover in your garden beds, this definitive guide provides all the practical information you need to succeed.
Quick Reference Facts
Botanical Name: Petunia × hybrida
Plant Type: Tender perennial grown as a summer annual
Sun Exposure: Full sun (minimum 6 hours of direct sunlight daily)
Soil Requirements: Loose, rich, well-draining potting mix or garden soil
Ideal Soil pH: Slightly acidic to neutral (6.0 to 7.0)
Sowing Depth: Surface sow (do not cover with soil)
Germination Time: 7 to 14 days
Spacing: 20cm to 25cm apart
Time to Flower: 10 to 12 weeks from sowing
When to Plant Petunias in South Africa
Petunias love hot weather but hate frost. Getting your timing right depends entirely on your local climate:
Inland Frost Regions (Gauteng, Free State, Highveld): Start your seeds indoors or in a protected greenhouse area during winter (June to July) to get a massive head start. Alternatively, sow them directly outdoors in spring (September to October) once all danger of frost has passed.
Winter Rainfall Regions (Western Cape): Sow seeds indoors from late winter onwards. Move them out into the garden from mid-spring when the rainy season transitions into warm, sunny weather.
Subtropical Regions (KwaZulu-Natal coast, Limpopo): Plant out during the milder winter and early spring months to enjoy peak blooms before the overwhelming mid-summer humidity sets in.
Step 1: Choosing Your Growing Method
Because petunia seeds are exceptionally tiny, sowing them directly into open garden beds can be risky, as wind and heavy rain can easily wash them away.
For the absolute highest success rates, we highly recommend starting them in seedling trays before transplanting.
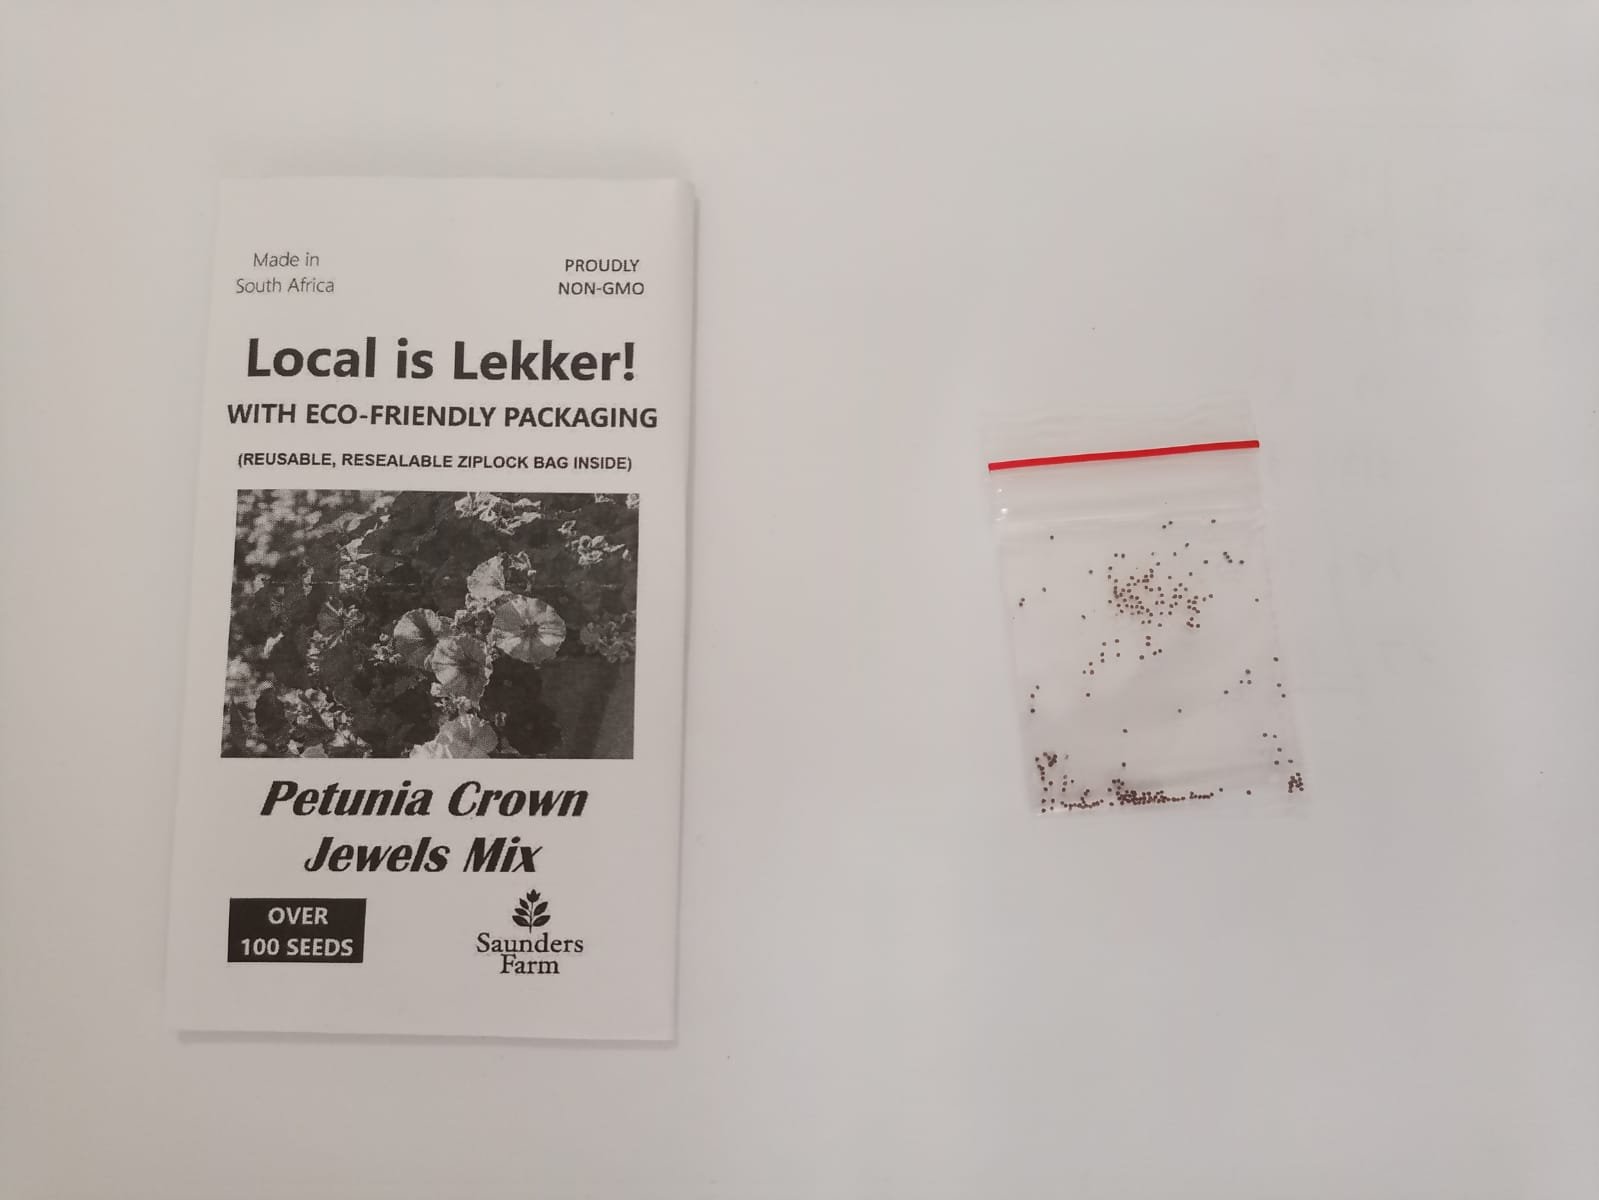
Note: Since our premium heirloom packs contain over 100 seeds, you will have more than enough seeds to fill multiple trays and create a massive garden display.
Step 2: Preparing the Seedling Trays
Select a clean seedling tray or small seed pots with ample drainage holes.
Fill the containers with a fine-textured, premium seed-starting mix. Avoid heavy garden soil, which compresses easily and smothers tiny roots.
Pre-water the soil mix thoroughly until it is evenly damp but not muddy. Let any excess water drain out completely.
Step 3: Sowing the Seeds (The Light Secret)
The most important rule when growing petunias from seed is that the seeds require light to trigger germination.
Sprinkle the tiny seeds carefully across the surface of the damp soil. Try to space them out evenly.
Do not bury or cover the seeds with soil. Instead, press them down very gently using your fingertip so they make secure contact with the moist growing medium.
Mist the surface very gently with a water spray bottle set to a fine setting.
Step 4: Managing Germination Moisture
Cover Up: Cover your seed tray with a clear plastic dome or a sheet of plastic wrap to trap humidity and keep the surface from drying out.
Warmth and Light: Place the tray in a warm spot (ideally between 21°C and 24°C) that receives bright, indirect light. Avoid direct, scorching midday sun at this stage.
Patience: Keep the soil consistently damp using your spray bottle. Your petunia seeds will start to sprout within 7 to 14 days.
Uncover: Remove the plastic cover immediately the moment you notice the first green shoots emerging to prevent fungal damping-off.
Step 5: Caring for Young Seedlings
Prevent Legginess: Move the uncovered sprouts to an exceptionally bright windowsill or under grow lights. If they do not receive enough light, they will grow tall, thin, and weak.
Feeding: Once the seedlings develop their second set of true leaves, feed them once a week with an organic, water-soluble liquid fertilizer diluted to half-strength.
The “Pinch” Trick: When your young petunia plants reach about 5cm to 8cm tall, pinch off the very top growing tip. This stimulates the plant to branch out horizontally, ensuring a compact, bushy plant that produces double the amount of flowers later on.
Step 6: Transplanting into the Garden
Before planting your indoor-raised seedlings into the harsh sun, you must “harden them off.”
Place the trays outdoors in a sheltered, shady spot for a few hours a day, gradually increasing their exposure to direct sunlight and wind over the course of a week.
In Garden Beds: Turn over the soil deeply and mix in plenty of rich organic compost. Space the petunias 20cm to 25cm apart to allow them to weave together into a dense floral mat.
In Pots & Hanging Baskets: Use a premium, free-draining potting soil mixed with a handful of organic, slow-release fertilizer granules.
Step 7: Ongoing Care for Continuous Blooming
Watering Rules
Water your petunias deeply at the root zone once or twice a week during summer. Avoid overhead watering, as wet flowers can turn mushy and become susceptible to fungal diseases.
Keep in mind that hanging baskets and terracotta pots dry out rapidly in the South African summer heat and may require daily watering.
Deadheading (Pinching Faded Blooms)
To keep your petunias blooming continuously for months, you must deadhead them regularly. This means pinching or snipping off faded, withered flowers along with the tiny green base stem beneath them.
This stops the plant from wasting energy producing seeds and forces it to constantly push out fresh flower buds.
The Mid-Summer Trimming Lifeline
By January or February, petunias can sometimes look a bit straggly, long, or woody. Do not be afraid to give them a hard pruning!
Cut the long stems back by half, apply a generous dose of organic liquid fertilizer, and water deeply.
Within two weeks, your plants will bounce back with lush new green growth and an abundant fresh flush of colorful blooms that will last until winter.

Reviews
There are no reviews yet.