The Ultimate Brussel Sprouts (Brassica oleracea) Growing Guide for South Africa
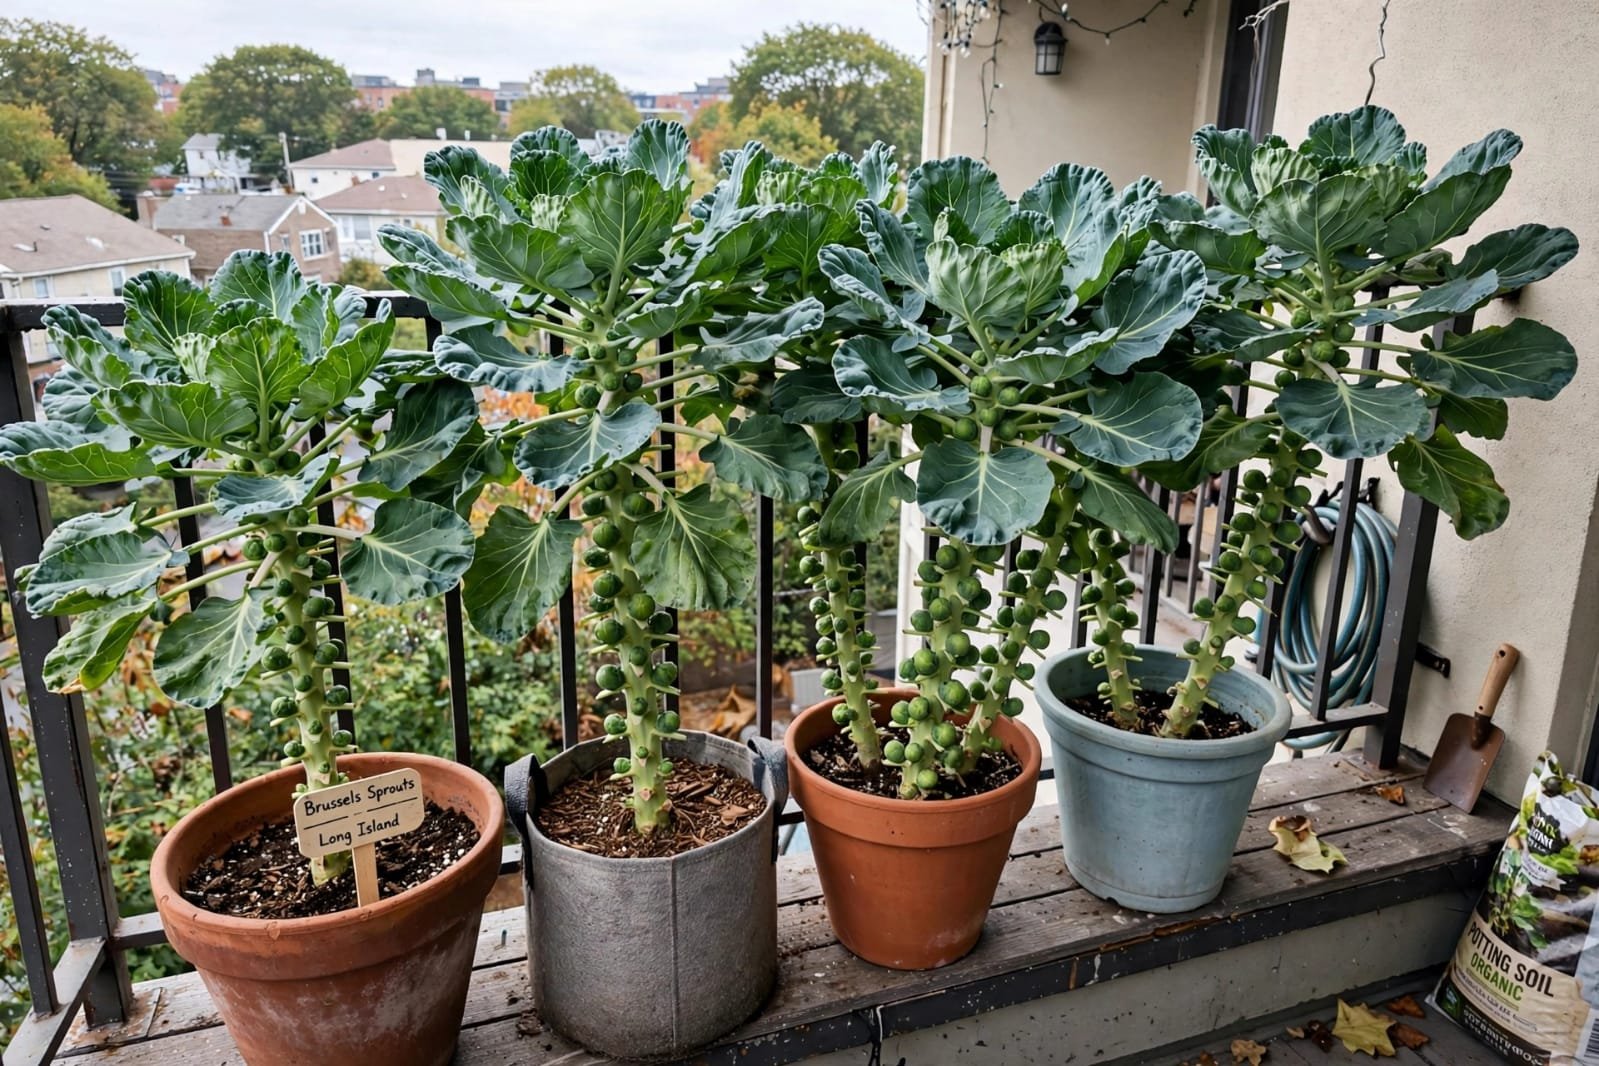
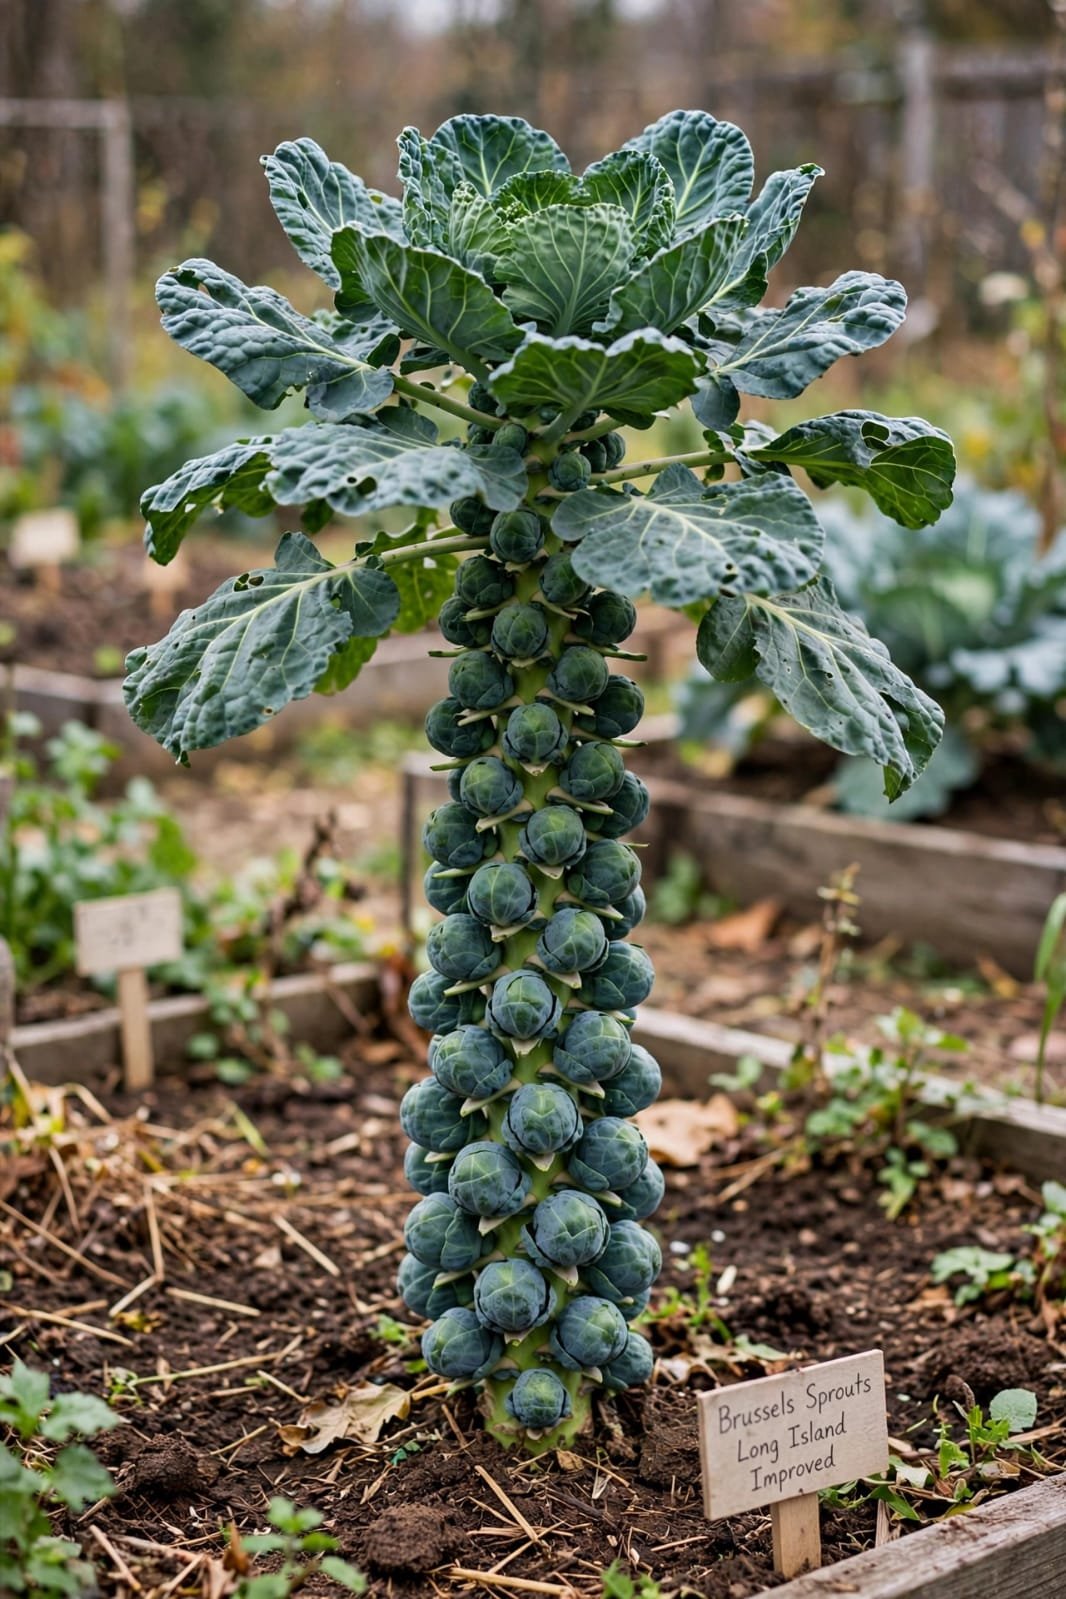
Growing Brussel Sprouts (Long Island Improved) from seed is one of the most rewarding winter projects for South African vegetable gardeners.
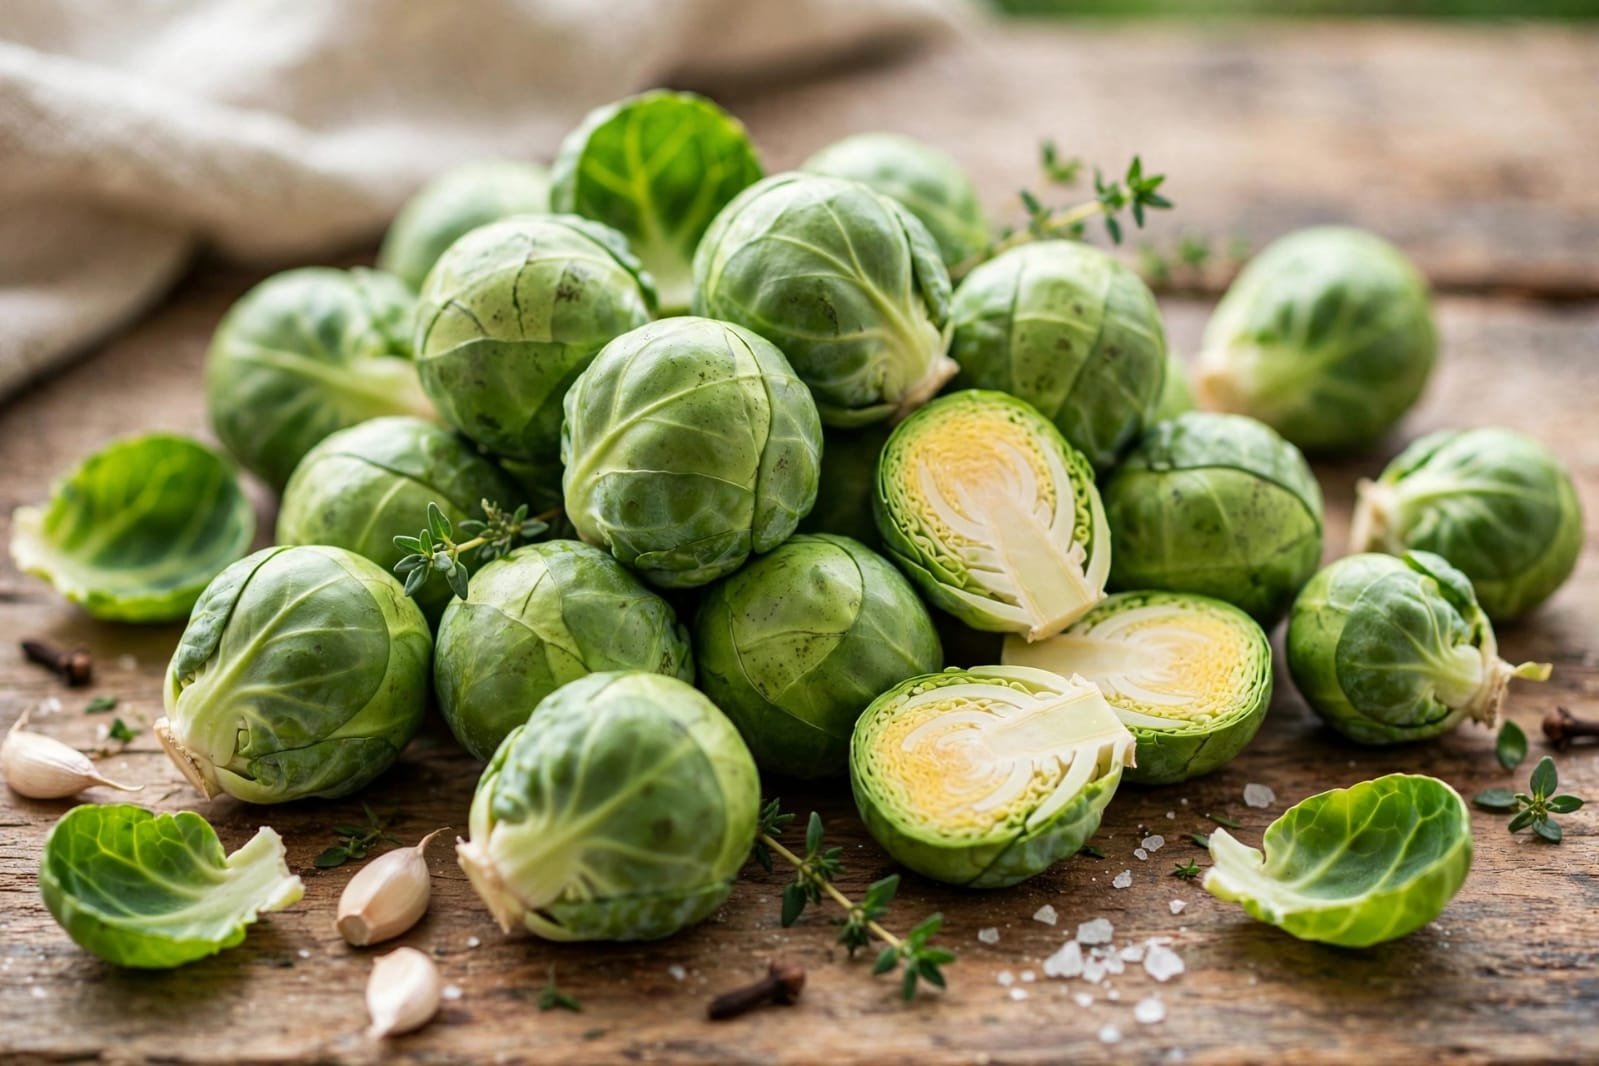
Known for producing heavy yields of tightly folded, sweet, and nutty green sprouts, this compact heirloom variety outperforms store-bought alternatives in both crunch and flavor.
Because sprouts develop their richest, sweetest flavor after experiencing a touch of typical winter frost, timing your planting is key.
This comprehensive guide will show you exactly how to grow Brussel Sprouts successfully from seed to harvest under South African conditions.
📋 Quick Growing Overview
- Sowing Season: Mid-summer to autumn (January to April)
- Sunlight: Full sun (6+ hours of direct sunlight daily)
- Germination Time: 7 to 12 days
- Sowing Depth: 6mm deep
- Time to Harvest: 90 to 110 days from transplanting
- Ideal Soil pH: 6.5 to 7.5 (Neutral to slightly alkaline)
- Water Needs: Moderate to high (requires consistent moisture)
Step 1: Choosing the Perfect Location
Brussel Sprouts belong to the brassica family, meaning they love cool weather and are exceptionally heavy feeders.
To give your plants the best start, pick a garden spot with:
Maximum Sun Exposure: Select a position that receives full sun. Insufficient sunlight results in thin, weak stalks and loose, fluffy sprouts rather than firm, tight heads.
Rich, Firm, and Well-Drained Soil: Brassicas prefer heavy, fertile loam or clay-loam soils that drain perfectly but hold onto nutrients. Work a generous amount of well-rotted manure or organic compost into the bed a few weeks before planting.
Crucial tip: Press and firm down the soil bed before transplanting; loose soil causes loose sprouts.
Wind Protection: Because these stalks grow top-heavy with up to 100 sprouts, choose a spot sheltered from harsh winter winds, or plan to stake them early.
Step 2: Sowing Brussel Sprout Seeds
Each pack of our premium heirloom seeds contains over 100 seeds, giving you plenty of inventory to plan a continuous winter harvest.
Starting seeds in trays is highly recommended over direct sowing, as it protects delicate seedlings from the harsh mid-summer afternoon sun.
Step-by-Step Seed Tray Sowing
Fill a seed tray with a high-quality, fine seed-starting mix. Press your seeds down to a depth of 6mm. Cover lightly with soil or vermiculite.
Mist the tray thoroughly using a fine spray nozzle. Keep the soil mix consistently damp but never waterlogged. Place the tray in a sheltered area out of blistering heat.
Germination takes roughly 7 to 12 days.
Step 3: Transplanting and Spacing
When your seedlings reach about 10cm tall (usually 4 to 6 weeks after sowing) and have developed a few sets of true leaves, they are ready for the garden.
Hardening Off: Move your trays into direct sunlight for a few hours daily for a week to prepare them for life outdoors.
Deep Planting: Plant the seedlings slightly deeper in the garden bed than they were in the tray—right up to their first set of leaves. This anchors the root system tightly.
Spacing: Space individual plants 45cm to 60cm apart. Rows should be spaced 75cm apart. Giving them room ensures excellent airflow, which drastically reduces the risk of whitefly and aphids common to brassicas.
Step 4: Ongoing Care and Maintenance
Brussel Sprouts require steady, consistent growth to form tight, sweet heads:
Watering: Water deeply and consistently, especially during dry winter spells. Uneven watering leads to bitter sprouts. Always water the base of the plant to keep the leaves dry.
Feeding: As heavy feeders, give them a liquid organic fertilizer high in nitrogen and potassium every 3 to 4 weeks to support large stalk production.
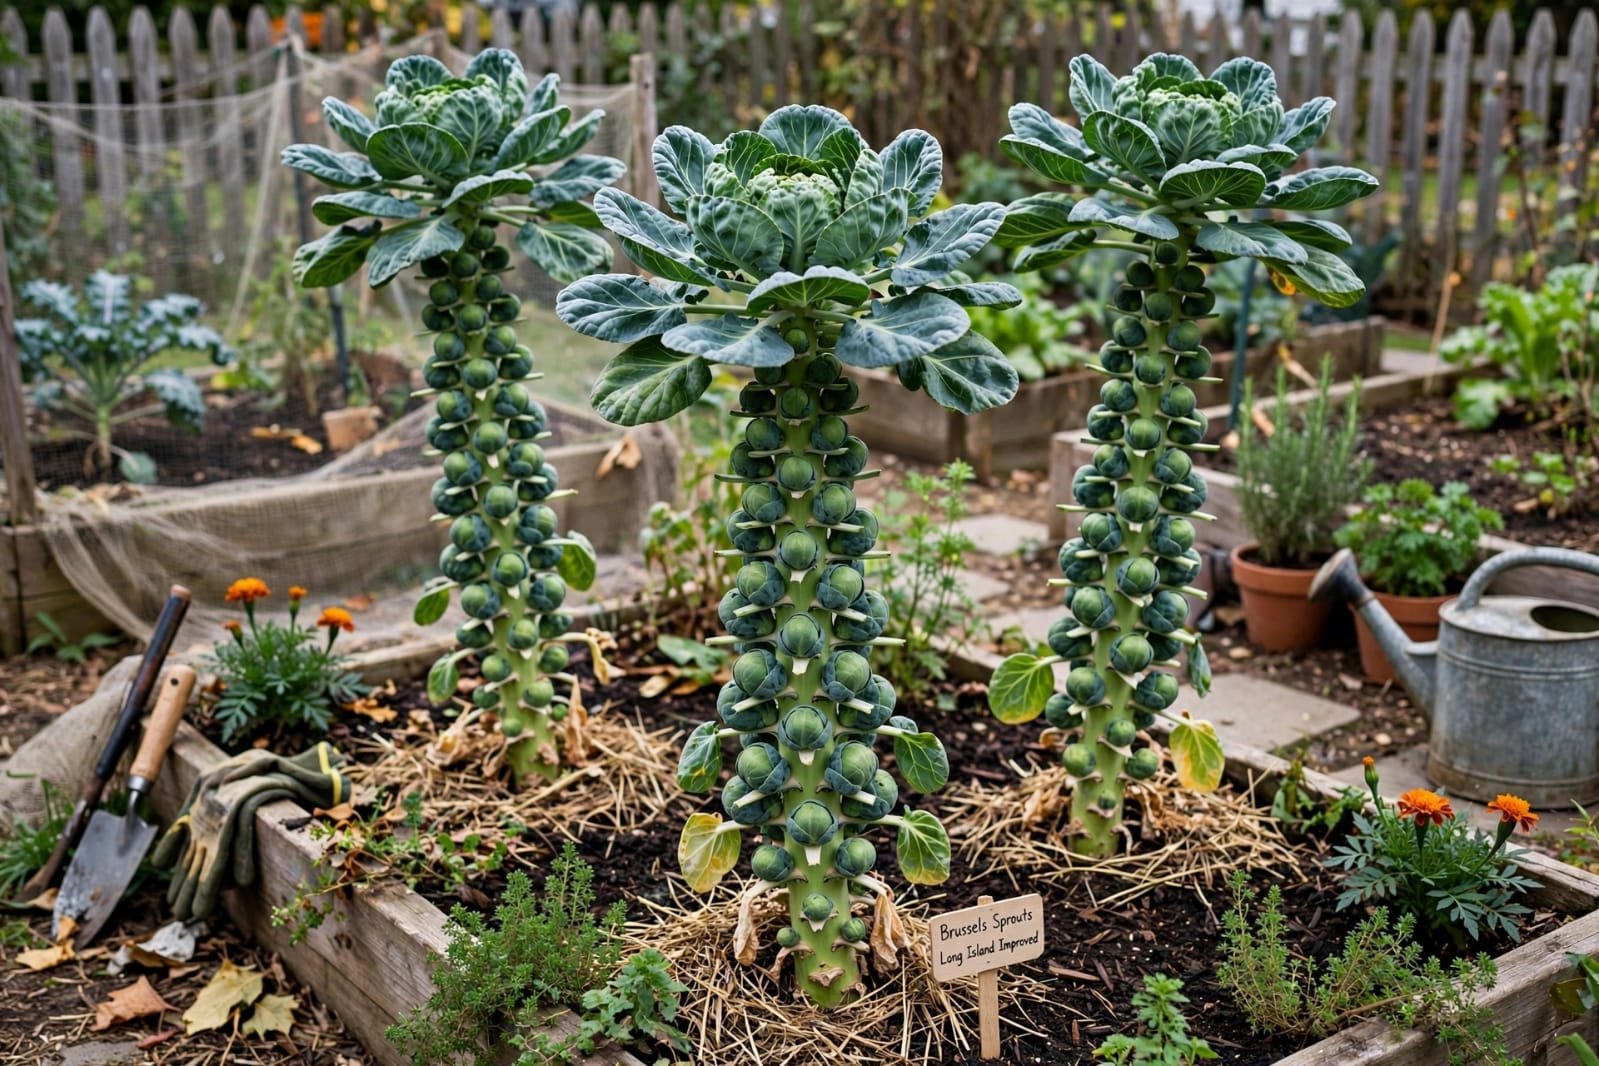
Mulching: Apply a thick layer of organic mulch around the base of the stems to retain vital soil moisture and keep shallow root networks cool.
The “Topping” Trick: If winter is drawing to a close and your lower sprouts are large but the top sprouts are still tiny, pinch off the growing tip at the very top of the stalk about 3 weeks before your final harvest. This forces the plant to stop growing upward and directs all remaining energy into swelling the existing sprouts.
Step 5: Harvesting Your Sprouts
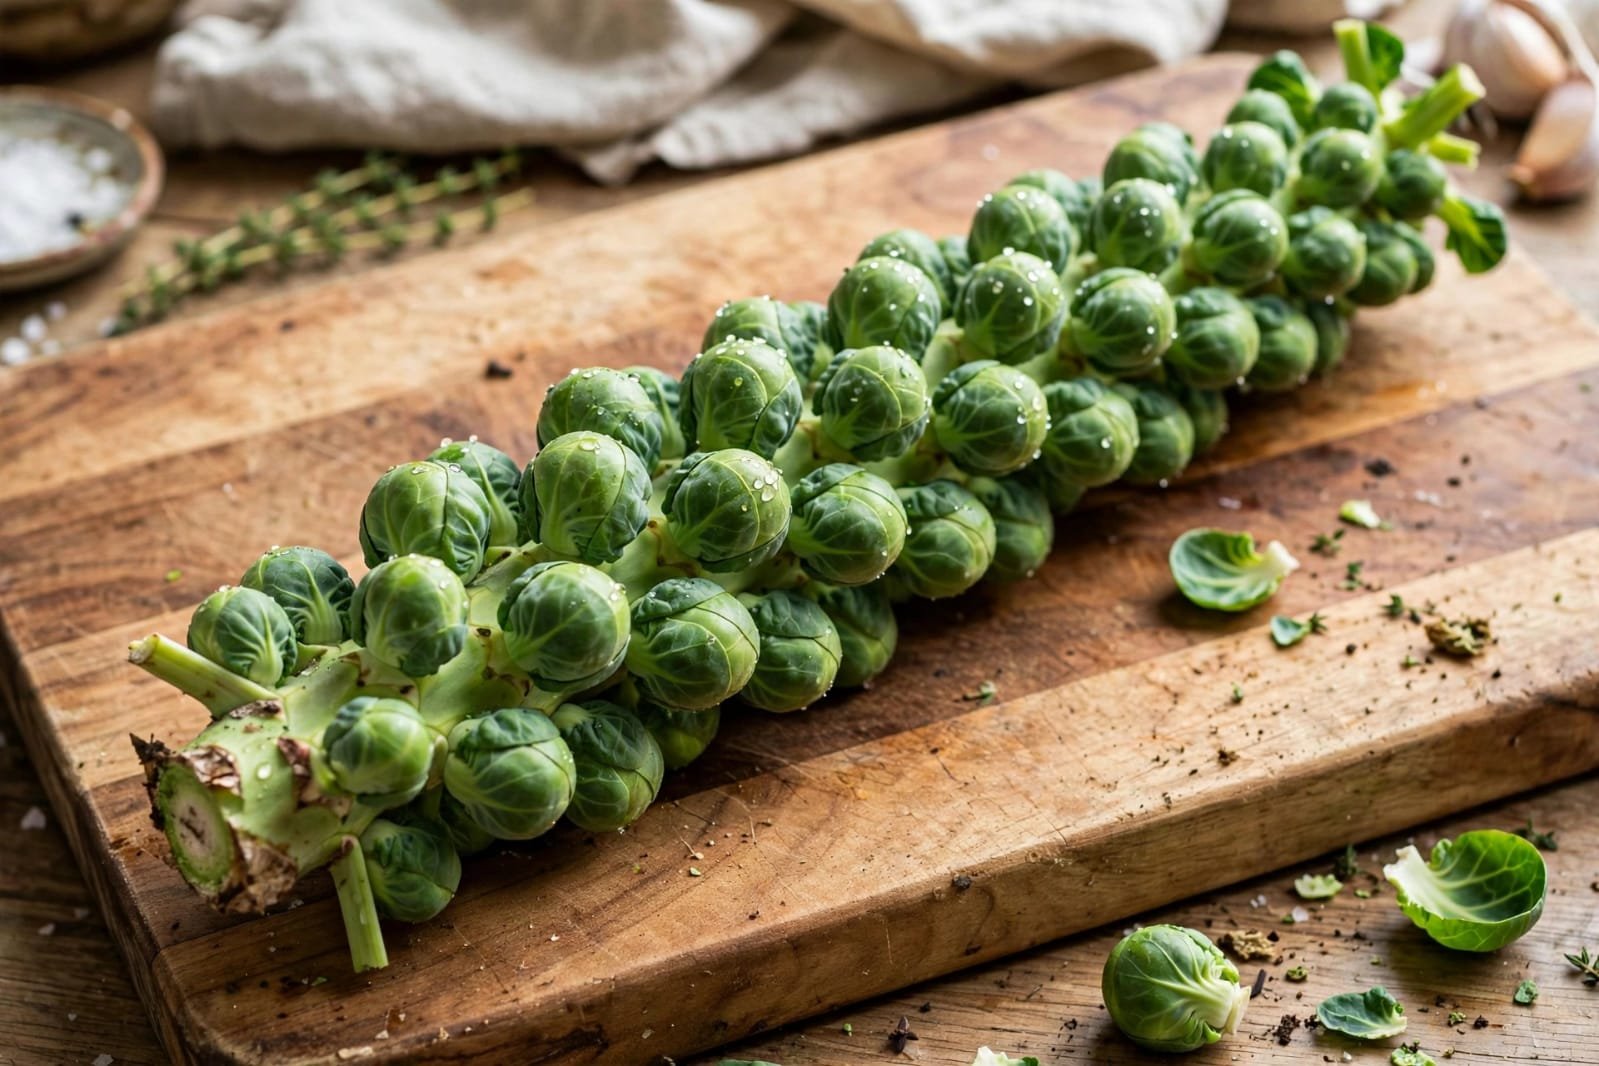
Bottom to Top: Sprouts mature progressively from the bottom of the stalk upward. Always harvest the lower, firmest sprouts first, allowing the smaller upper heads more time to develop.
How to Pick: Twist the sprout sharply downward until it snaps cleanly away from the central stalk. Alternatively, cut them away cleanly with a sharp garden knife.
Leaf Removal: As you pick the sprouts, snap off the leaf directly underneath each sprout to keep the stem clean and make accessing the upper yields easier.
🙋 Frequently Asked Questions
Why are my Brussel Sprouts loose and leafy instead of tight heads?
This is usually caused by warm weather during the maturing phase, too much nitrogen fertilizer later in the growth cycle, or loose soil.
Ensure you plant in mid-summer so they mature during cold winter frost, and firm down your soil tightly at planting time.
Are Brussel Sprouts frost-hardy in South Africa?
Yes! Long Island Brussel Sprouts are exceptionally frost-hardy. In fact, frost causes the plant to convert its internal starches into sugars, removing bitter undertones and giving you sweet, farm-fresh winter meals.

Reviews
There are no reviews yet.