How to Grow Cape Gooseberry from Seed: The Complete South African Guide
Growing your own Cape Gooseberries from seed is an incredibly rewarding project for South African gardeners.
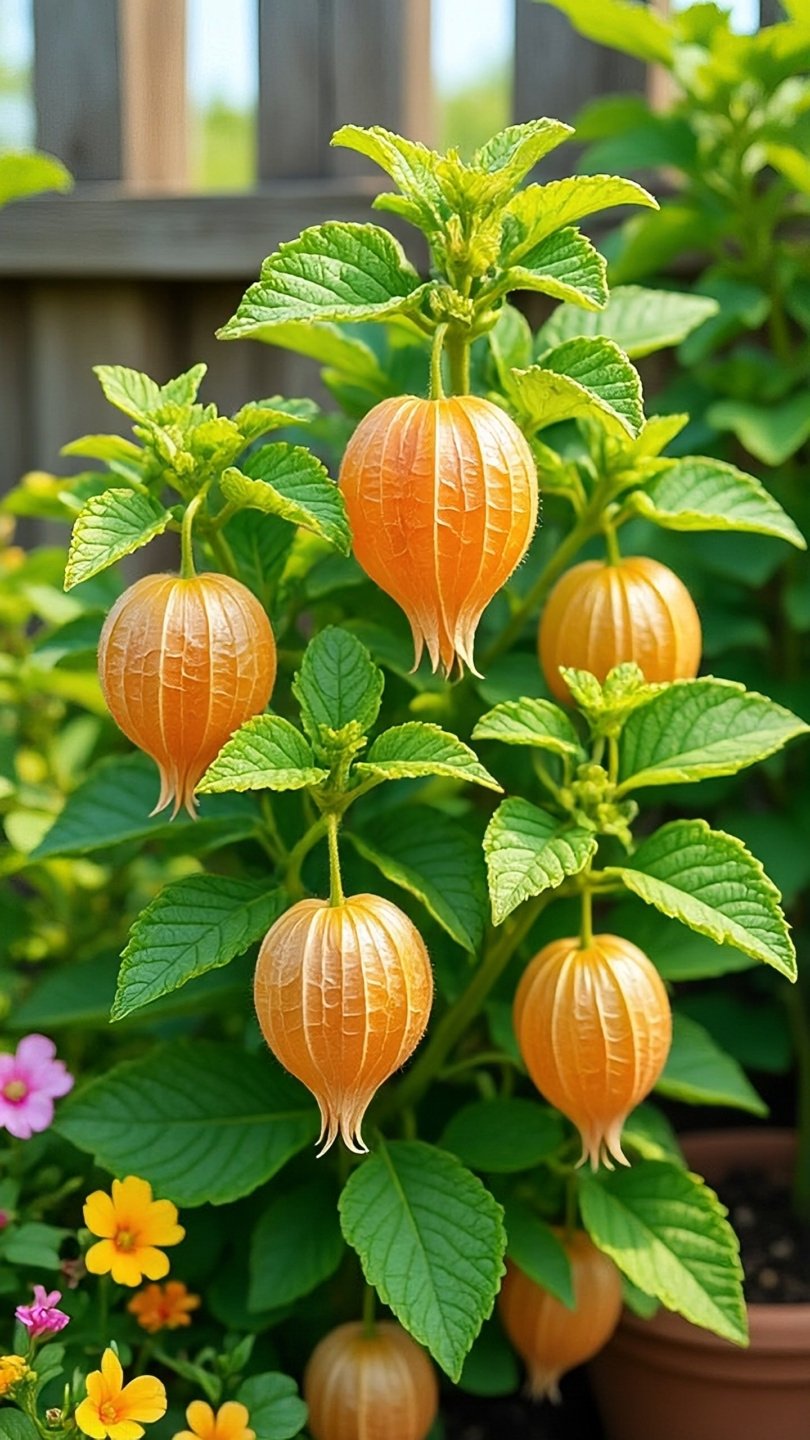
This robust heirloom variety produces bushes loaded with sweet, tangy, golden berries wrapped in beautiful, papery husks.
Follow this step-by-step guide to successfully grow a heavy berry crop in your backyard.
1. When to Plant Cape Gooseberries in South Africa
Cape Gooseberries love the warmth and sunshine but are sensitive to heavy frost. They behave as a short-lived perennial in warmer regions or a summer annual in very cold areas.
Highveld & Cold Inland Regions: Sow indoors in seed trays from August to September using a warm windowsill. Move them into the garden beds in October once all danger of frost has passed.
KZN Coastal & Lowveld Regions: You can plant almost year-round, but August to December is the ideal window for massive summer and autumn harvests.
Western Cape (Winter Rainfall): Sow indoors from September, and transplant outdoors in October or November as soil temperatures rise.
2. Sowing Cape Gooseberry Seeds (Step-by-Step)
Because Cape Gooseberry seeds are quite small and require consistent warmth to sprout, starting them in seed trays gives you the highest success rate.
Prepare the Mix: Fill a seedling tray with a fine-textured, free-draining seed-starting mix or fine coco peat.
Sow Shallowly: Press the seeds gently into the soil at a depth of only 3mm deep. Because they are tiny, covering them too deeply will prevent them from sprouting. Drop 2 to 3 seeds per cell.
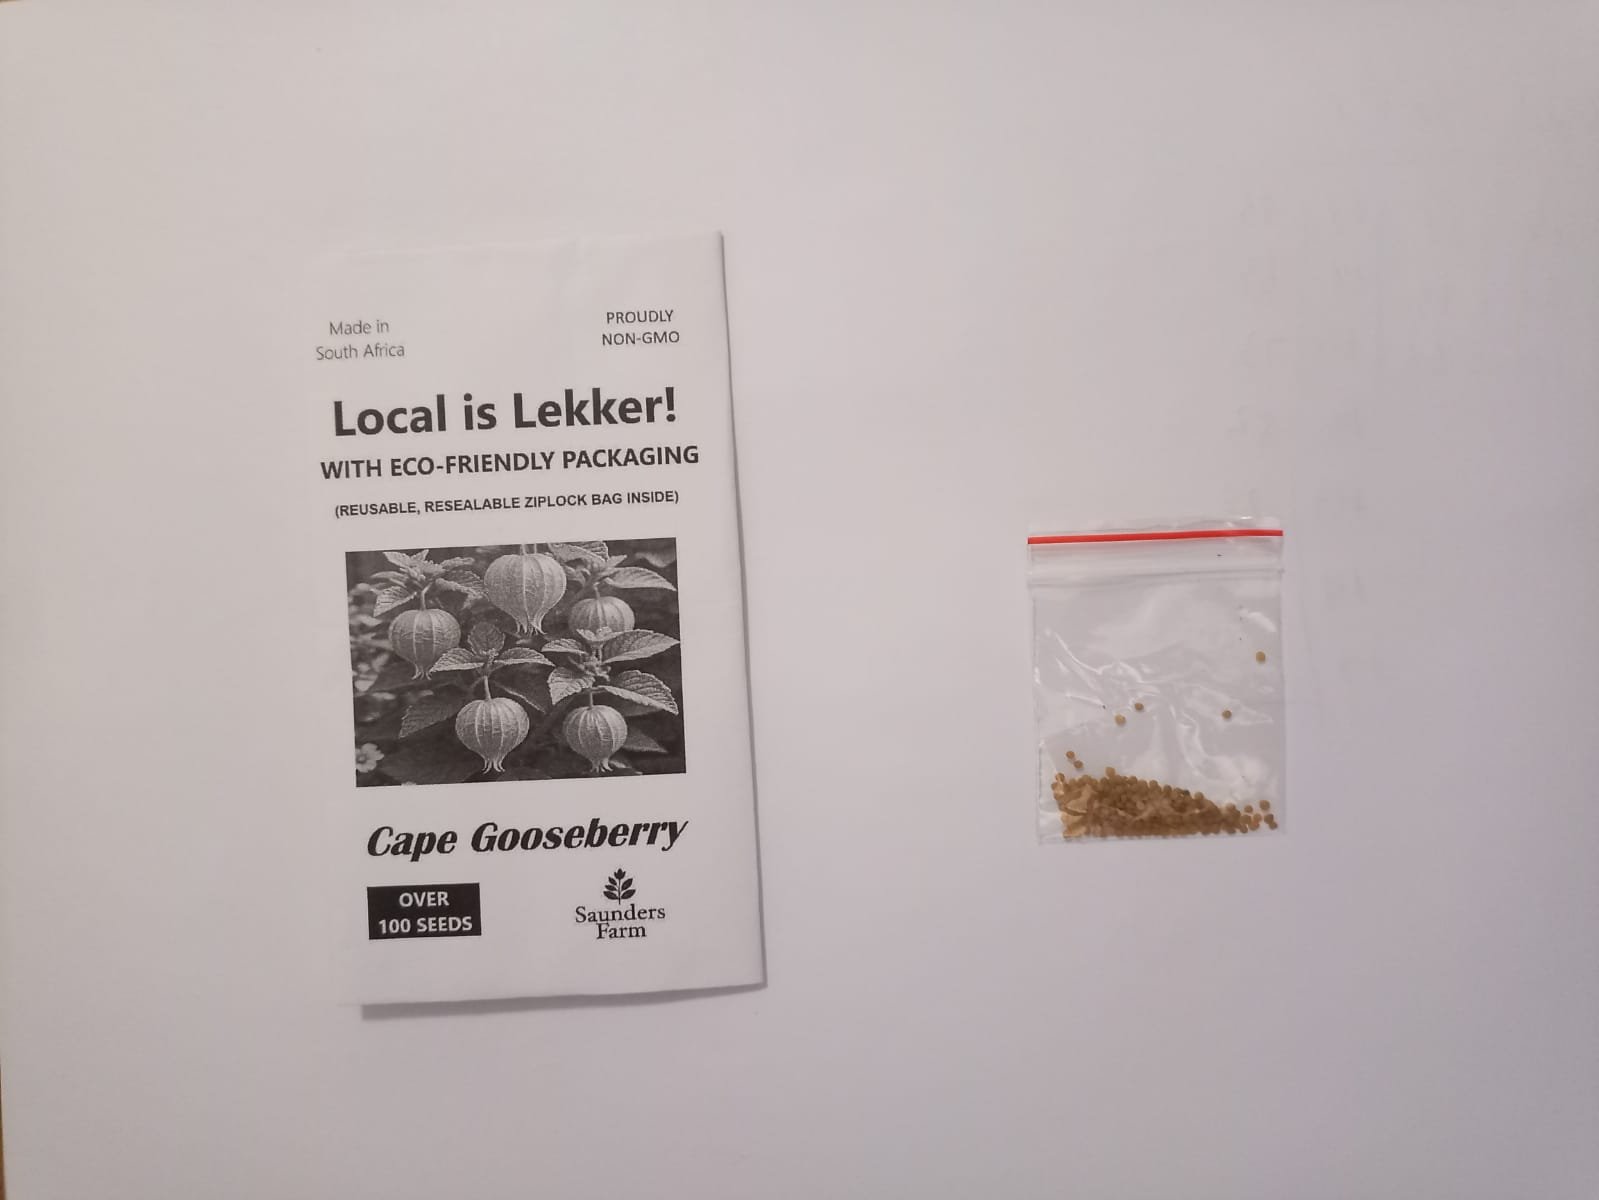
Every packet contains over 100 seeds, giving you plenty of chances to get a massive crop.
Moisten: Mist the soil gently with a spray bottle so you do not wash the tiny seeds away.
Germination: Keep the tray in a warm, bright spot. Sprouts will appear within 7 to 14 days if kept consistently moist and warm.
3. Transplanting Seedlings
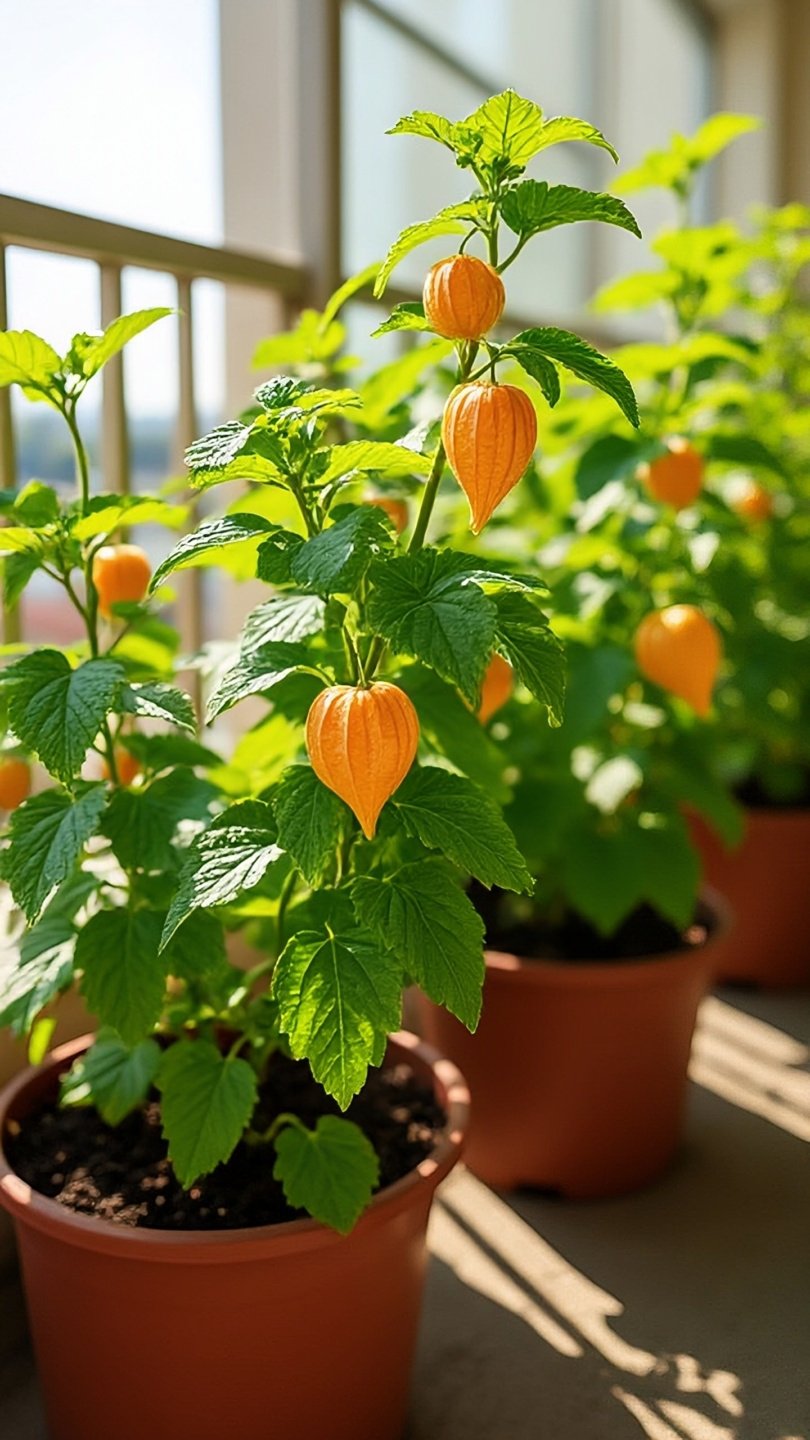
Your young Cape Gooseberry plants are ready to move out into the garden when they stand about 10cm to 15cm tall and have developed several sets of strong, true leaves.
Soil Quality: Cape Gooseberries are actually very unfussy! In fact, soil that is too rich in nitrogen will cause the plant to produce massive green leaves but very little fruit.
Use moderately fertile, well-draining soil mixed with a bit of organic compost. Aim for a soil pH of 5.5 to 6.5.
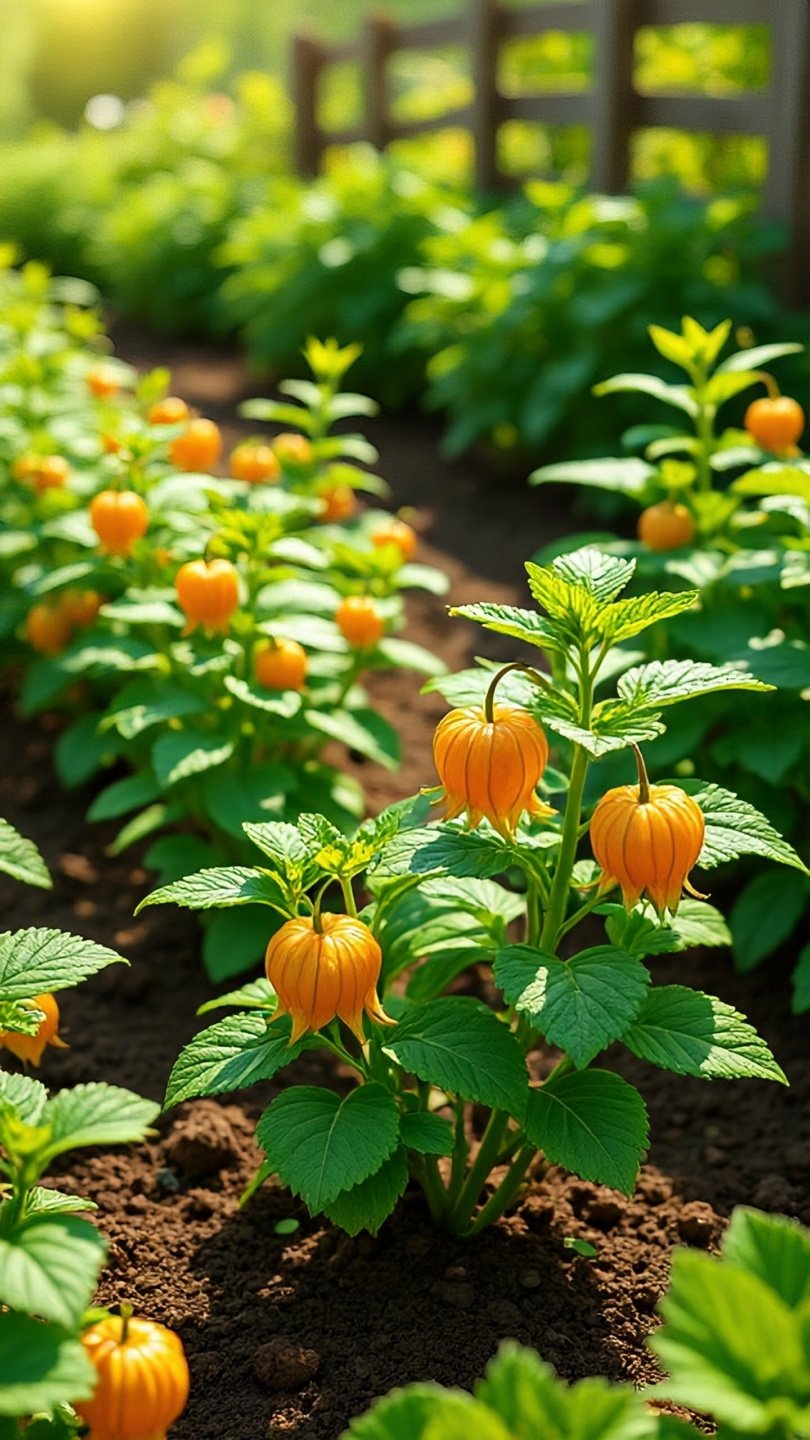
Spacing: Space your seedlings 50cm to 60cm apart in rows. These plants turn into bushy, sprawling little shrubs and need space for air to circulate.
Sunlight: Choose a spot that receives full sun to very light afternoon shade. Ensure they get at least 6 hours of direct sunlight daily.
4. Ongoing Care and Maintenance
Watering: Water regularly and deeply twice a week while the plant is growing and flowering. Once the fruit starts forming inside the husks, back off on the watering slightly.
Less water at the end of the cycle forces the plant to concentrate sugars, making the berries much sweeter.
Support: Because the branches get heavily weighed down by hundreds of berries, setting up a small stake, trellis, or tomato cage around each bush keeps the low branches off the soil.
Pruning: In frost-free areas where the plant survives the winter, cut the bush back by half in late winter to encourage vigorous new fruiting growth for the next season.
5. Pest and Disease Management
Cape Gooseberries are incredibly resilient, but keep an eye out for these local pests:
Red Spider Mites: These thrive in hot, dry conditions and cause leaves to look mottled and yellow. Spray the undersides of the leaves with organic insecticidal soap.
Birds: Local birds love the sweet golden fruits! If they become an issue, drape a lightweight bird netting over your bushes once the berries start ripening.
6. Harvesting Your Cape Gooseberries
Your plants will begin producing ripe fruit roughly 120 to 150 days after sowing.
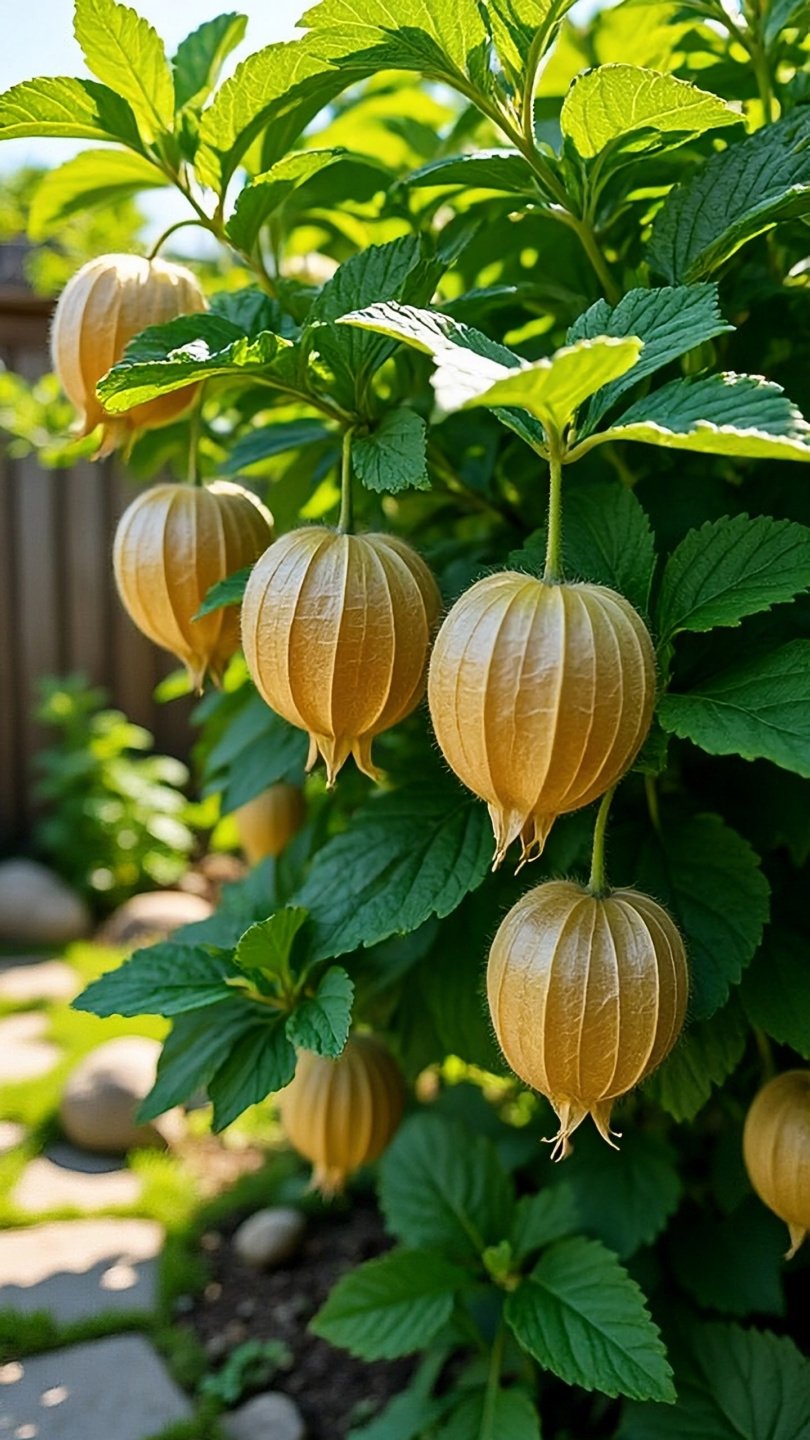
The Husk Test: Never pick the berries while the outer husks are still green. Wait until the papery husks turn completely brown, dry, and straw-like.
The Drop Test: A perfectly ripe Cape Gooseberry will often drop naturally to the ground. Simply gather the fallen, dry husks from under the bush.
Storage: Keep the harvested berries inside their protective papery husks. Stored this way in a cool, dry pantry, they will easily stay fresh for several weeks!



Reviews
There are no reviews yet.