Ultimate Chives Growing Guide: How to Care for Your Plants in South Africa
Once you have successfully sprouted your heirloom Chives seeds, you are on your way to enjoying a permanent supply of fresh, mild onion-flavoured herbs.
Chives (Allium schoenoprasum) are exceptionally hardy perennials that adapt beautifully to the diverse climates of South Africa.
Whether you are dealing with the dry heat of the Western Cape or the frosty winter mornings of the Highveld, these plants will thrive for years with just a little basic care.
This comprehensive growing guide covers everything you need to know about sunlight, watering, pruning, and maintaining your chive plants for an abundant, continuous harvest.
Understanding the Ideal Growing Conditions
Chives are highly adaptable, but matching their care to these core preferences will guarantee thick, vibrant, and dark-green leaves:
Sunlight: Chives thrive in full sun (6+ hours of direct sunlight daily). However, in extremely hot inland regions during mid-summer, a spot that gets morning sun and afternoon shade will prevent the slender leaves from scorching.
Soil Requirements: Provide a loose, fertile, well-draining soil mix that is rich in organic matter. Chives love consistent moisture, but their small underground bulbs will rot quickly if left sitting in heavy, waterlogged clay.
Climate Adaptability: Chives are incredibly resilient. In warmer coastal areas, they will remain evergreen and grow all year. In frosty regions, they will naturally die back to the ground in late autumn and re-sprout vigorously as soon as early spring arrives.
Step-by-Step Plant Maintenance
1. The Right Way to Water
Because chives have a shallow root system, they do not have deep underground water reserves to draw from during dry spells.
Watering Frequency: Water deeply two to three times a week. The goal is to keep the soil evenly moist but never soggy.
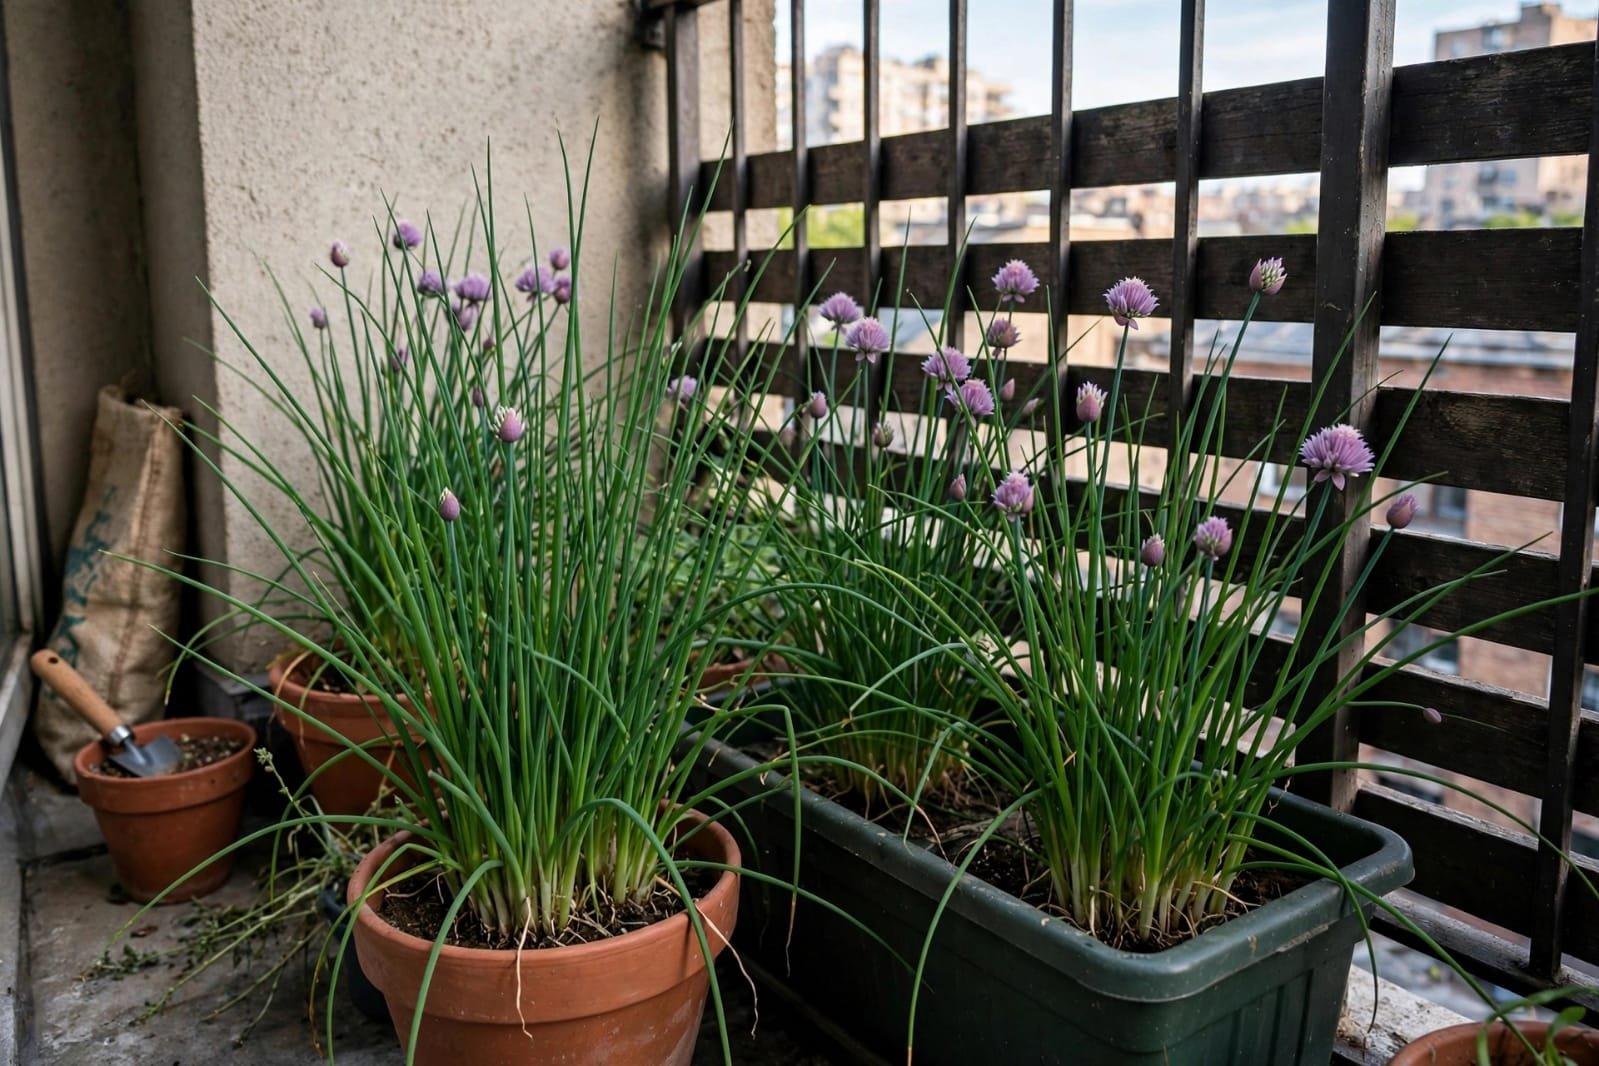
Container Care: If you are growing chives in window boxes or pots, check the soil daily. Containers dry out much faster than garden beds, especially during hot South African afternoons.
Mulching: Spread a thin layer of organic mulch (like fine bark chips or straw) around the base of the plants to keep the shallow roots cool and lock in vital soil moisture.
2. Feeding for Thick Growth
Because your seed packets contain over 100 seeds, you can grow dense, beautiful clumps. To keep these crowded clusters producing lush growth, they appreciate a little extra nutrition.
Top-dress your chive patch with a fresh layer of organic compost every spring. During the peak summer growing season, feed them with a diluted liquid organic fertilizer (like fish emulsion or kelp) once every four weeks.
Avoid high-nitrogen chemical fertilizers, which cause weak, watery growth with very little flavor.
3. Managing the Beautiful Purple Flowers
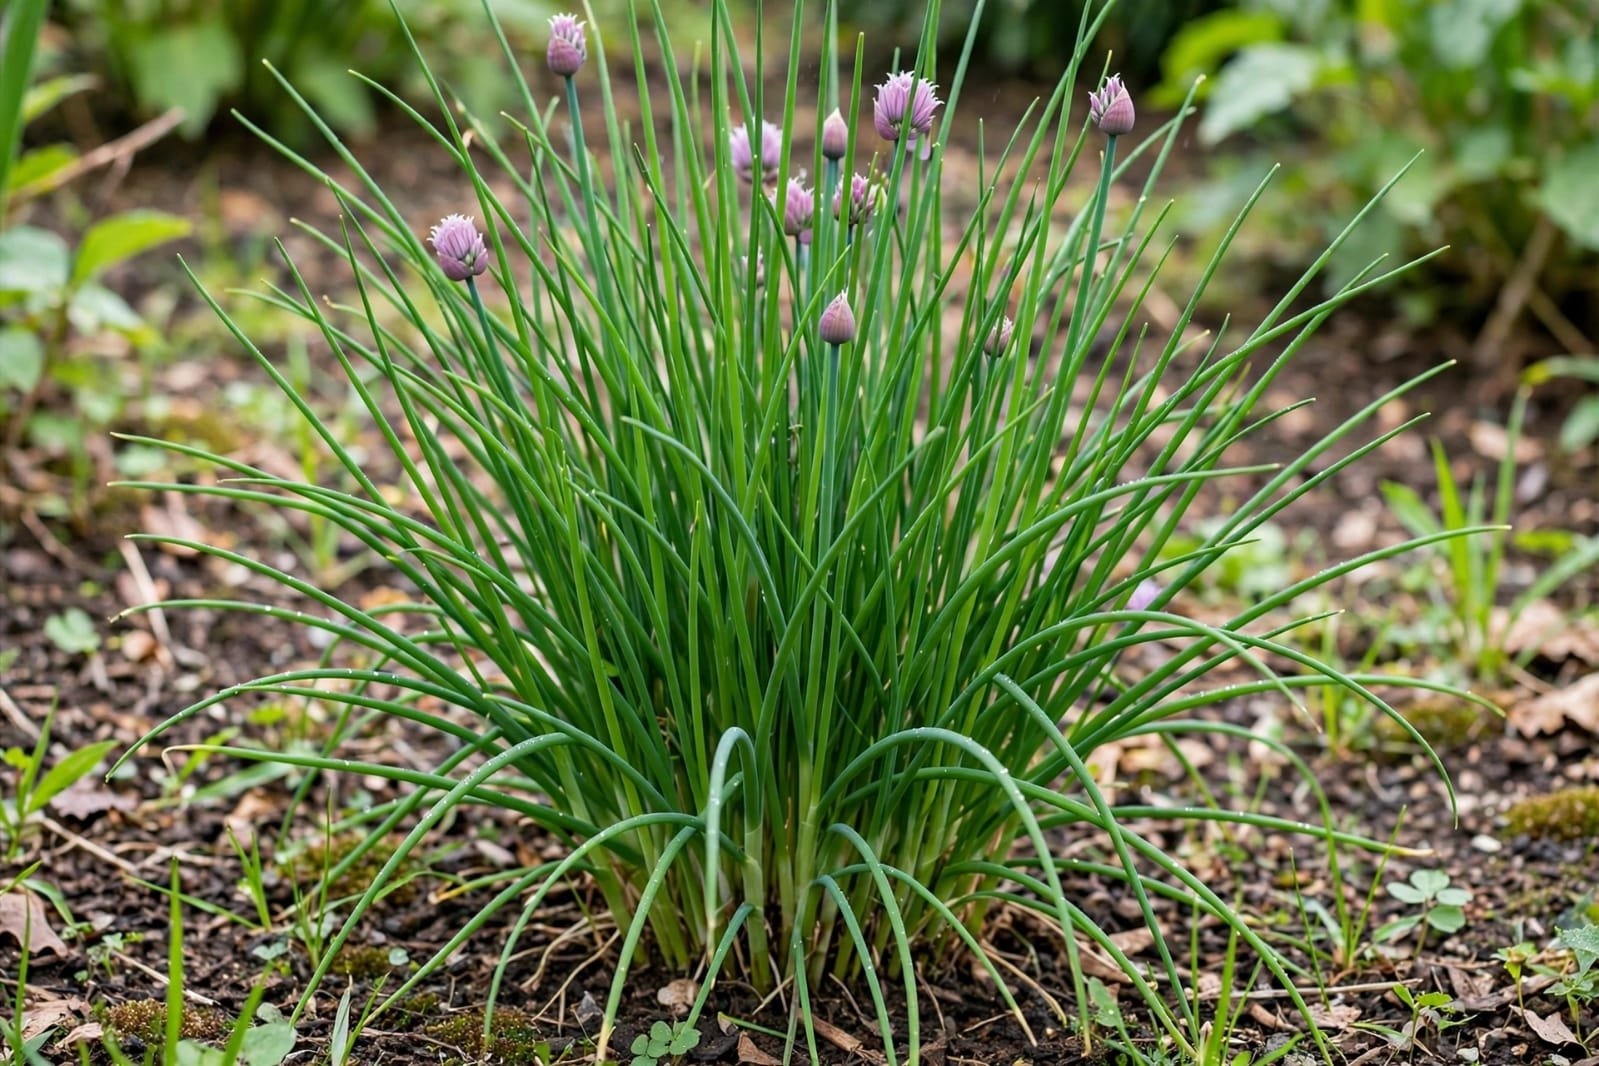
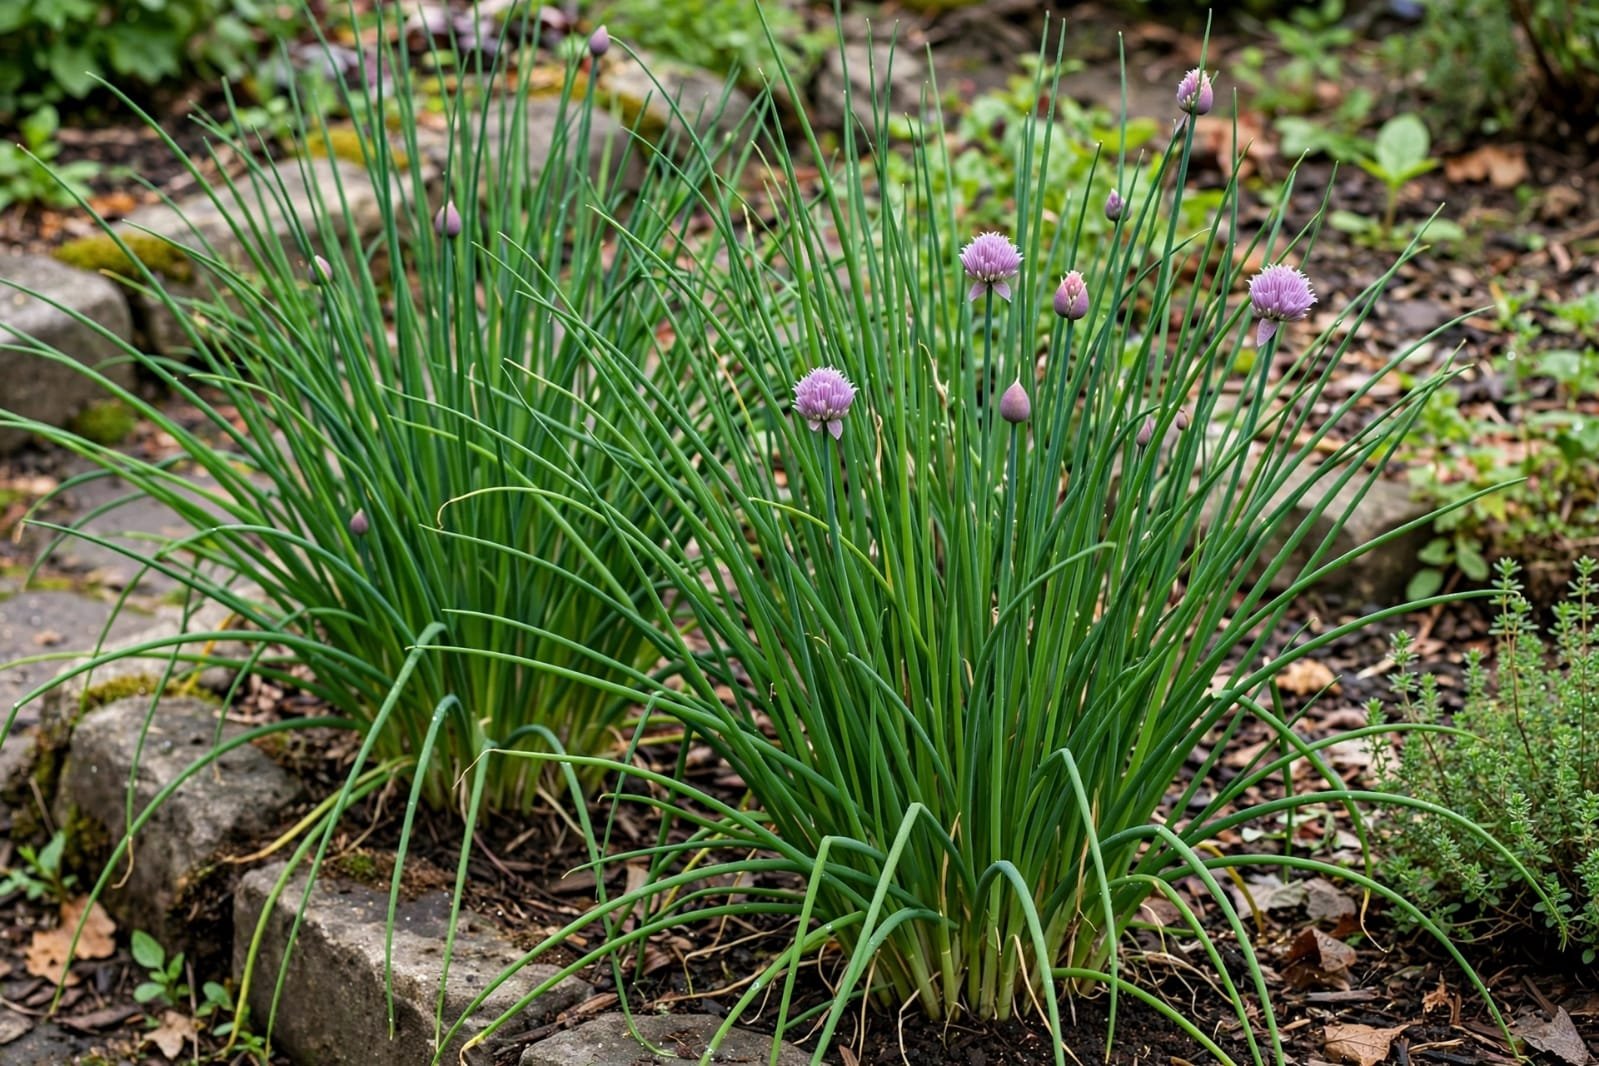
In late spring and summer, your chives will produce striking, globe-shaped purple flowers.
To Maximize Leaf Harvest: Letting the plant flower heavily signals to the bulb that it is time to stop growing new leaves. To keep your leaf production high, snip the flower stalks off right at the base as soon as they appear.
To Save Heirloom Seeds: If you want to harvest your own seeds at the end of the season, let a few stalks flower completely. Once the flower heads turn brown and dry out, you can shake out the new heirloom seeds for next year!
4. Dividing Clumps (Every 3 Years)
As your chives grow, the underground bulbs will continuously multiply, causing the clump to become overly crowded. After about three years, you may notice the leaves becoming noticeably thinner.
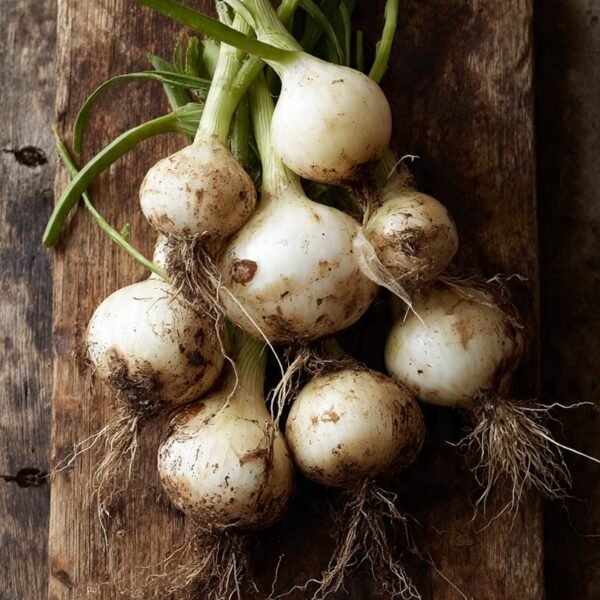
In early spring, gently dig up the entire clump with a spade. Pull the bulbs apart into smaller clusters of 5 to 10 bulbs.
Replant these smaller clusters into freshly composted soil to instantly rejuvenate your herb garden.





Reviews
There are no reviews yet.