Artist Glory Mix Poppy Growing Guide: From Seed to South African Spring Display
Poppies are the true artists of the cool-season garden. Known for their delicate, tissue-paper petals and graceful swaying stems, they bring an unforgettable old-world cottage charm to your landscape.
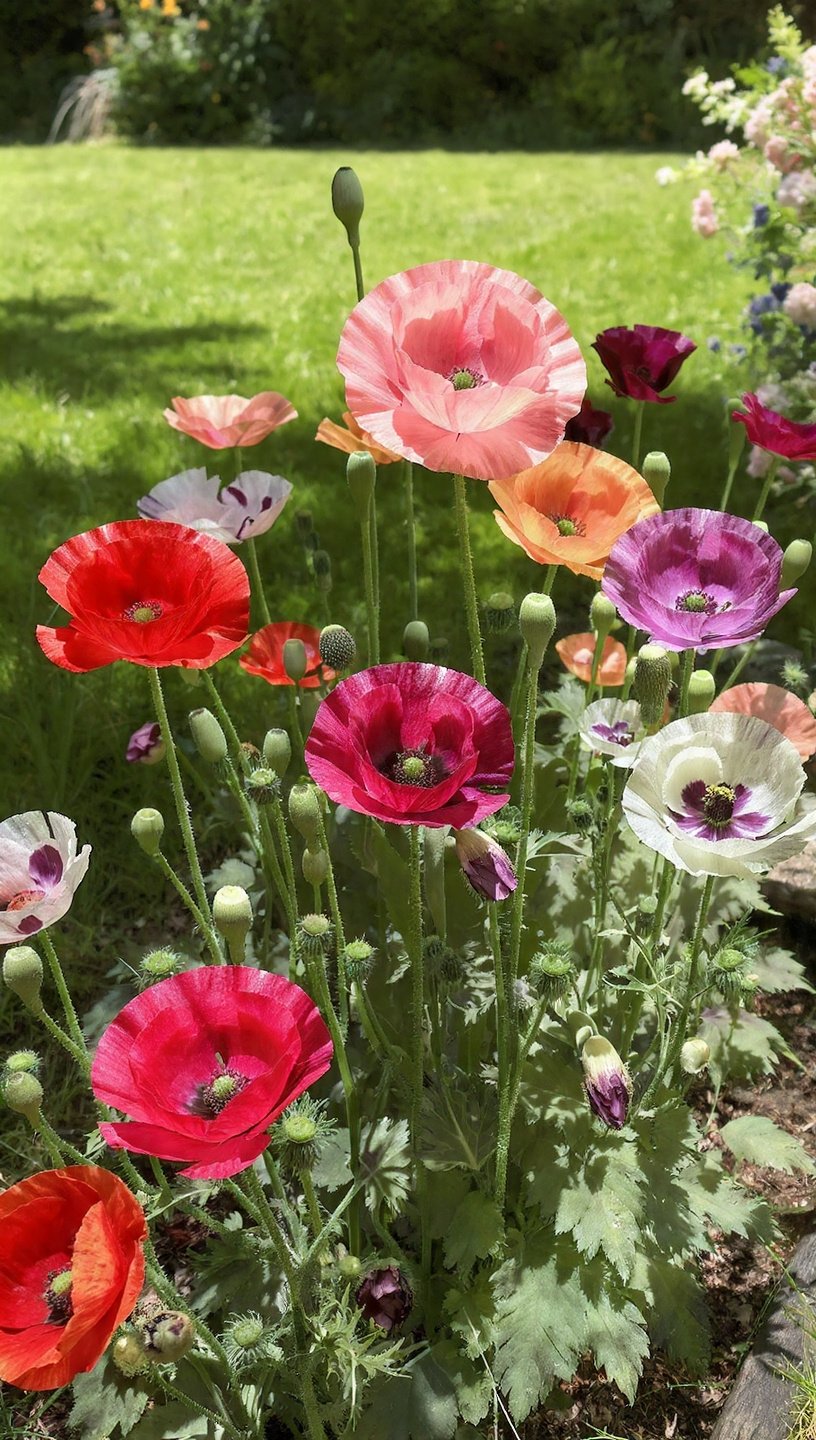
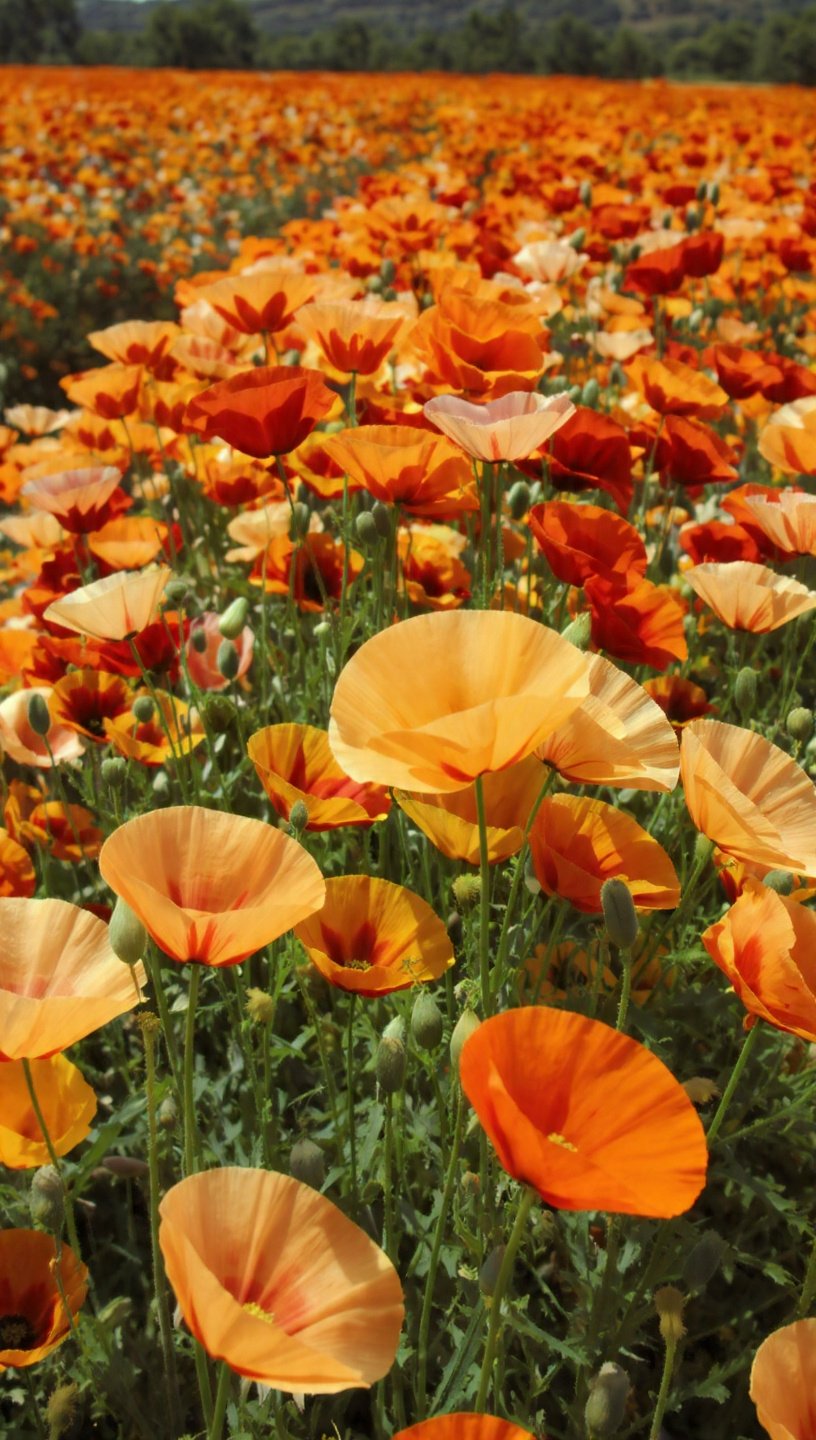
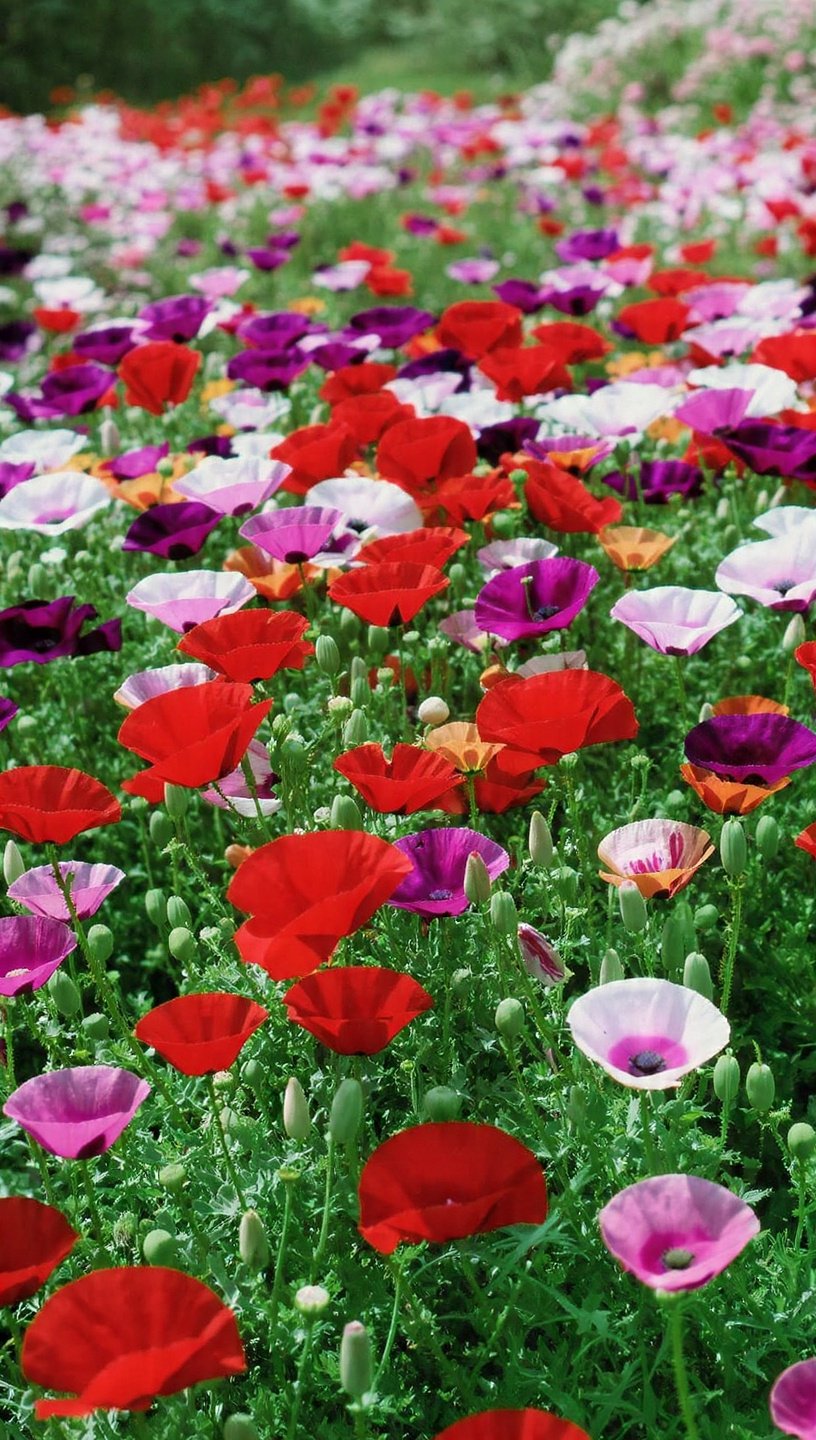
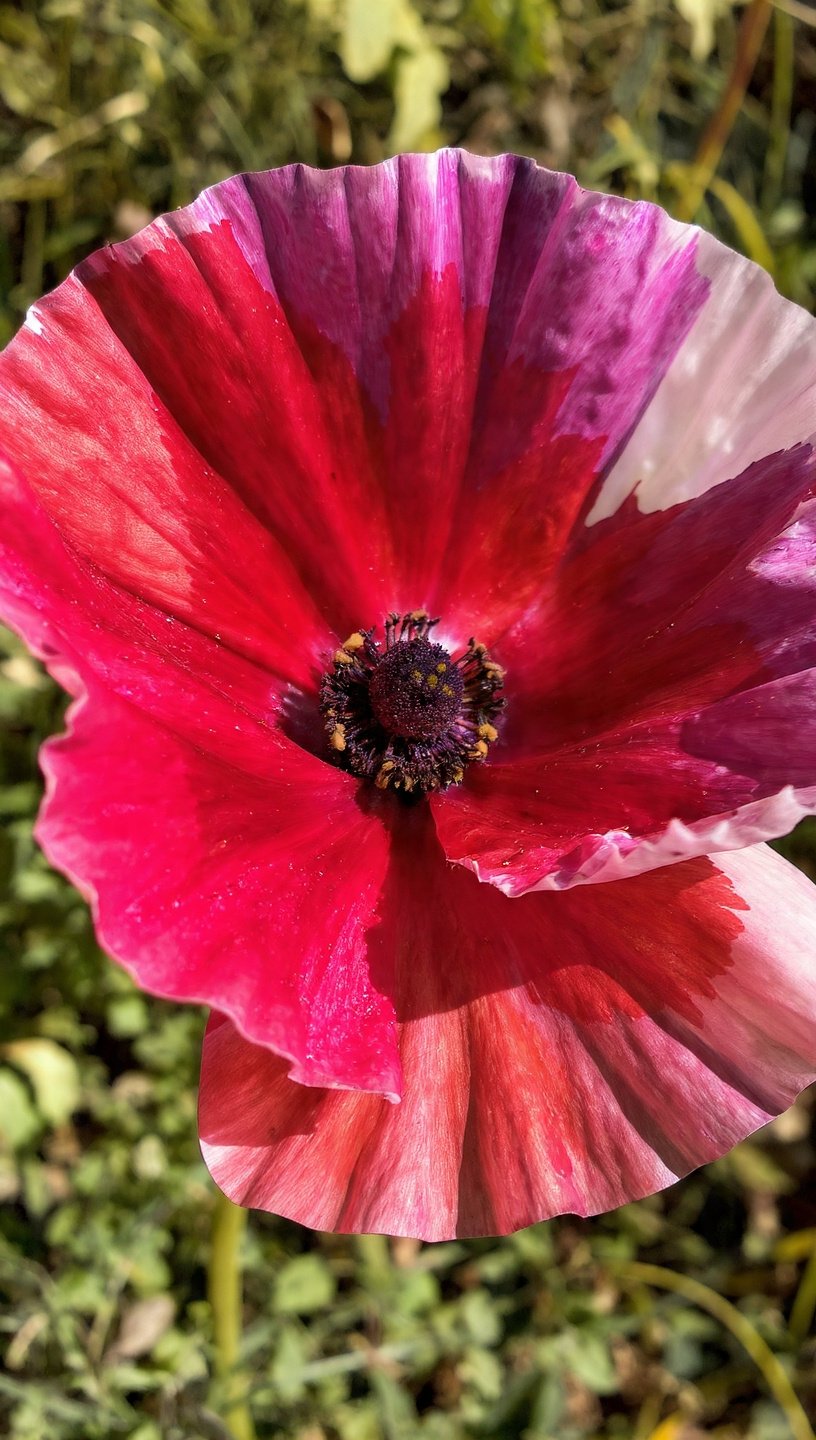
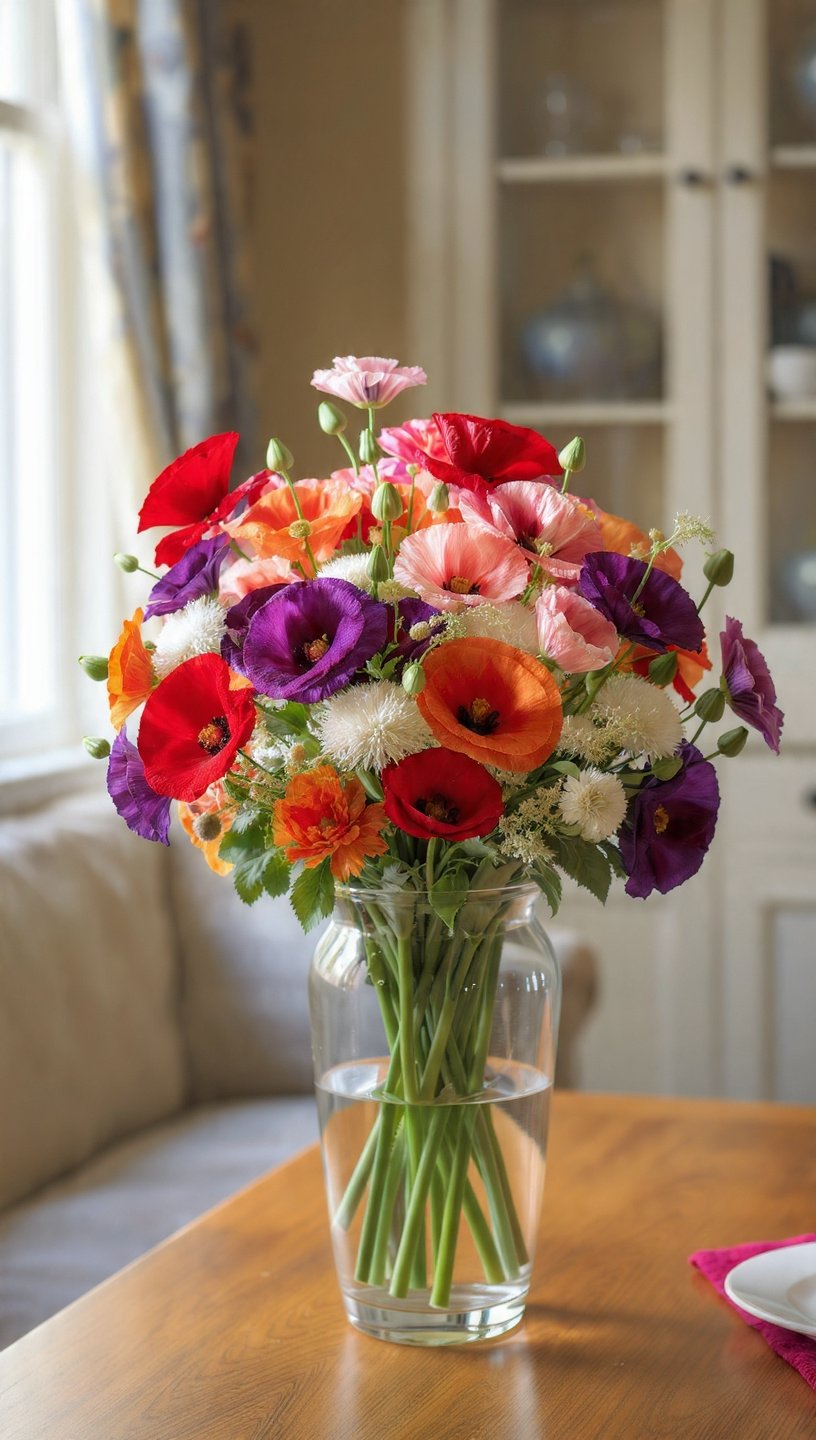
Our heirloom Artist Glory Mix offers a breathtaking gallery of large single and semi-double blooms in a curated blend of romantic pinks, deep crimsons, soft pastels, and striking bi-colors.
While poppies are exceptionally hardy and drought-tolerant once established, they have highly specific requirements when starting out as seeds.
This definitive guide covers everything you need to know to grow poppies successfully under South African conditions.
Quick Reference Facts
Botanical Name: Papaver rhoeas (Heirloom Ornamental)
Common Names: Corn Poppy, Shirley Poppy, Field Poppy
Plant Type: Cool-season annual flower
Sun Exposure: Full sun (minimum 6 hours of direct sunlight daily)
Soil Requirements: Loose, poor-to-average, exceptionally well-draining soil
Ideal Soil pH: Neutral to slightly alkaline (6.5 to 7.5)
Sowing Depth: Surface sow (seeds absolutely require light to germinate)
Germination Time: 10 to 21 days
Spacing: 20cm to 30cm apart
Time to Flower: 12 to 16 weeks from sowing
When to Plant Poppies in South Africa
Poppies are cool-season annuals. They perform their vital root and foliage growth during the chilly autumn and winter months, bursting into an explosion of color from late winter through spring.
Inland Frost Regions (Gauteng, Free State, Highveld): The optimal planting window is autumn (March to May). The seeds sprout in the cooling soil and grow through winter. You can also do a secondary sowing in very early spring (August).
Winter Rainfall Regions (Western Cape): Sow seeds throughout autumn and winter (April to July). Poppies thrive on the natural, cool winter rains of the Cape, which keep the soil perfectly damp.
Subtropical Regions (KwaZulu-Natal coast, Limpopo): Plant during the absolute coolest window of the year (May to June) so the plants can bloom before the intense mid-summer humidity returns.
The Golden Rule: Always Sow Directly
Poppies develop a single, highly sensitive taproot.
Because of this, they genuinely hate being transplanted. Moving them from a seedling tray into the garden often triggers severe transplant shock, causing the plant to stunt or die.
For success, sow your seeds directly into their final garden beds or deep containers.
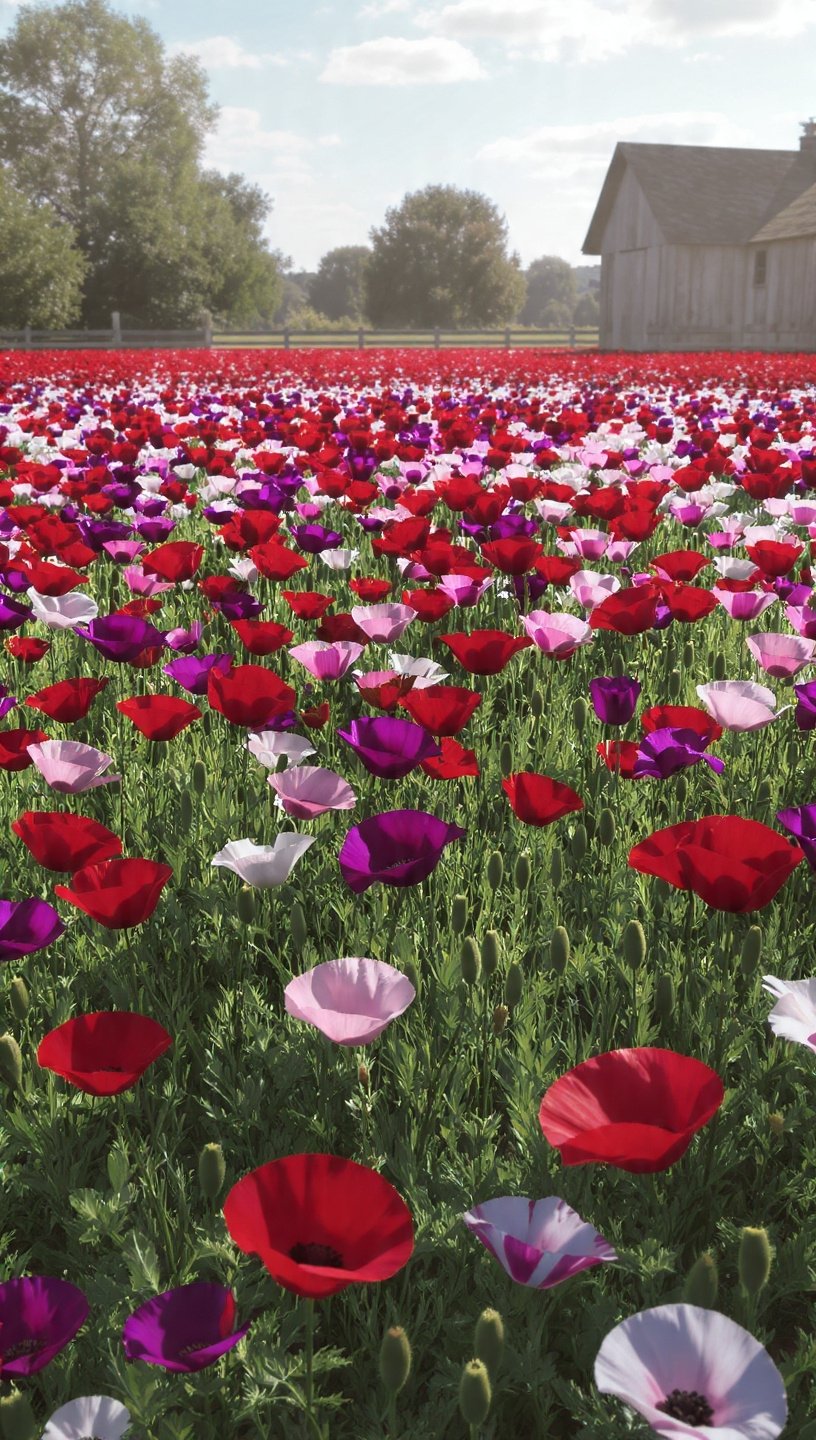
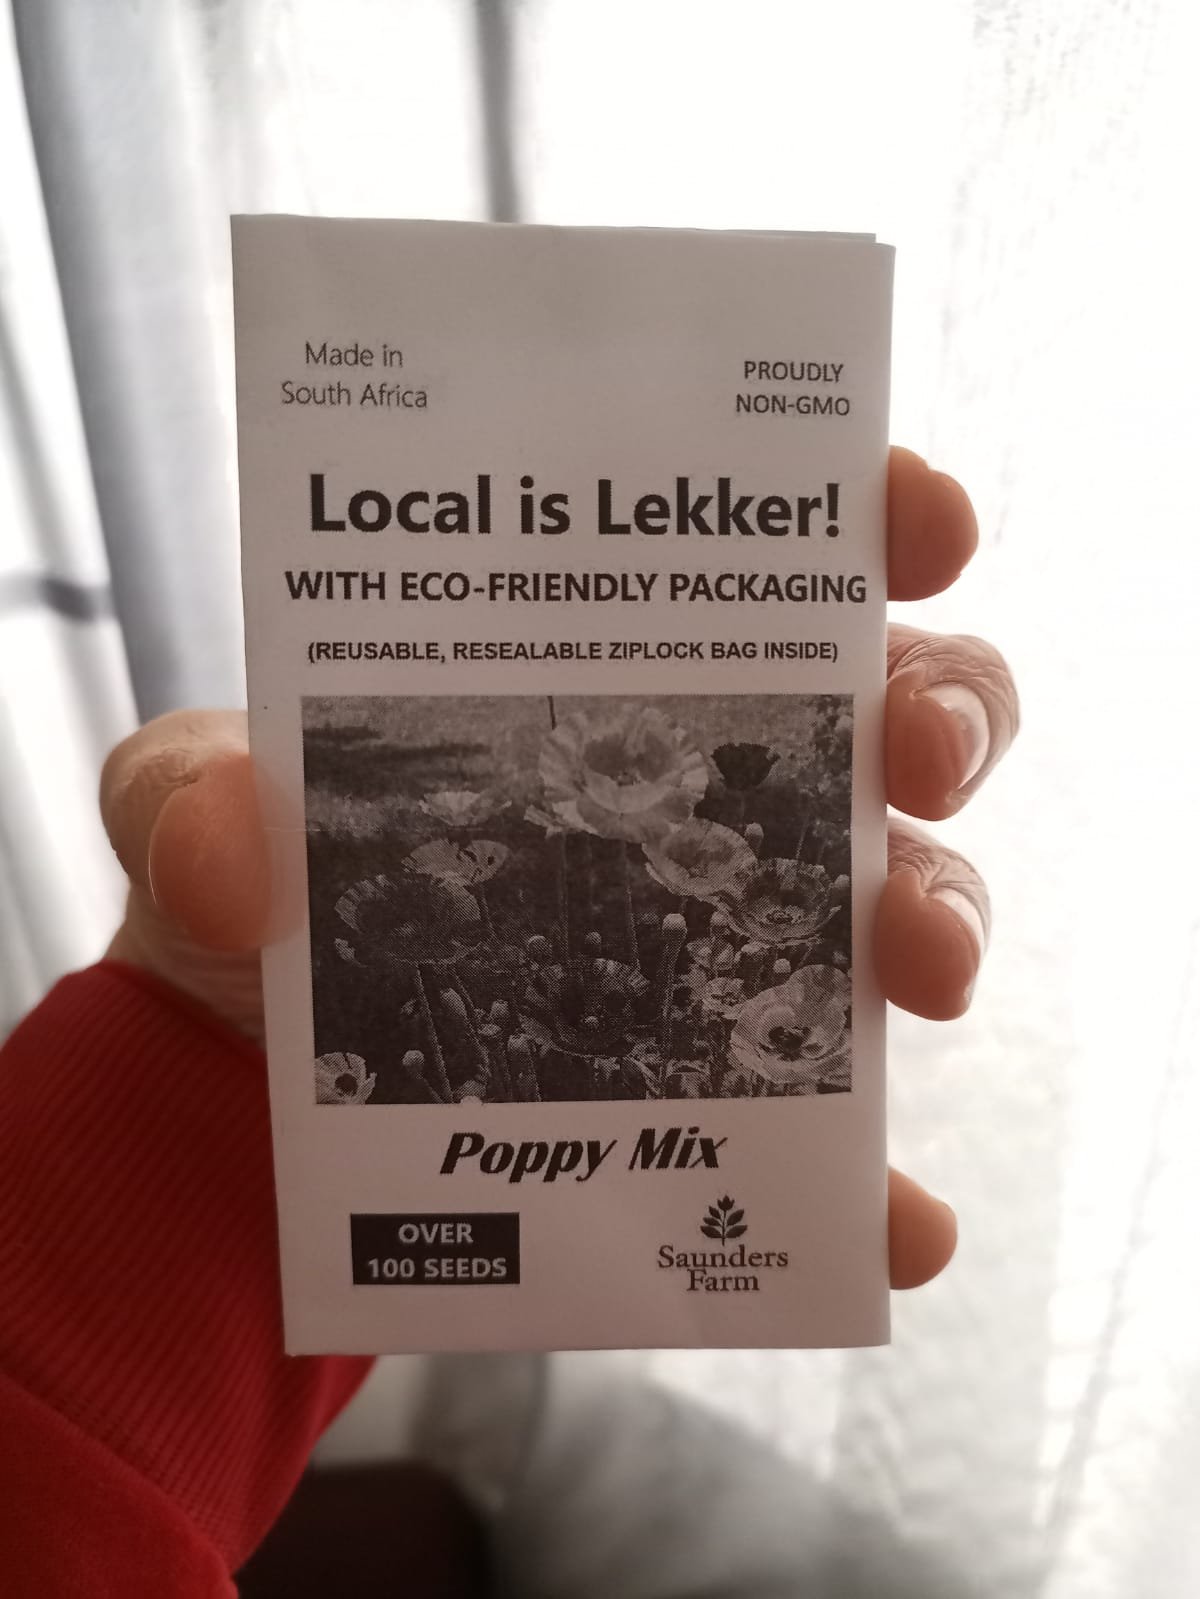
Note: Since our premium packs contain over 100 seeds, you will have plenty of seeds to scatter across a large bed or create dramatic drifts along fences.
Step 1: Prepare the Seedbed
Choose a spot in full sun that has excellent drainage. Poppies love sandy, gravelly, or average soils and will rot in heavy, waterlogged clay.
Clear the area completely of weeds, grass, and large rocks. Turn over the top 10cm of soil.
If your soil is heavy clay, dig in plenty of coarse river sand to improve drainage. Do not add heavy chemical fertilizers; poppies prefer nutrient-poor soil.
Rake the surface until the soil is perfectly fine and loose. Water the bed thoroughly before sowing so the ground is evenly damp.
Step 2: Sowing the Seeds (The Sand Trick)
Poppy seeds are tiny and require light to trigger germination. If you bury them in the dark, they will rot.
The Sand Trick: Because the seeds are so small, it can be difficult to scatter them evenly. Mix your packet of poppy seeds into a cup of dry, fine river sand or agricultural lime. This gives you a larger volume to work with and acts as a visual guide showing where you have already sown.
Scatter: Broadcast the sand-and-seed mixture evenly across the surface of your damp seedbed.
Press, Don’t Bury: Do not cover the seeds with soil. Instead, walk over the area gently, press down with a flat board, or use the palm of your hand to firm the seeds into the earth. They just need to make secure contact with the damp soil.
Step 3: Germination Care
Moisture Management: The soil surface must stay consistently moist until the seeds sprout. Because the seeds sit directly on top of the ground, a heavy watering can wash them away. Use a fine-mist setting on your hose nozzle or a gentle spray bottle.
Patience: Depending on soil temperatures, your poppy seeds will take anywhere from 10 to 21 days to germinate. Green, clover-like sprouts will begin carpeting the soil.
Step 4: Thinning for Strength
When your young seedlings reach about 5cm tall, they will likely be growing tightly together. To get large, healthy blooms, they need breathing room.
Use sharp scissors to snip the weaker seedlings off at ground level. Do not pull them up by the roots, as this will disturb the fragile roots of the healthy plants nearby.
Space your final remaining poppy plants roughly 20cm to 30cm apart.
Step 5: Ongoing Care and Maintenance
Watering Rules
Once your poppies are established, scale back on watering. Water deeply at the base of the plants once a week. They are remarkably drought-tolerant and hate soggy feet.
Nutrient Control
Avoid high-nitrogen fertilizers. Too much food results in a massive explosion of green leaves but very few, weak flower buds. A light top-dressing of organic compost at the start of spring is all they need.
Deadheading vs. Seed Saving
To keep the plants pushing out fresh flowers for months, snip off faded blooms regularly. However, at the very end of the spring season, leave a few flowers on the stems. They will turn into beautiful, crown-topped seed pods.
Once the pods turn brown and dry, they will crack open, shaking hundreds of new seeds into your garden bed to naturally grow back again next autumn!


Reviews
There are no reviews yet.